Fabric-covered foam cushions for the Adirondack chair

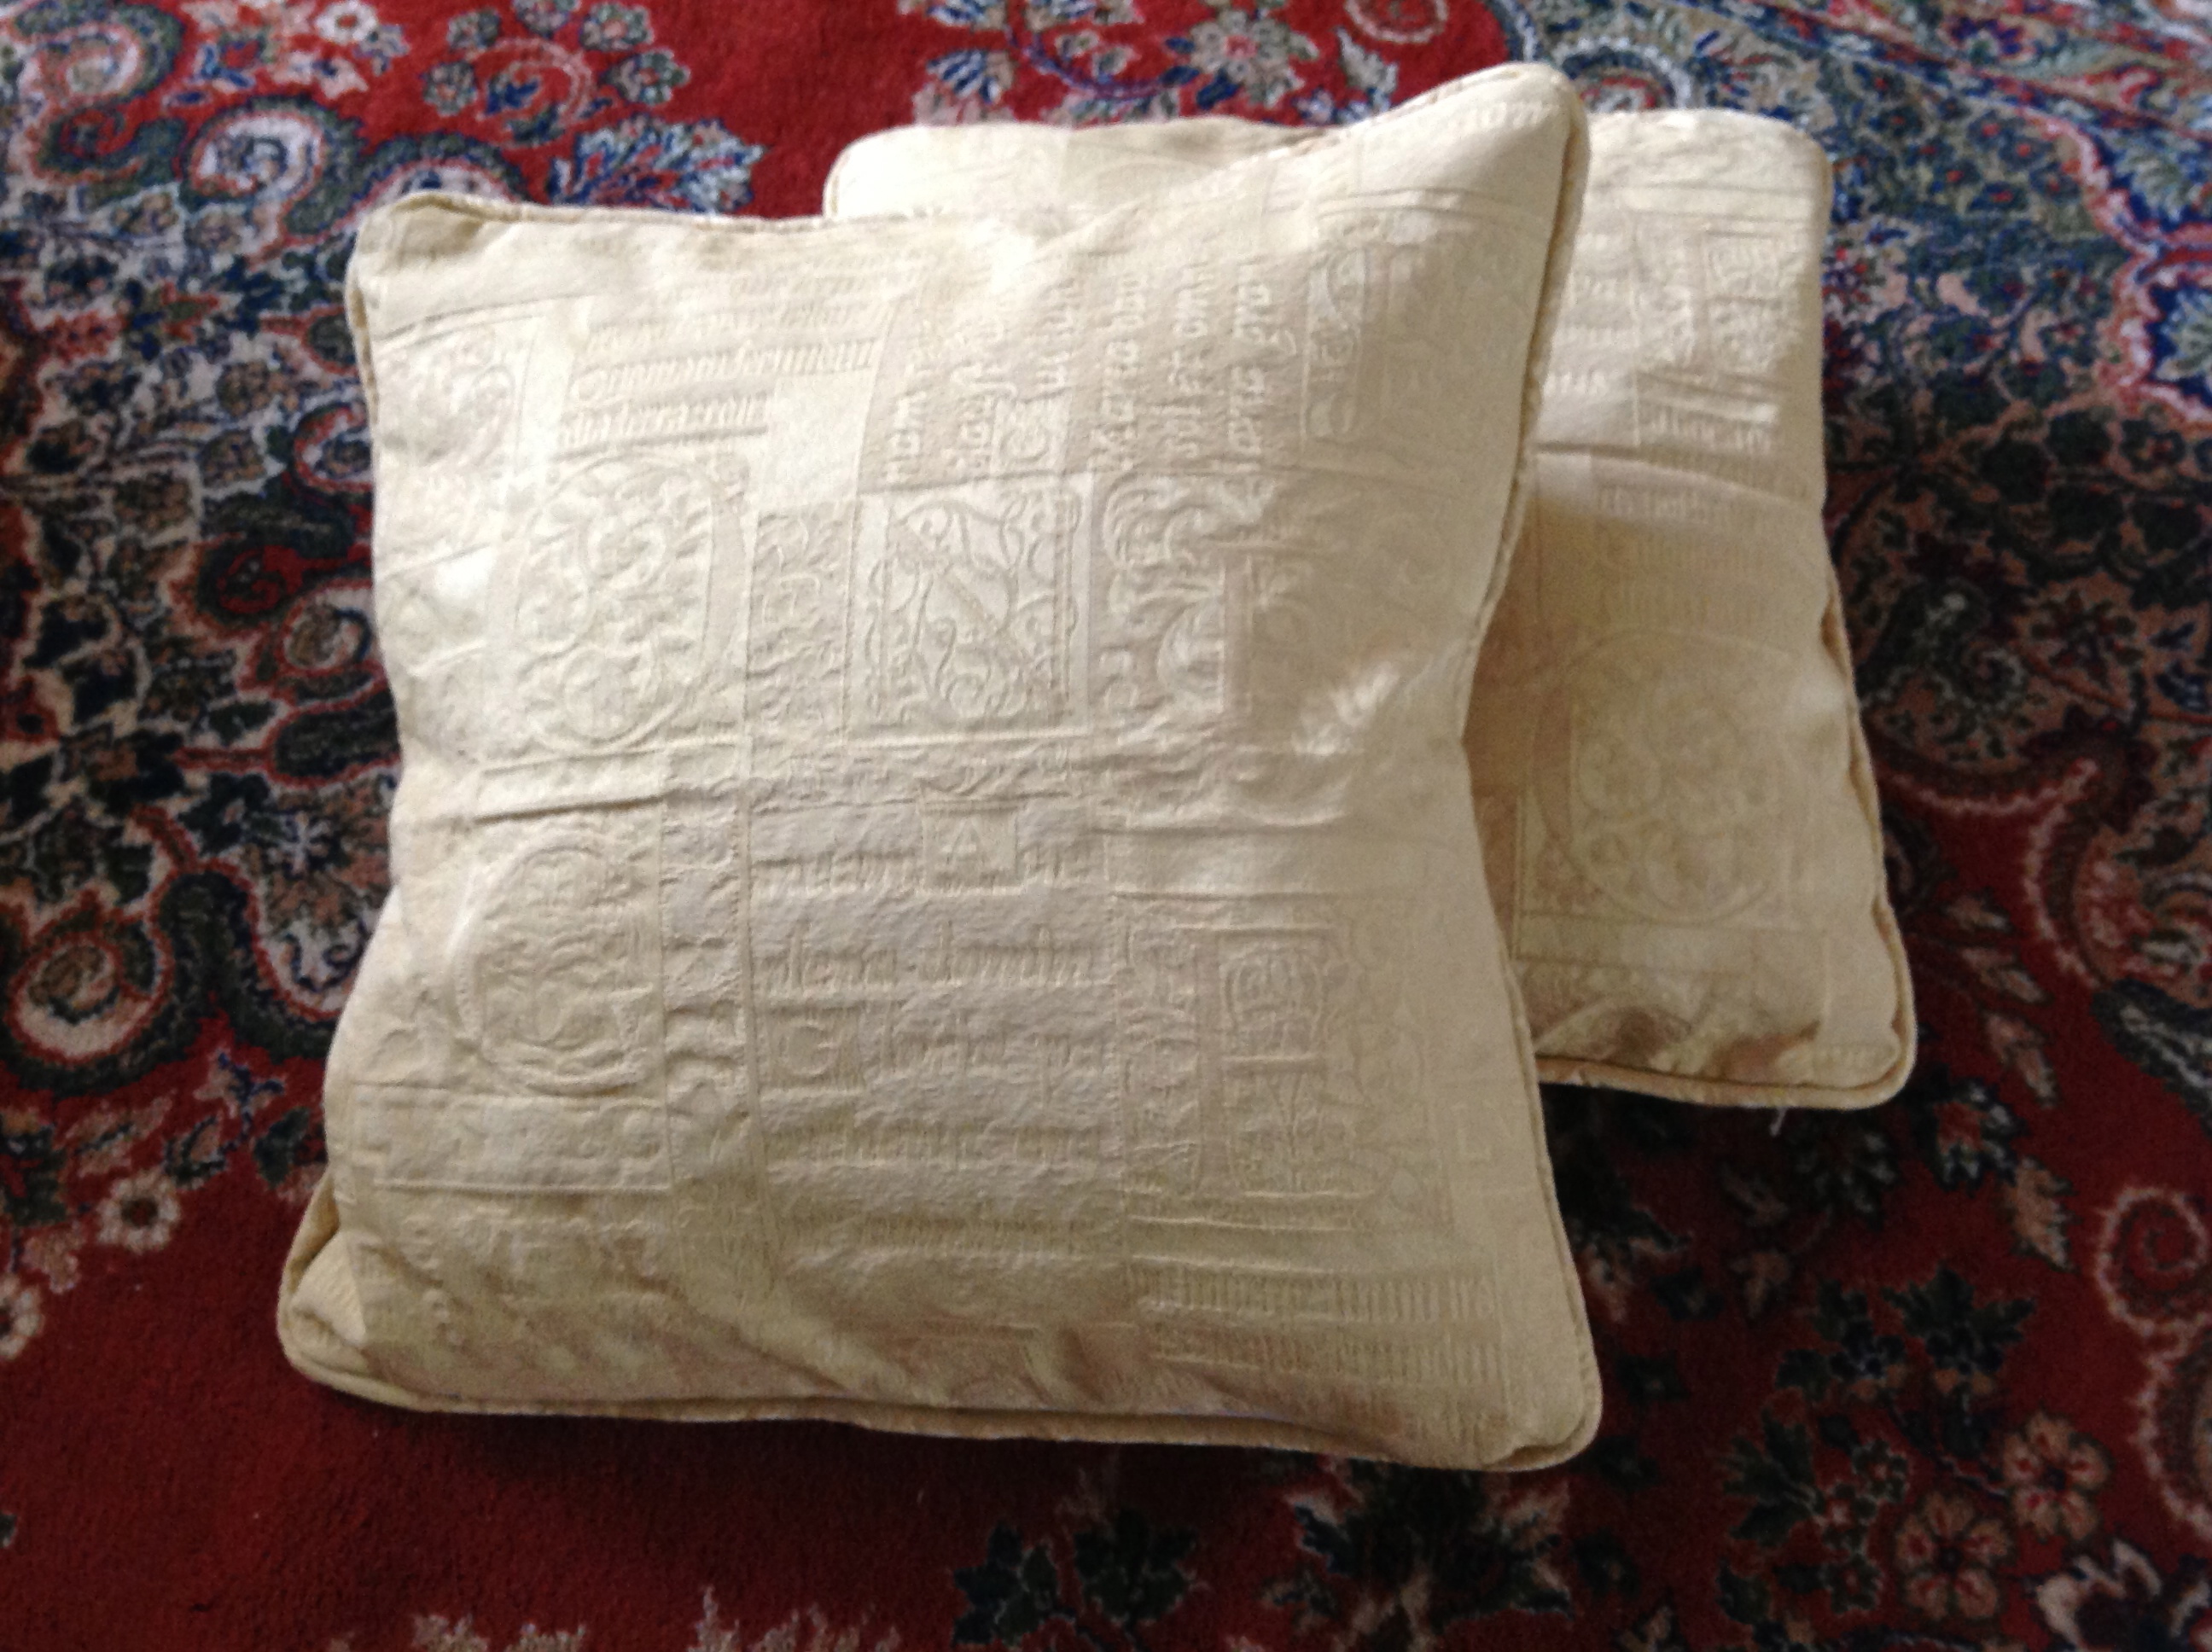
I am happy to report that I have finally finished the two seat cushions for the outside chair I began at the beginning of the summer! It wasn’t the mission I had envisaged and of course, afterwards, I wondered why it had taken me so long to get round to finishing them.

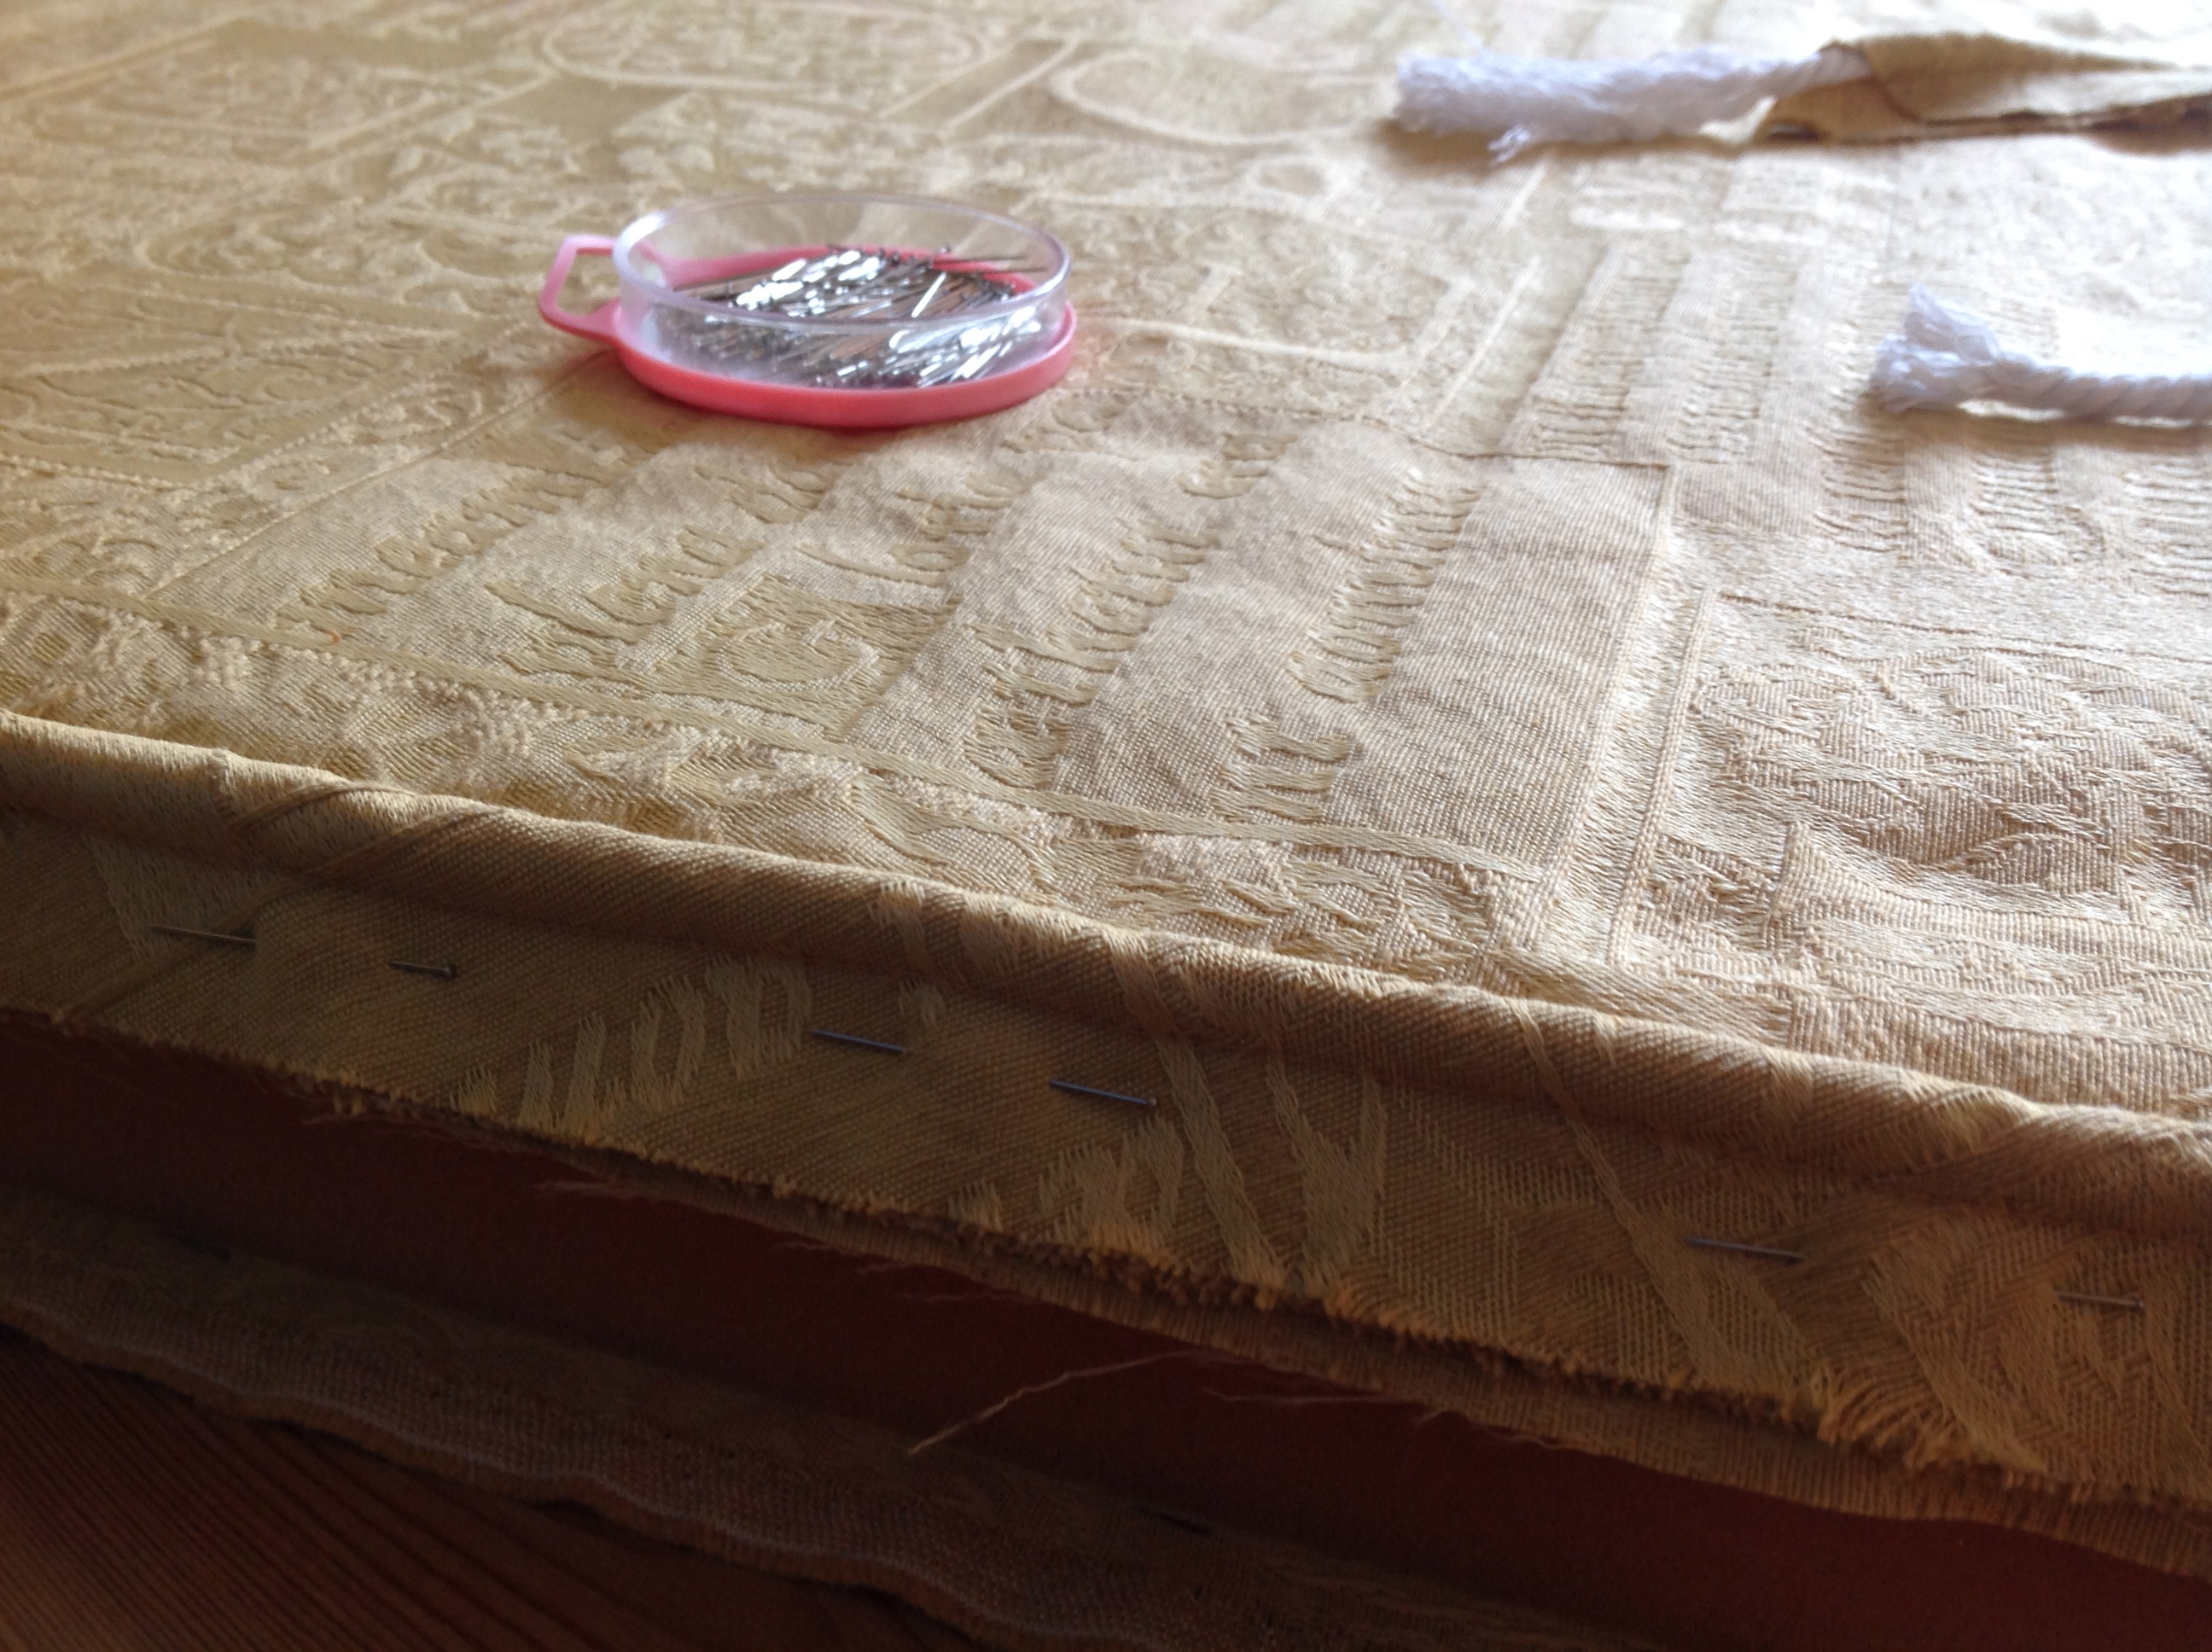
Measuring the chair was the first task. I took care to make sure the repeat in the fabric to the front of the arched back matched the sides (it would be easy to cut a piece from the same fabric – in the same direction – only to find it ran the wrong way when viewed from the side). To do this I had to cut two strips along the length of the fabric (vertical) thus creating a seam from front to back along the top of the cushion.

Next I made up the correct length of piping using strips of fabric cut on the bias and piped through with cord. I sewed the piping to the front panels of each cushion before attaching the zips on the relevant rear/bottom panels. Next I sewed the side panels to the front panels (enclosing the piping).

Once the front panels were finished I sewed the remaining piping to the back panels, opened the zips (important!) and then sewed the front sections to the backs (again encasing the piping).

At each step I pinned the fabric in place around the foam and then took out the foam and sewed the pieces in place with my sewing machine. When it came to sewing the front to the back, the zip needed to be open so I could easily fold and remove the foam before sewing the final pieces in place.

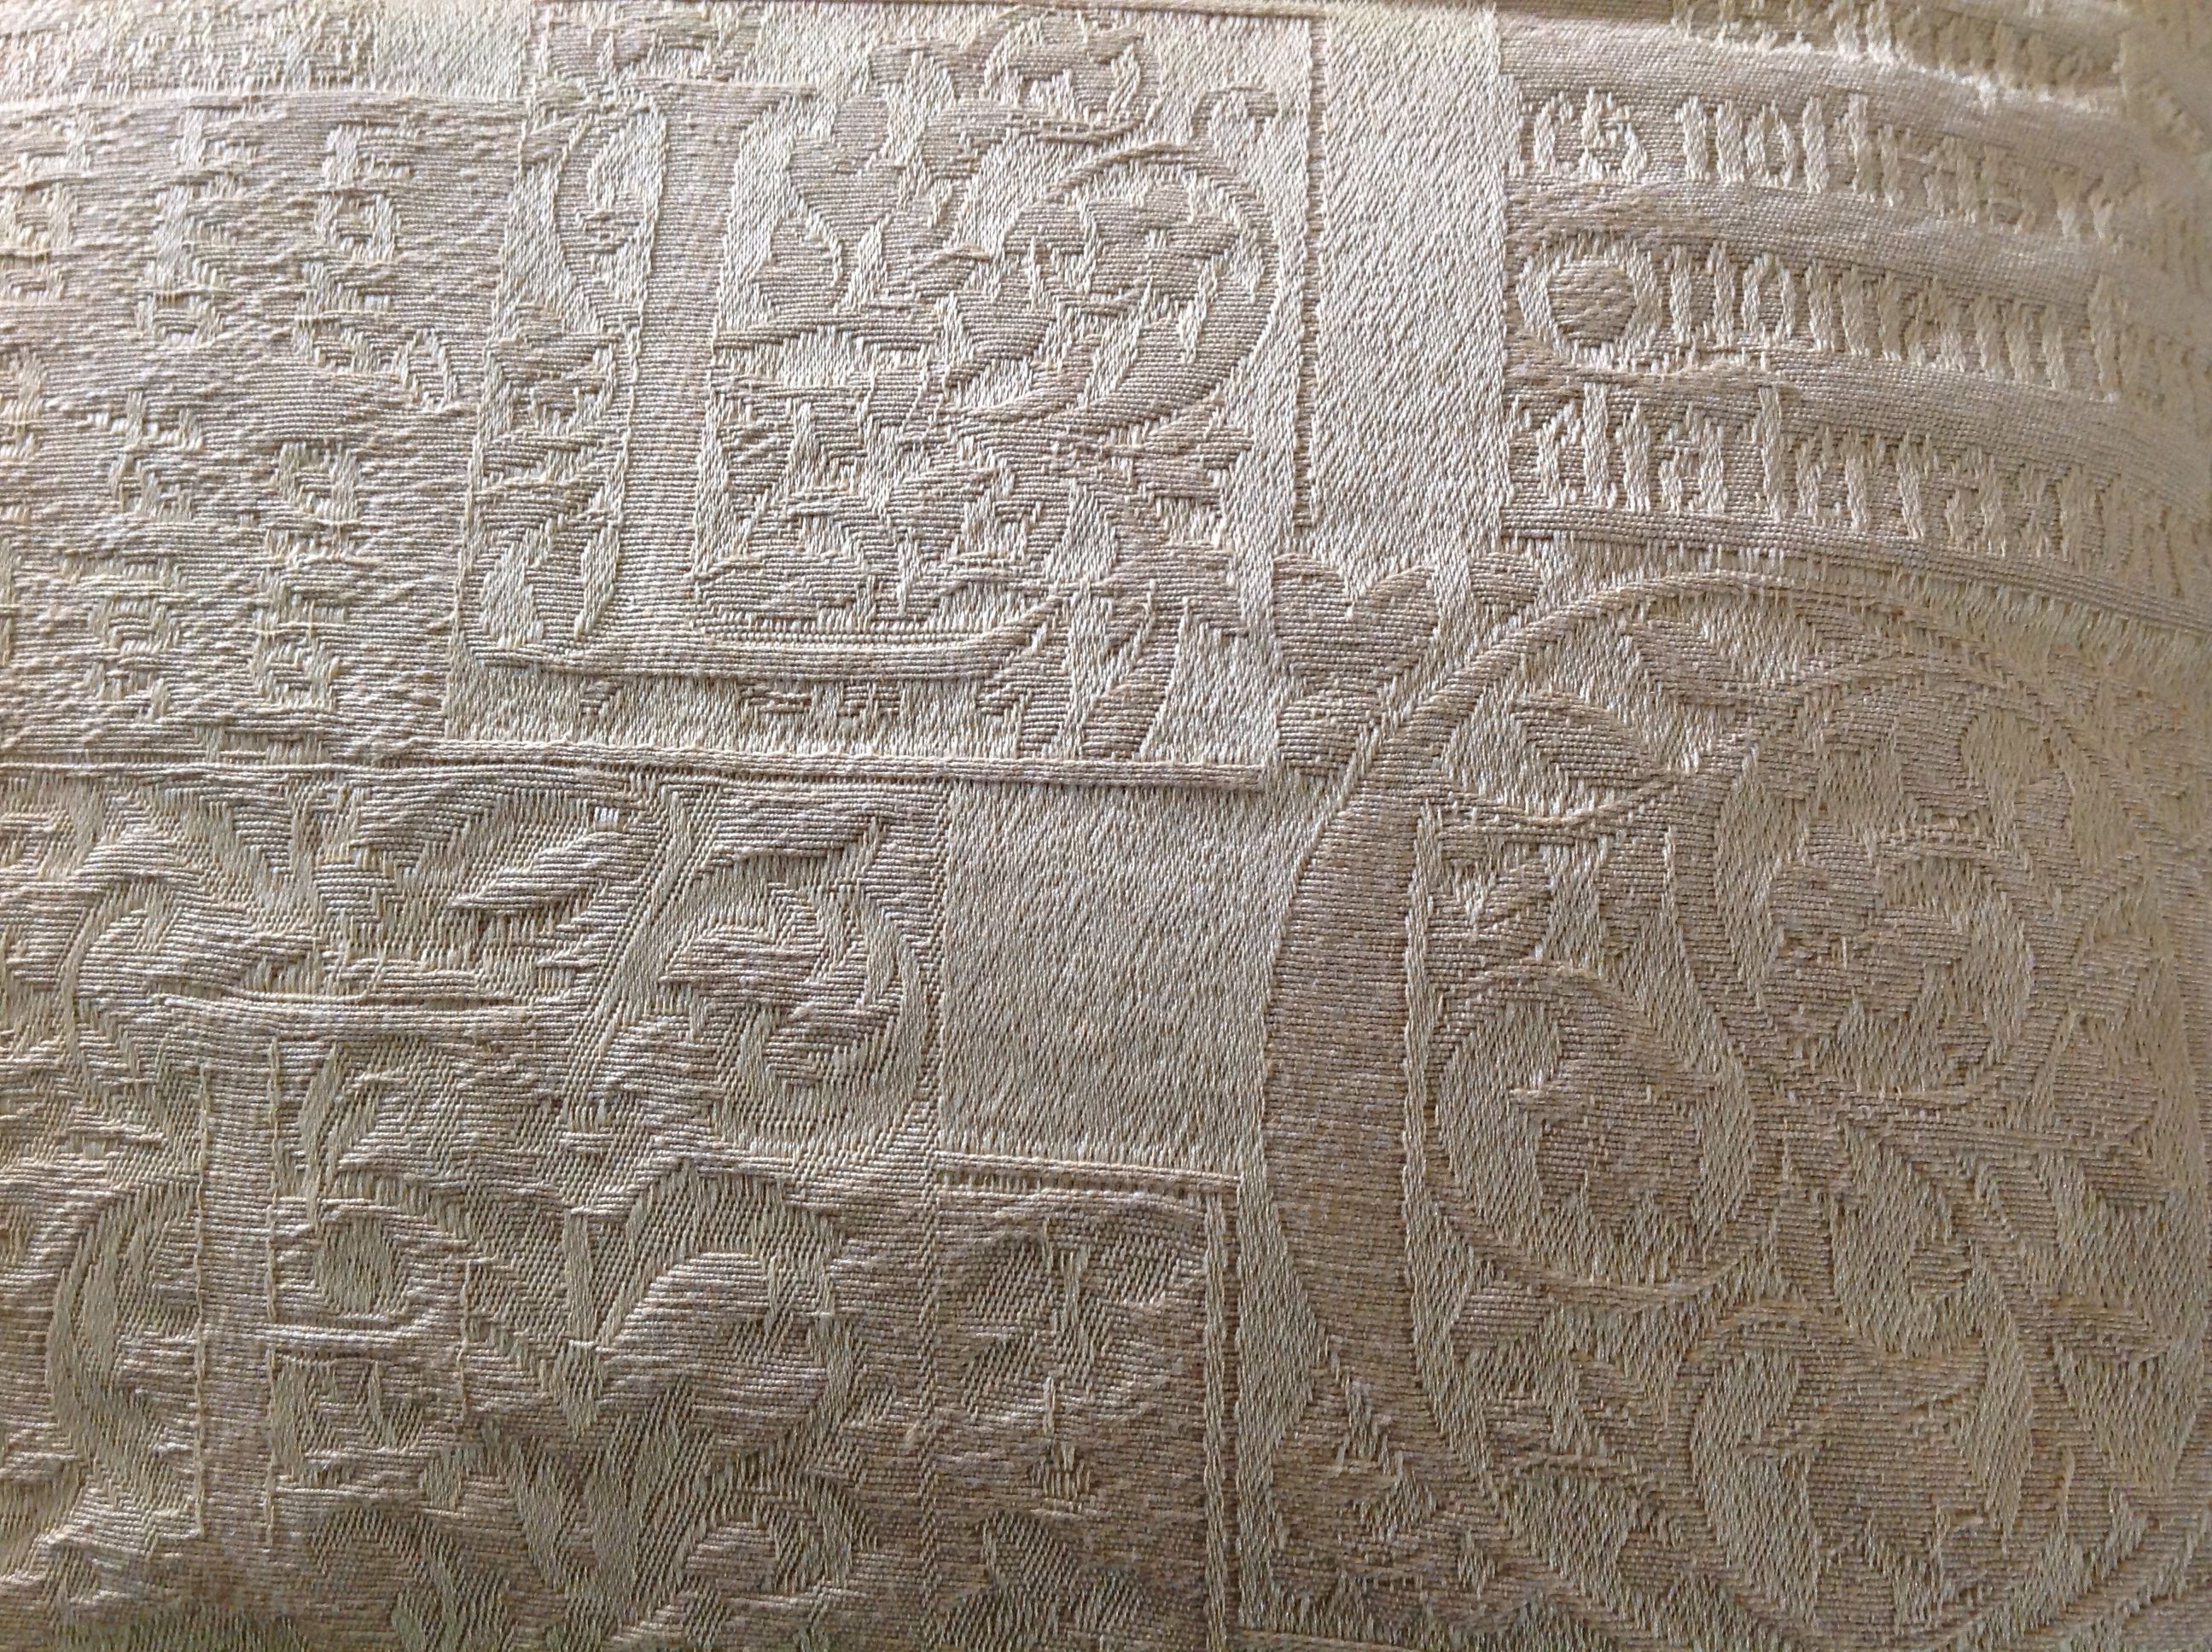
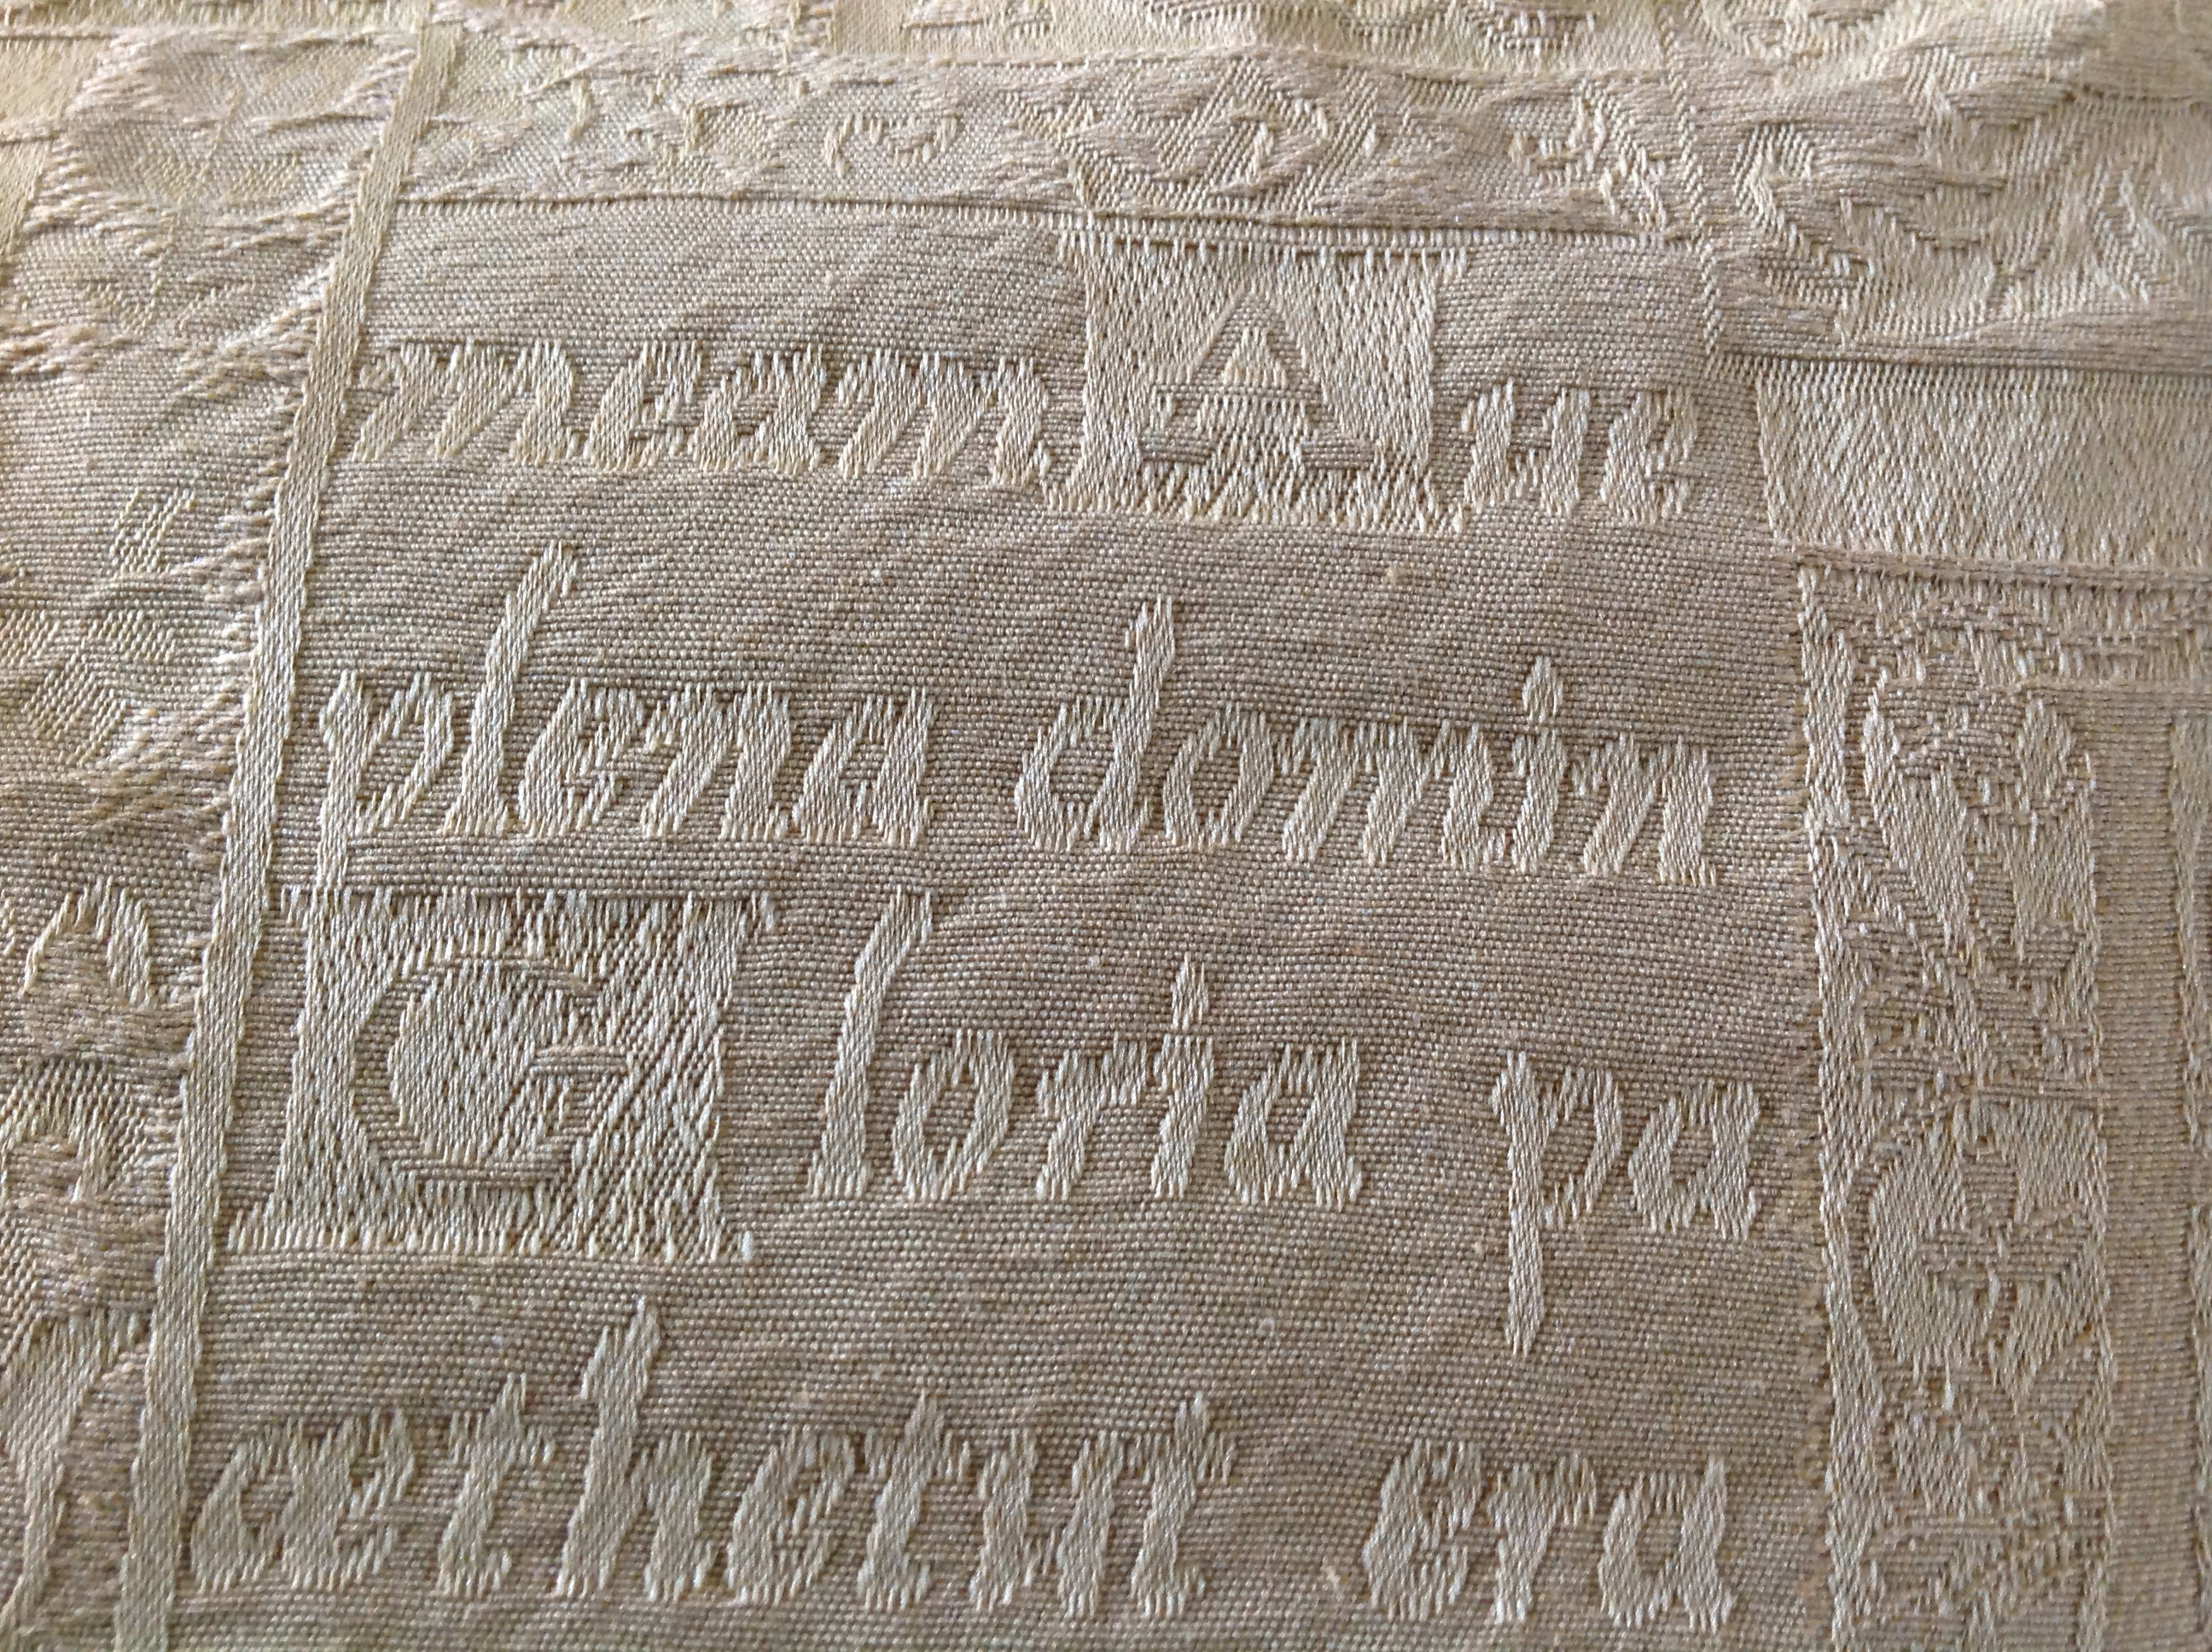
Here are a few pictures of work in progress and the finished result:

IMG_2457  IMG_2456  IMG_2450  IMG_2458

It’s just a shame I didn’t manage to finish the cushions before Autumn set in. SCH

Busy sewing bee

I joined a dressmaking course last month to help me tackle some of the sewing and upholstery projects I have lined up. I will generally have a go at most things but sometimes feel I am missing the basics and would like some formal instruction. By joining the class I hope to perfect different types of seams, get a better understanding of what my sewing machine can do, learn new techniques for making projects look more professional and generally learn the tips of the trade.

IMG_2296

Sample course work: concealed zip

Each week we are covering different seams and basic sewing skills. So far we have sewn a straight seam, French seam, jean seam, corner seam, facing, round and pointed collars, and put in a dart using tailor’s tacks. We have also looked at general machine use, measuring and cutting out fabric, seam allowances, pressing out seams and troubleshooting. During this week’s class we went through the process of adding a zip to a skirt – using both machine and hand tacking, a close top stitch and a ‘quick unpicker’ to reveal the concealed zip.

I have already taken on board this zip technique because over the weekend I needed to make my nine year old nephew a maths-inspired cushion for his bedroom. Before assembling the zip-linked panels I cut out a series of number templates based on images I found on the internet and used a wide zig-zag stitch to fix them to the front panel using the same colour cotton thread.

IMG_2361

Attaching numbers

A cushion, it seems, is no more tricky than a skirt; you just have to remember to open the zip before you sew the remaining three sides!

Now that’s done it’s time to tackle the padded cushions for the outside wooden chair – I keep putting this project off because I need to find an implement to cut through foam. Apparently an electric carving knife (used for cutting the Christmas turkey) works well. I will report back soon on that particular success (or failure)! SCH

Upholstery course: day one

Given my penchant for auction bargains, I have been really keen to learn the skills involved in furniture upholstery. I often see tired looking sofas, chairs, stools, etc. that have lovely forms but have seen better days; wishing I had the confidence to buy them and transform them into something incredible.

On Saturday I was given that chance at a local one day workshop. I was asked to take along a small project so chose a small stool with Queen Anne legs and a sprung seat. The fabric was long gone and the stool looked a sorry state so most of the day was spent removing tacks, mending the woodwork and bandaging the wood so it was ready to take more staples and tacks. Here are some photos from the day… there’s still a lot to do including seven more layers until the stool resembles the original. The final fabric seems to be incidental!

image  IMG_2218  image  IMG_2255  image  IMG_2261  image  IMG_2273

I now hope to attend a multi-week course so I can finish the stool and move onto other projects that may benefit The Little Grange. SCH

Piped cushions for an old wooden garden chair

I am planning a relatively straight forward upholstery project… fabric-covered foam cushions for an old wooden garden chair. The chair is Adirondack by design so I will need to take careful measurements to ensure the cushions fit snugly.  The covers will be made from a weighty cream patterned material and will be piped around the top and bottom edges.

To test how well the material performs I have just finished making two regular piped cushions which will probably end up on an inside chair/sofa rather than the completed garden chair, but it was good practice! Now… to those fabric-covered foam cushions… SCH

IMG_0753  IMG_0751  IMG_0742  IMG_0748