How to make extra-long curtains from two standard pairs

One of the biggest decoration challenges at Le Manoir Saint Gervais has been finding curtains to fit the enormous windows… there are ten of them! The drop (from pole to approx. 5cm from the floor) is 310cm. It would have been possible to buy made-to-measure curtains, however, with ten windows it starts to get a little pricy and I really wanted to make my own!

I looked in local shops and online for fabric but couldn’t see anything that would work. I then found some ready-made vintage floral curtains and thought I would have a go at deconstructing a couple of pairs to recreate the length I needed.

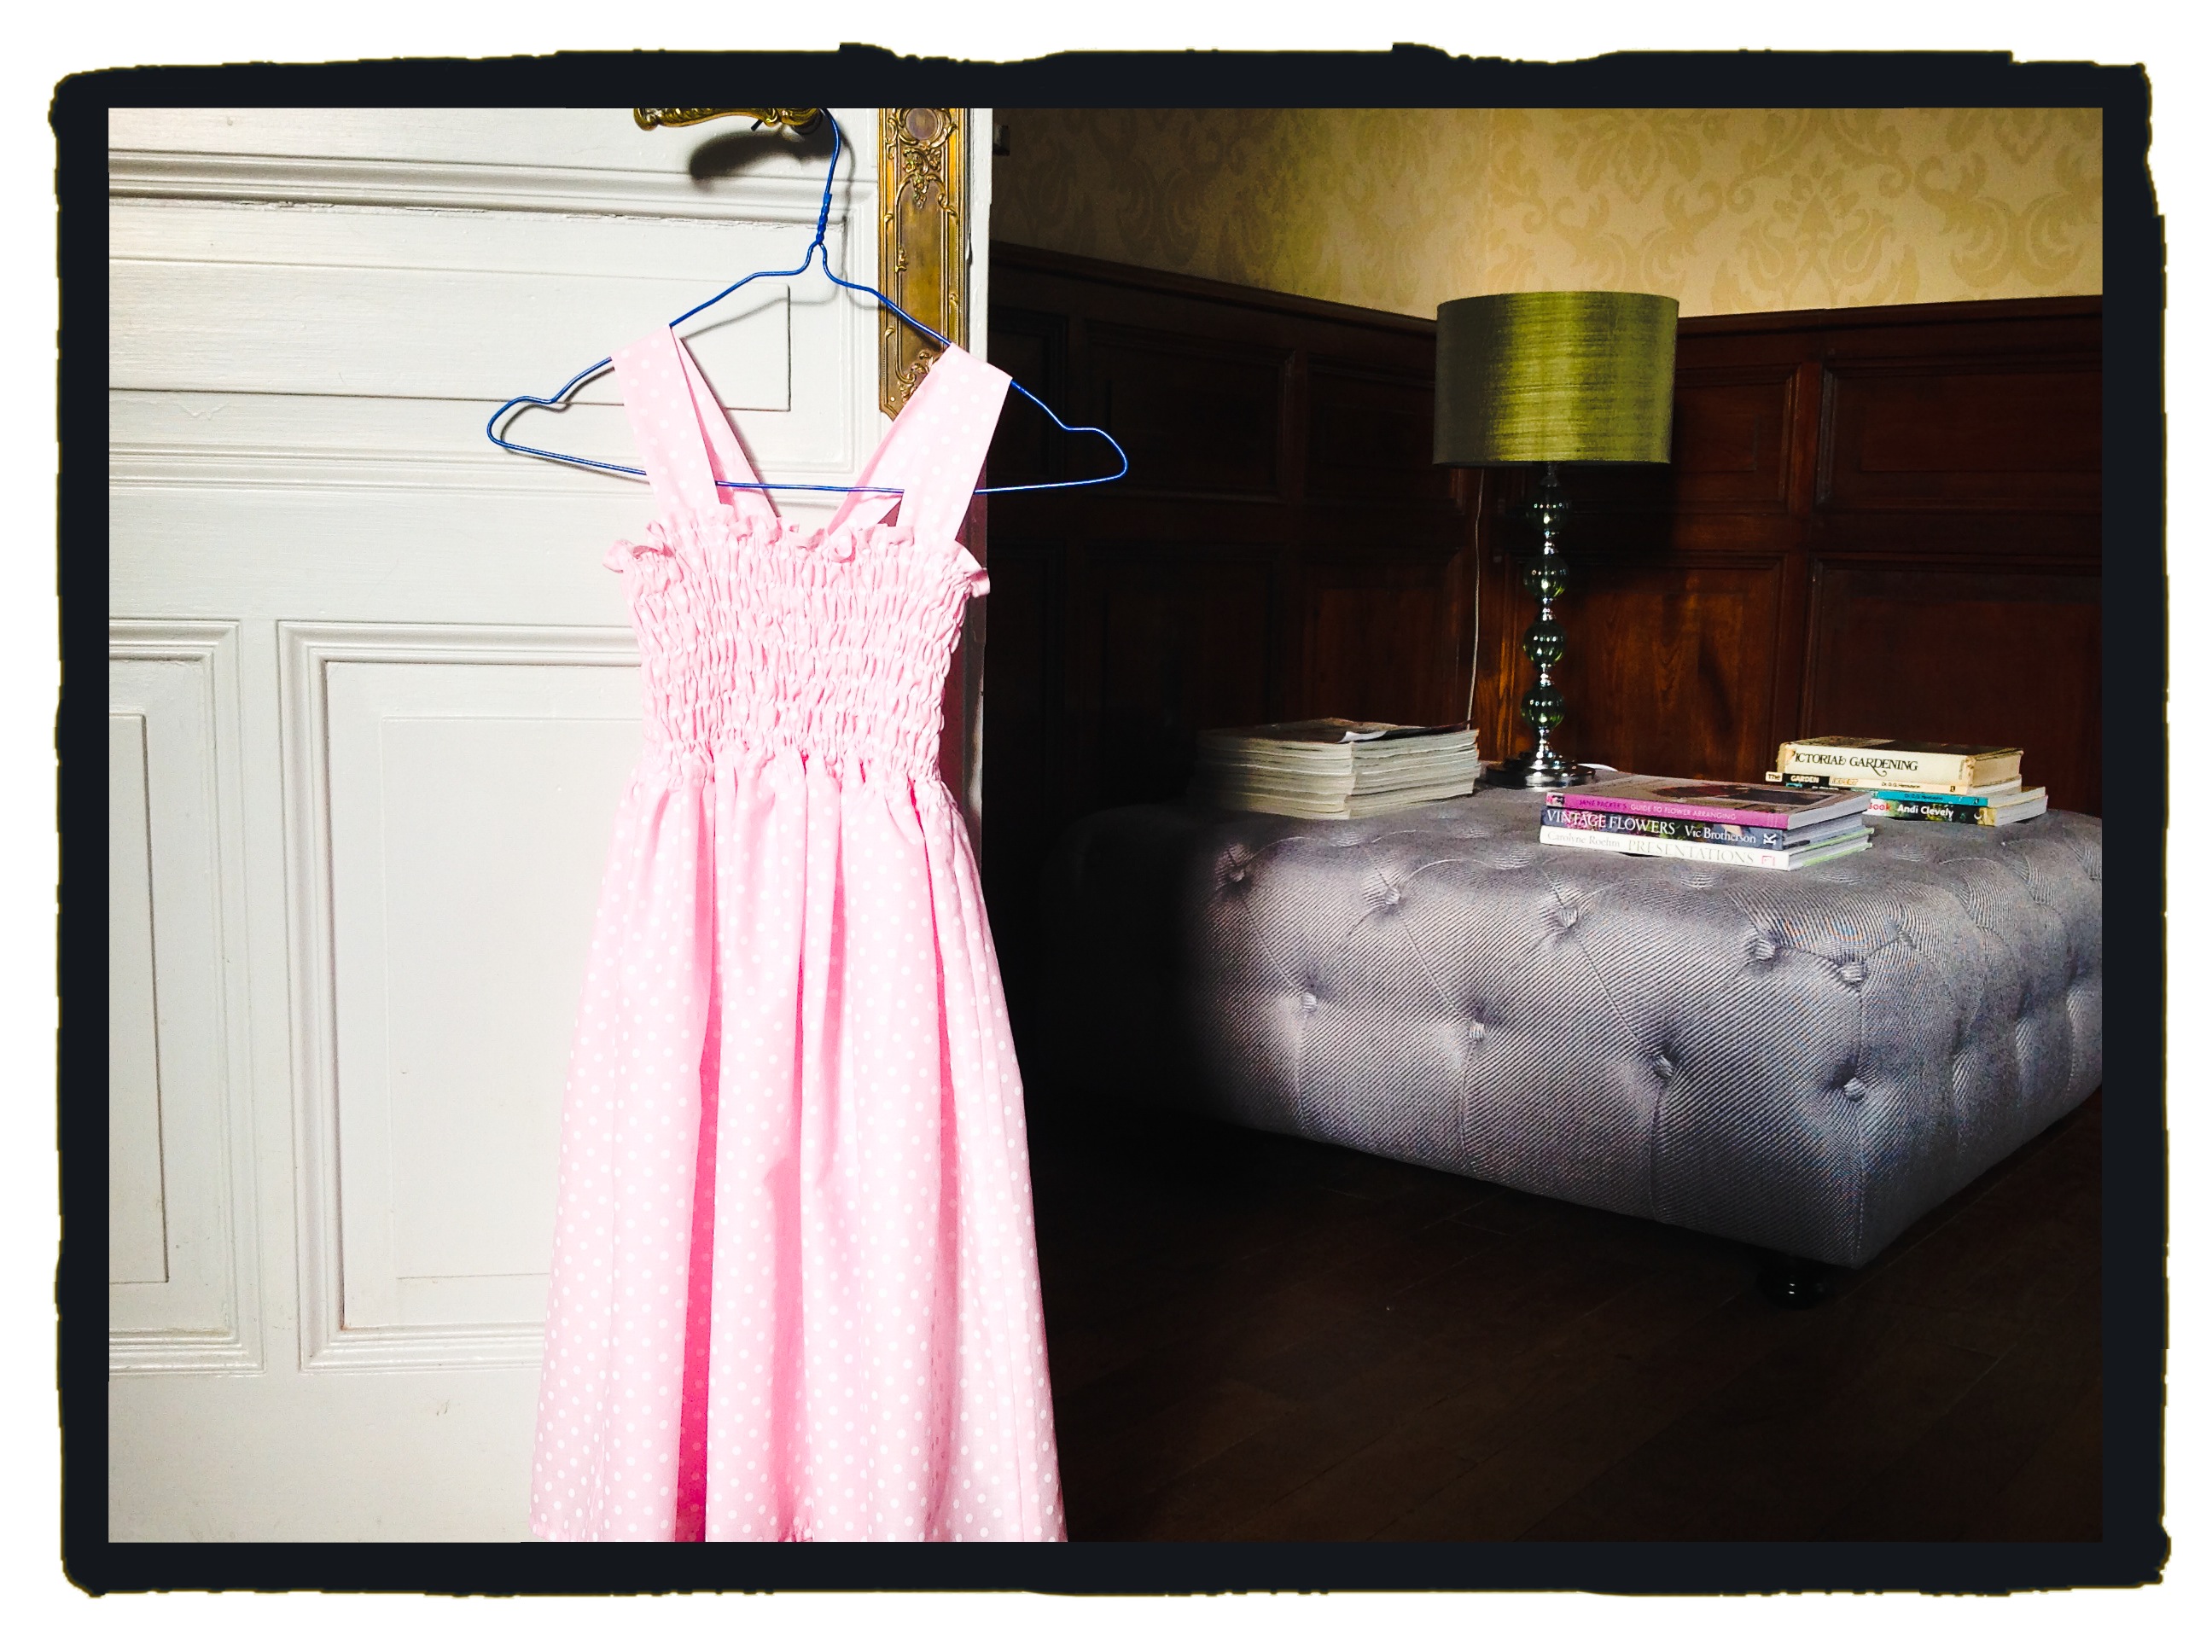
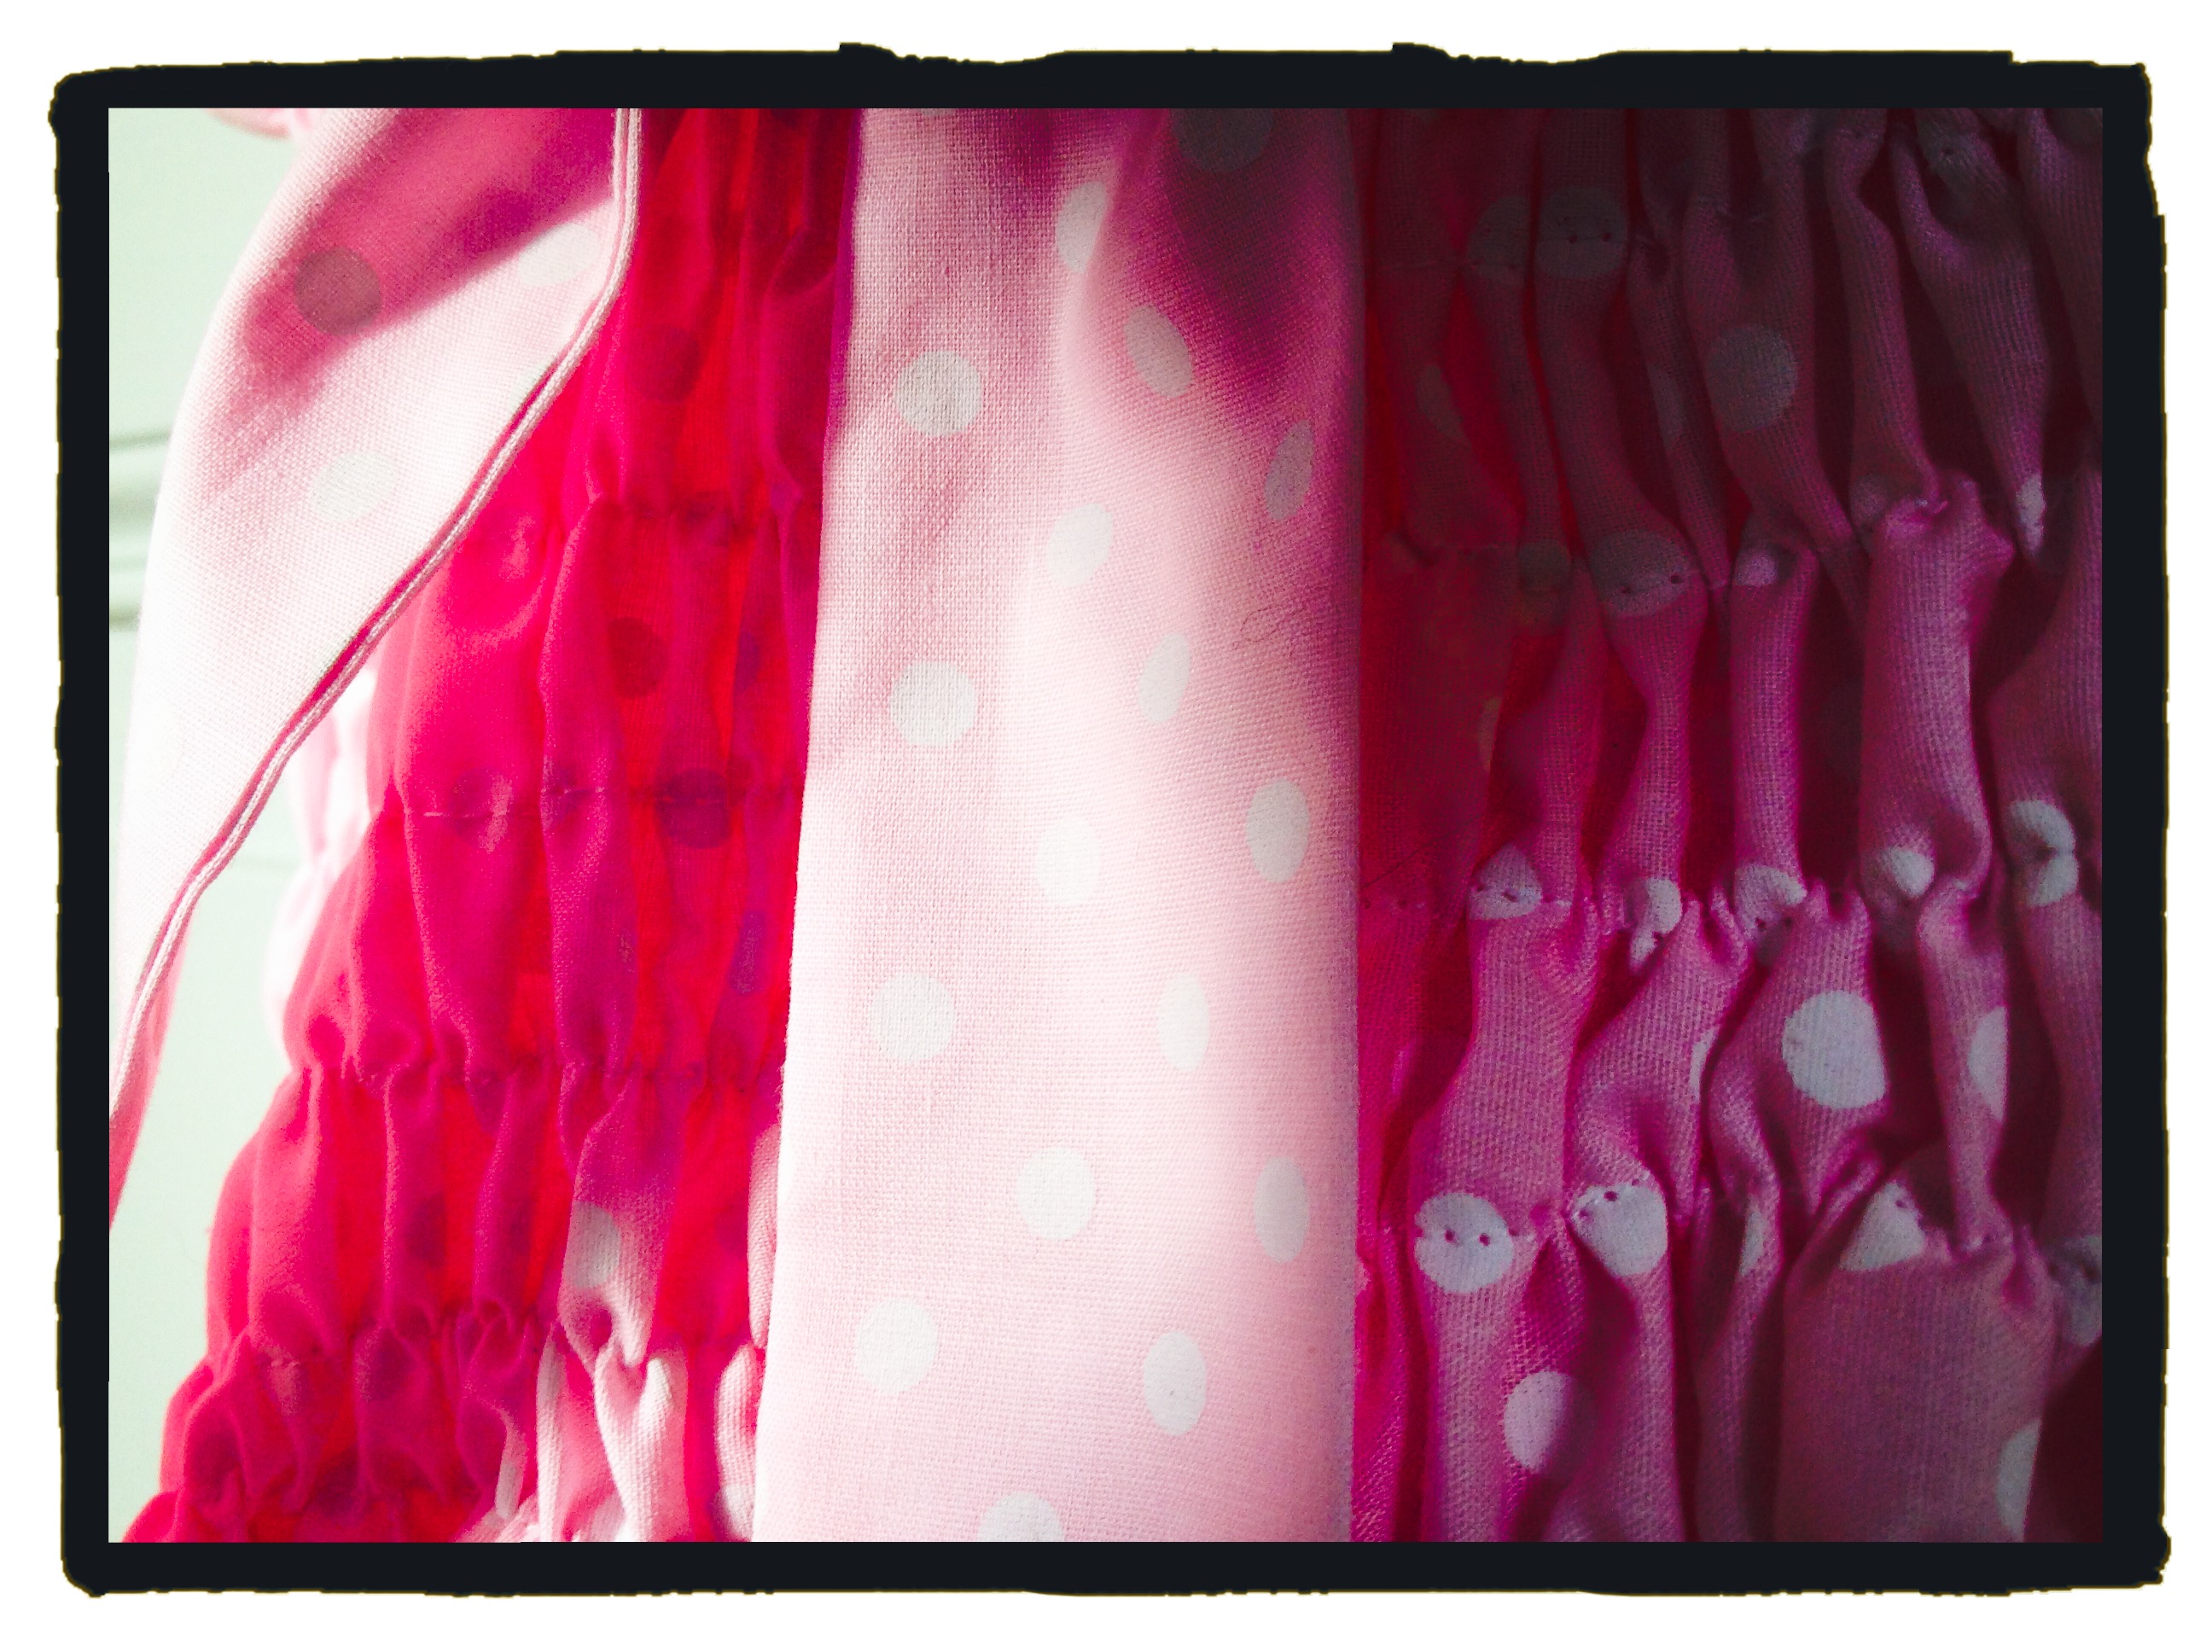
It was a bit of an experiment: I used one long pair and added a second, shorter pair of the same width. Despite a faint seam across the lower half of the curtains (which is difficult to see because I was able to pattern match) I am very pleased with the overall result:

IMG_7447IMG_7446IMG_7441IMG_7442IMG_7445IMG_7444IMG_7423IMG_7474

If you would like to do the same, follow the 10 steps below. It took me less than a day to plan, unpick, pin, sew, finish and iron one pair of lined curtains:

You will need:

– 1 pair of the longest curtains you can find (e.g. standard drop of 228cm).

– 1 pair of shorter curtains (e.g. drop of 137cm).

 NB: both pairs should be the same width (e.g. mine were 117cm wide).

Method:

Step 1: Work out your measurements: these were mine:

– Total drop needed for both curtain panels: 313cm (310cm plus 3cm for French seam allowance in shorter curtain)

– Longer curtain panels: 228cm (228cm)

– Shorter curtain panels: 85cm (82cm plus 3cm French seam allowance)

Step 2: Shorter curtain panels: keeping the bottom hems of the lining and fabric together, measure up to 85cm and cut off the top part containing the heading tape (cut through both the lining and fabric – you may want to pin it together first to stop it slipping). Note: the hemmed end of the lining will be a little shorter than the fabric.

Step 3: Shorter curtain panels: using a quick unpicker, remove the lining from the fabric; lay aside both pieces.

Step 4: Longer curtain panels: using a quick unpicker, and starting from the hemmed bottom, remove the lining from the fabric for approx. 20cm. Note: you could remove the lining all the way up to the heading tape but I found this was unnecessary.

Step 5: Longer curtain panels (front fabric): using a quick unpicker, unpick the hem and unfold. Now cut along the fold line that formed the original bottom edge of the curtain. Note: your curtain panel should remain the same length, e.g. 228cm long, and will contain the heading tape. The reason for unpicking and cutting away the original hem is to reduce possible bulk when attaching the bottom curtain panel.

Step 6: Using the French seam method (front fabric): place the wrong side of the fabric together and sew 1.5cm from the raw edges. Trim to 0.5cm and finger press/iron the seam.

Step 7: Still working with the same piece of fabric: turn the fabric over so that the right sides of the fabric are now facing each other. Next sew 1.5cm from the edges. You should have a neat seam at the front and a tube at the back of the curtain, which conceals any frayed edges.

Step 8: Now working with the lining: repeat steps 5-7.

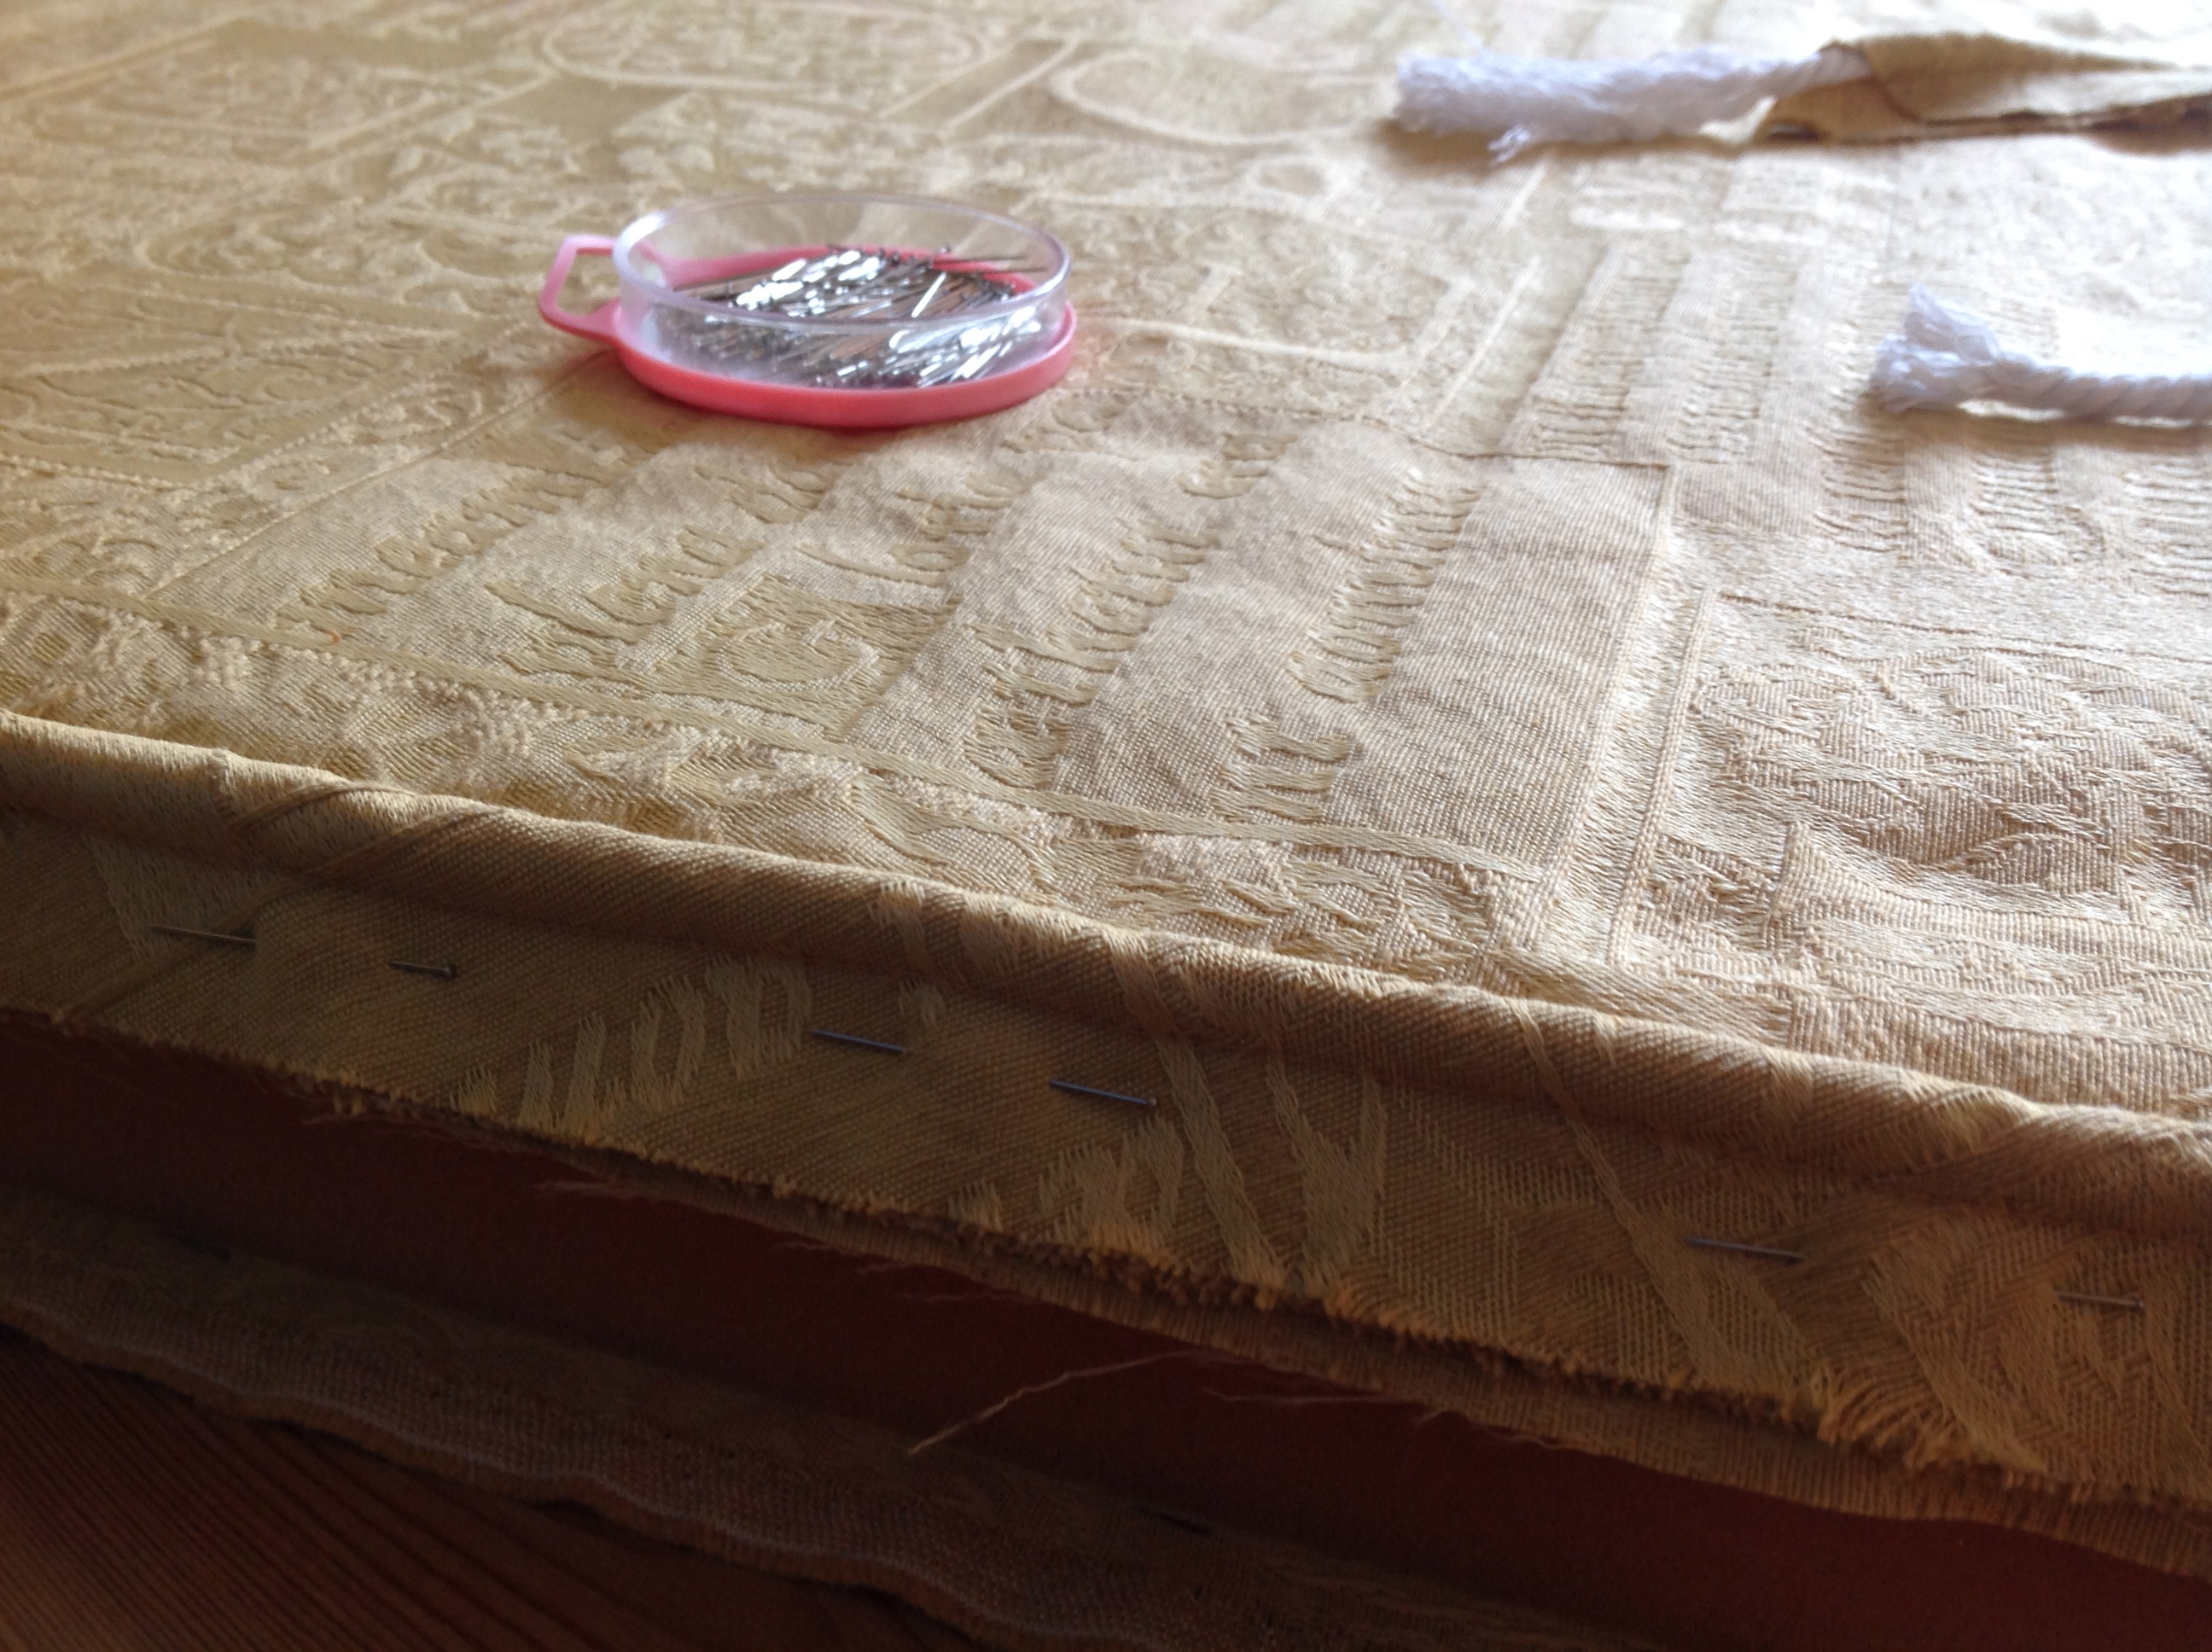
Step 9: Side seams: turn the curtain (lining and fabric) inside out and pin both side edges together. Sew along the line of the original seam (approx. 0.5cm from outer edge).

Step 10: Finishing: turn the fabric right side out and finish off each bottom corner (hand stitch or machine stitch on the diagonal). Iron curtains and hang.

This method is much faster than making curtains from scratch (i.e the heading tape is already in place) and can be very economical if you are able to buy ready-made curtains in the sales. For example, the average cost of fabric by the meter is £20 and I would have needed six and a half meters at least, per window (not including the lining or heading tape). By contrast, the total cost of these curtains was just under £45; a saving of £85 per window. SCH

Garments and gifts: little girl’s shirred summer dress

This is a really easy and gorgeous summer dress that is available as a free pattern from www.favecrafts.com.

Note: the instructions didn’t come with any measurements but by reading the comments section of the website you will be directed to the sizing guide below:

Girls twirl dress measurements birth to 4 yrs Girls twirl dress 5 to 10 yrs IMG_5158 IMG_5159

I chose a fresh pink polka dot print for my eight year old niece. I took her measurements beforehand and cut out the fabric according to the online instructions and the sizing guide.

The dress is made up of six oblong fabric pieces: two straps; top and bottom front panels; top and bottom back panels. The two top pieces require shirring which is relatively straight forward so long as you wind the shirring elastic nice and tight around the bobbin (but not too tight!).The dress is secured at the back through a ribbon loop and a tied bow.

If you would like to make the dress yourself in a fun and inspiring workshop we will be covering it in our Garments and Gifts workshops at Le Manoir Saint Gervais. SCH.

Here is the finished garment – it took around a day to complete. SCH.

IMG_5296 IMG_5294 IMG_5295 IMG_5297

The Great British Sewing Bee is back

I was really happy to see The Great British Sewing Bee back on our screens this week having recently completed a ten week dressmaking course, and now being in the middle of another term. The programme didn’t disappoint; ten new contestants of varying personalities, sewing experience and creative styles; three different sewing tasks; three types of common fabric: cotton, wool and silk.

Task one: a simple sleeveless, round-neck top in cotton / Task two: repurposing an ankle-length woollen skirt / Task three: making a made-to-measure silk nightie.

IMG_3962 IMG_3964 IMG_3967 IMG_3970 IMG_3971 IMG_3973 IMG_3975 IMG_3979

It’s amazing how many skills and techniques were covered by those three tasks in week one. Here are just a few that I jotted down:

  1. – Choosing the right fabric for the type of garment
  2. – Understanding how to treat / work with different fabrics
  3. – Measuring models and transferring measurements to patterns
  4. – Accurately marking, pinning and cutting out patterns
  5. – Matching fabric patterns (especially where it meets in the middle of a garment)
  6. – Adding darts / understanding body contours
  7. – Hand stitching (ladder stitch, etc.)
  8. – Understitching (e.g. necklines)
  9. – Rolling hems
  10. – Applying trims (e.g. lace)
  11. – Adding drama/impact
  12. – Following instructions and mManaging your time!

What have I missed out? Next week I’m sure the BBC will up the difficulty level. SCH

Upholstery course: day two

This is a progress update on the small stool I began re-upholstering last year (well, dismantling more like)!

I realised quite quickly that we had stapled the webbing to the wrong side of the chair last time round (fine if you are planning to build the seat up without springs – not so good if you have old springs to replace). So I began by taking off the webbing, cleaning up the woodwork and reapplying the webbing to the correct (under)side.

Next it was time to hand sew the springs to the webbing and create a sprung unit from the five springs by coercing them together with string. Then I nailed a layer of hessian to the frame – over the top of the springs – and hand sewed the springs under the fabric by ‘feel’.

That took most of the morning which meant the afternoon was spent hand sewing little cord pockets for the synthetic filling which would be tucked in to create part of the seat padding. The final step was to add another piece of hessian and secure with temporary tacks.

IMG_3719 IMG_3721 IMG_3723 IMG_3726 IMG_3733 IMG_3735IMG_3736 IMG_3738 IMG_3741 IMG_3742 IMG_3746 IMG_3751

This is as far as I got in seven hours. I am hoping that one more course day may bring me closer to the actual fabric cover! SCH

Fabric-covered foam cushions for the Adirondack chair

I am happy to report that I have finally finished the two seat cushions for the outside chair I began at the beginning of the summer! It wasn’t the mission I had envisaged and of course, afterwards, I wondered why it had taken me so long to get round to finishing them.

Measuring the chair was the first task. I took care to make sure the repeat in the fabric to the front of the arched back matched the sides (it would be easy to cut a piece from the same fabric – in the same direction – only to find it ran the wrong way when viewed from the side). To do this I had to cut two strips along the length of the fabric (vertical) thus creating a seam from front to back along the top of the cushion.

Next I made up the correct length of piping using strips of fabric cut on the bias and piped through with cord. I sewed the piping to the front panels of each cushion before attaching the zips on the relevant rear/bottom panels. Next I sewed the side panels to the front panels (enclosing the piping).

Once the front panels were finished I sewed the remaining piping to the back panels, opened the zips (important!) and then sewed the front sections to the backs (again encasing the piping).

At each step I pinned the fabric in place around the foam and then took out the foam and sewed the pieces in place with my sewing machine. When it came to sewing the front to the back, the zip needed to be open so I could easily fold and remove the foam before sewing the final pieces in place.

Here are a few pictures of work in progress and the finished result:

IMG_2457  IMG_2456  IMG_2450  IMG_2458

It’s just a shame I didn’t manage to finish the cushions before Autumn set in. SCH

Busy sewing bee

I joined a dressmaking course last month to help me tackle some of the sewing and upholstery projects I have lined up. I will generally have a go at most things but sometimes feel I am missing the basics and would like some formal instruction. By joining the class I hope to perfect different types of seams, get a better understanding of what my sewing machine can do, learn new techniques for making projects look more professional and generally learn the tips of the trade.

IMG_2296

Sample course work: concealed zip

Each week we are covering different seams and basic sewing skills. So far we have sewn a straight seam, French seam, jean seam, corner seam, facing, round and pointed collars, and put in a dart using tailor’s tacks. We have also looked at general machine use, measuring and cutting out fabric, seam allowances, pressing out seams and troubleshooting. During this week’s class we went through the process of adding a zip to a skirt – using both machine and hand tacking, a close top stitch and a ‘quick unpicker’ to reveal the concealed zip.

I have already taken on board this zip technique because over the weekend I needed to make my nine year old nephew a maths-inspired cushion for his bedroom. Before assembling the zip-linked panels I cut out a series of number templates based on images I found on the internet and used a wide zig-zag stitch to fix them to the front panel using the same colour cotton thread.

IMG_2361

Attaching numbers

A cushion, it seems, is no more tricky than a skirt; you just have to remember to open the zip before you sew the remaining three sides!

Now that’s done it’s time to tackle the padded cushions for the outside wooden chair – I keep putting this project off because I need to find an implement to cut through foam. Apparently an electric carving knife (used for cutting the Christmas turkey) works well. I will report back soon on that particular success (or failure)! SCH

Upholstery course: day one

Given my penchant for auction bargains, I have been really keen to learn the skills involved in furniture upholstery. I often see tired looking sofas, chairs, stools, etc. that have lovely forms but have seen better days; wishing I had the confidence to buy them and transform them into something incredible.

On Saturday I was given that chance at a local one day workshop. I was asked to take along a small project so chose a small stool with Queen Anne legs and a sprung seat. The fabric was long gone and the stool looked a sorry state so most of the day was spent removing tacks, mending the woodwork and bandaging the wood so it was ready to take more staples and tacks. Here are some photos from the day… there’s still a lot to do including seven more layers until the stool resembles the original. The final fabric seems to be incidental!

image  IMG_2218  image  IMG_2255  image  IMG_2261  image  IMG_2273

I now hope to attend a multi-week course so I can finish the stool and move onto other projects that may benefit The Little Grange. SCH

Piped cushions for an old wooden garden chair

I am planning a relatively straight forward upholstery project… fabric-covered foam cushions for an old wooden garden chair. The chair is Adirondack by design so I will need to take careful measurements to ensure the cushions fit snugly.  The covers will be made from a weighty cream patterned material and will be piped around the top and bottom edges.

To test how well the material performs I have just finished making two regular piped cushions which will probably end up on an inside chair/sofa rather than the completed garden chair, but it was good practice! Now… to those fabric-covered foam cushions… SCH

IMG_0753  IMG_0751  IMG_0742  IMG_0748

Apron making

On Monday, given the bank holiday weekend, I went along to our local market to buy some off-cuts of fabric.  I wasn’t quite sure what I was looking for or what I was going to make but soon found a variety of lightweight, pretty prints. I chose three colours of gingham, a beige polka dot print, pink floral and a nautical boat print.

By chance, the next day I was looking through the kitchen drawers for a tea towel and found a number of old aprons (long and short) from around the 60s which got me thinking… would the floral print work as a short apron?  It would need to be lined as the material was so flimsy, but it would be a relatively straight forward and personalised project for would-be crafters.

So here is the result: a few hours of measuring, cutting, pinning, ironing, sewing and finishing:

IMG_0872  IMG_0876  IMG_0879  IMG_0877

The materials and skills required to make this apron will be covered in the very practical Sewing (garments and gifts) course. SCH