Le Manoir is sporting a cheerful new look

Years of lichen had taken the sparkle off the exterior of the house but following a special treatment, a wash down and a couple of coats of paint the house is now looking more cheerful.

Scaffolding had to be used to reach the top level and also to remove the upstairs shutters which were rotten and in need of replacement… that’s still a job that needs to be done. The downstairs shutters were fine, though, and after a sand and coat of paint were put back.

The front door is the next job… I just can’t decide on a colour! SCH

IMG_8751IMG_8731IMG_8733IMG_8732 IMG_8733IMG_8917IMG_8915IMG_8914

Renovations part three: downstairs guest bathroom

They say it gets worse before it gets better! Who said that?! Dust, dust everywhere and I’m fast losing interest. But there has been progress… the walls are now tile-free and plastered; the floor tiles are all up and the old cement removed ready for the new tiles to go down; the old under-stairs cupboard doors have gone; and the washing machine has been plumbed into its new position under the stairs. Next step sanding and painting. SCH

IMG_6710IMG_6712   IMG_6711 IMG_6432

Kitchen renovations: first stage

The kitchen has had its fair amount of attention over the past few weeks… a damp wall needed to be re-plastered as well as areas where I had removed old kitchen tiles and of course left huge holes.

IMG_6668photo 4photo 2-1photo 3-1photo 2IMG_6727photo 1-1IMG_6725

The plaster has since dried out and I’ve applied two coats of white paint which has freshened up the room. I’ve chosen a copper pendant to hang over the central island and add warmth to the room. There’s still woodwork to finish and the worktops/cabinet doors to change but we’re making progress! The new larder freezer arrived today too so there will be plenty of room to store home-made goodies. SCH

photo 1IMG_6724IMG_6726IMG_6728


Renovations part two: downstairs guest bathroom

Changes to the downstairs bathroom are well underway! We’ve removed the old wall cupboards and washing machine unit, knocked through the wall under the stairs and begun the (long, arduous) task of removing two layers of wall tiles and all the floor tiles.

There has been one small change to the design plan; the toilet is going to move to the side of the old under-stairs door to allow for a streamlined look to the built in units under the window. I have also decided that one sink will not be enough – we need two!

IMG_6333IMG_6340IMG_6334IMG_6336 

Here is the revised rough sketch of how the downstairs guest bathroom will look when finished:

IMG_6344

Colour wise I’m trying to stay away from neutrals… but that’s always tricky to do! SCH

Renovations part one: downstairs guest bathroom

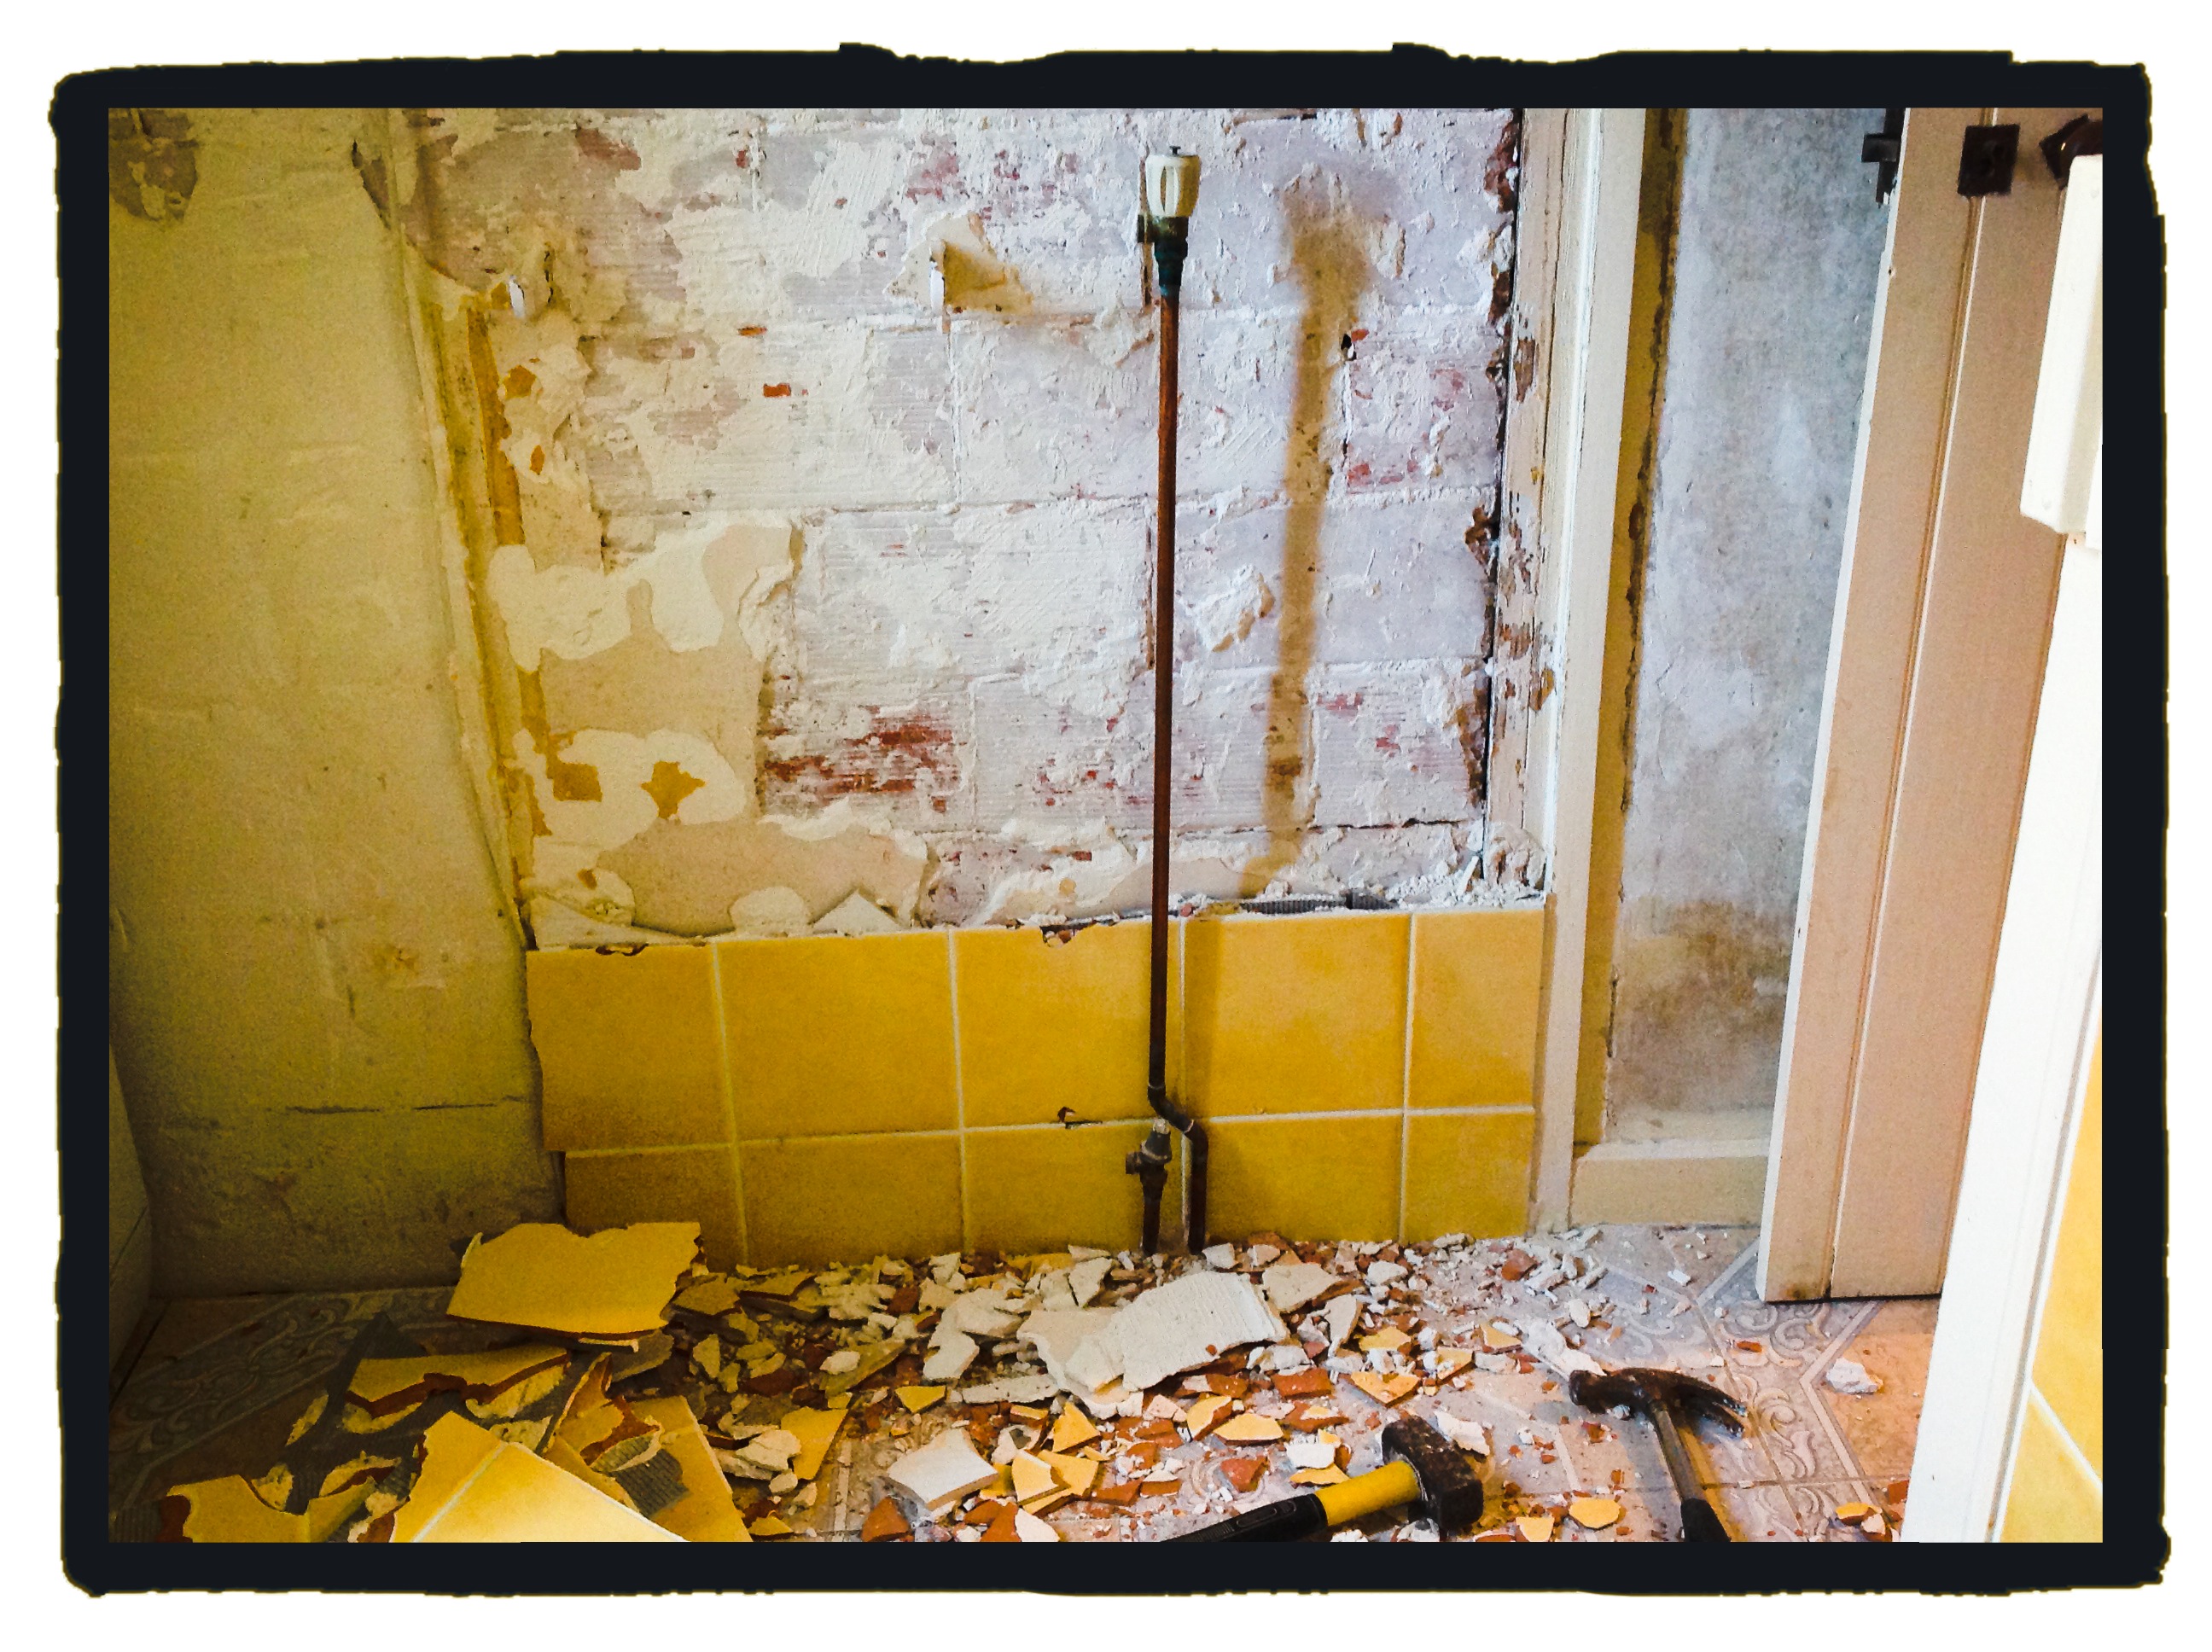
First on the renovation list for autumn 2014 is a downstairs guest bathroom. The current layout of the house means the only option for visiting guests wishing to use the toilet and wash their hands is to use one of the ensuite bathrooms (which means heading upstairs into a bedroom).

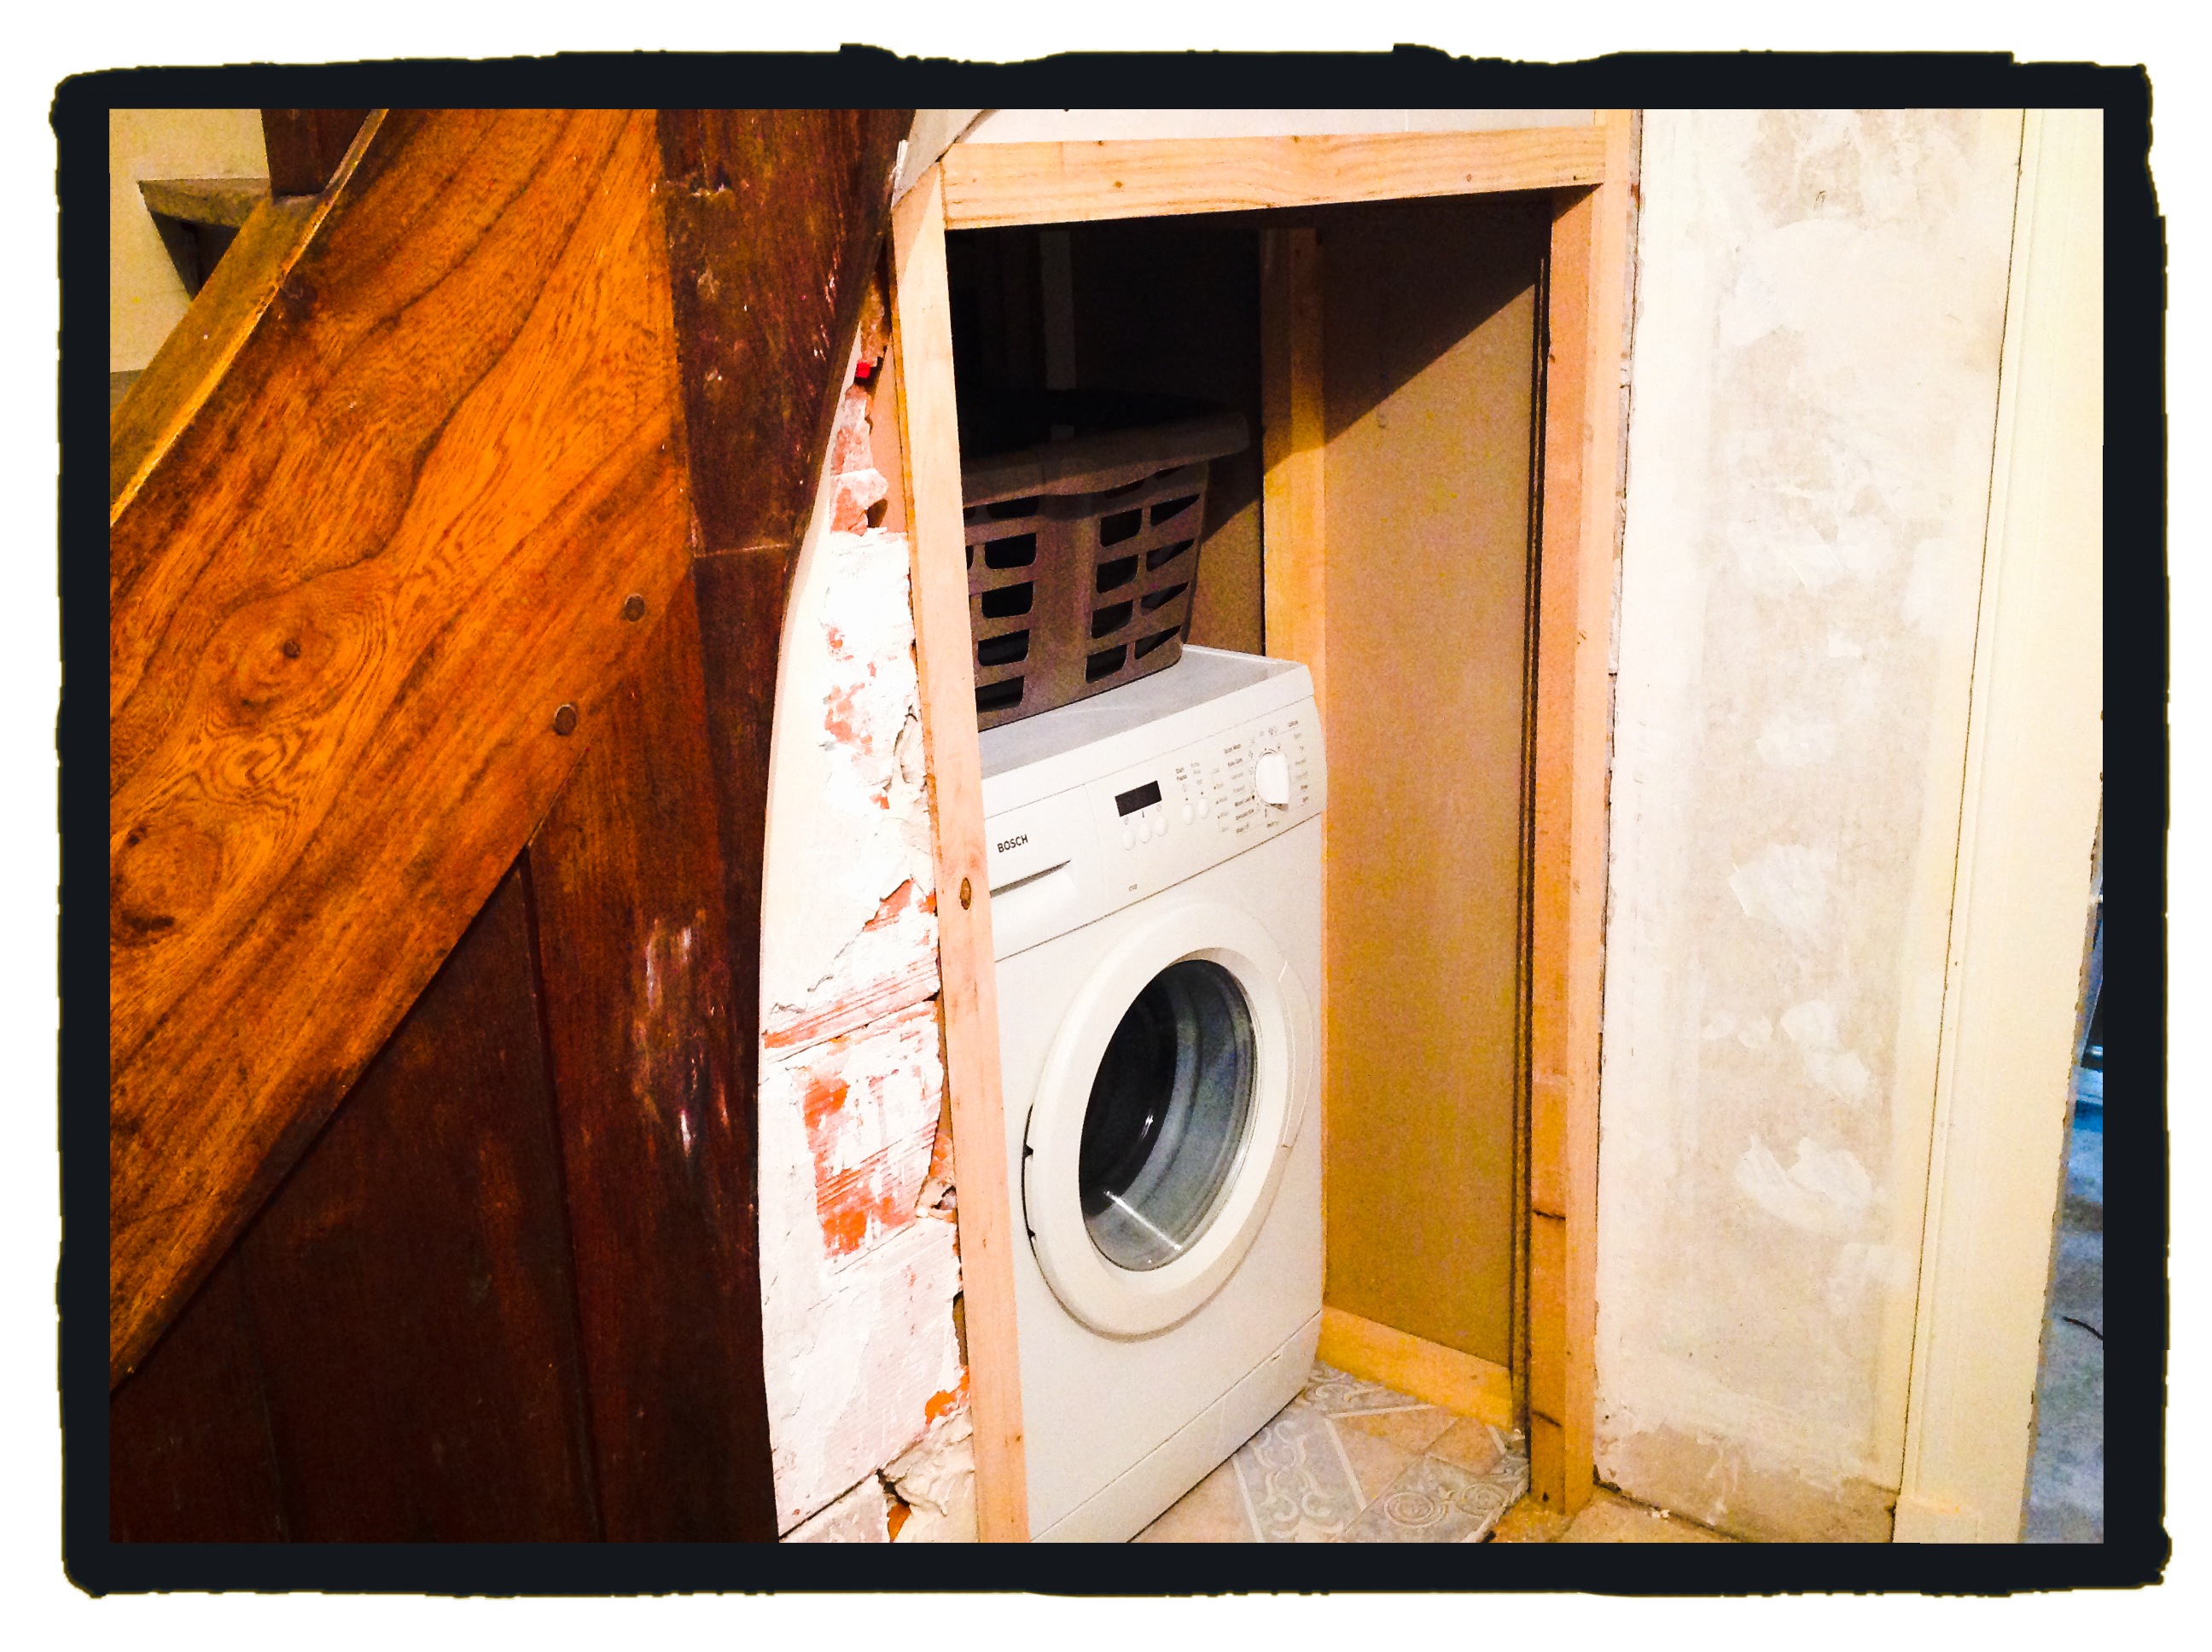
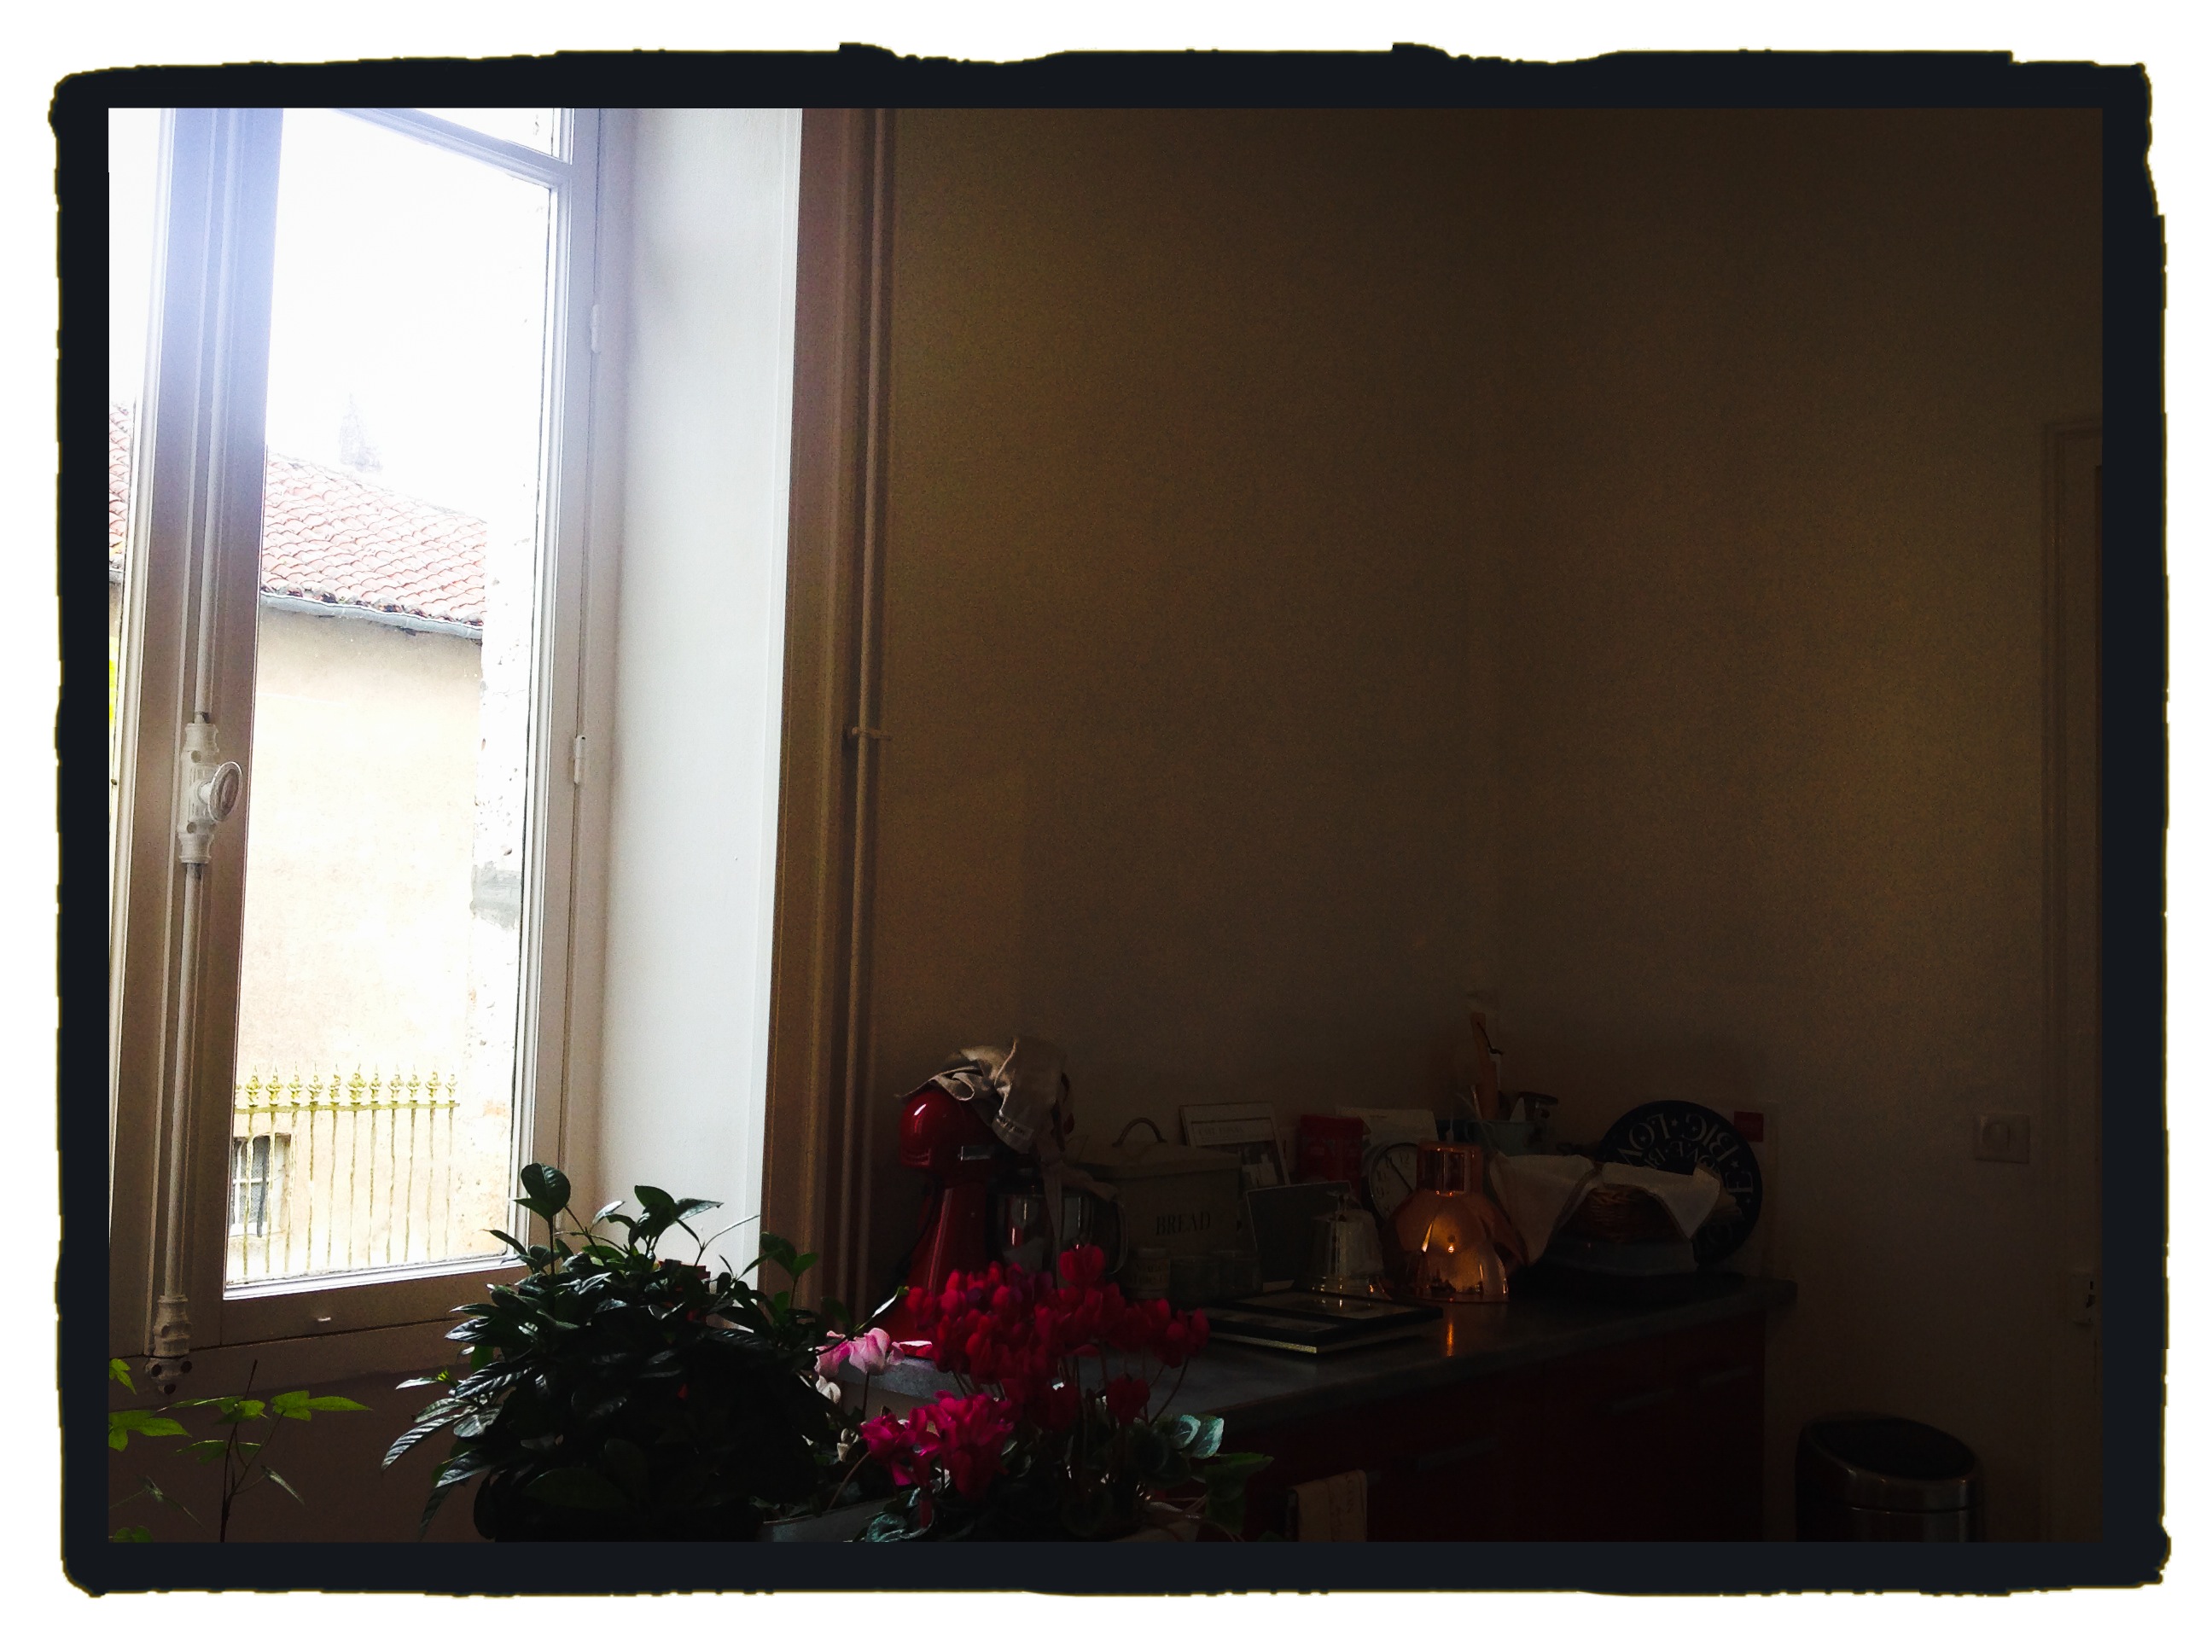
However, downstairs there is already a small utility room with a washing machine and toilet (no sink) which is ripe for conversion:

photo 4photo 1-2photo 2-2photo 5photo 2photo 3-2photo 3photo 4-2

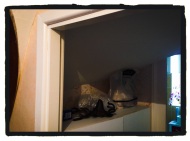
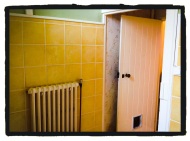
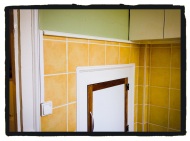
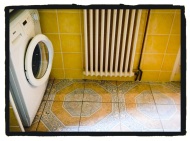
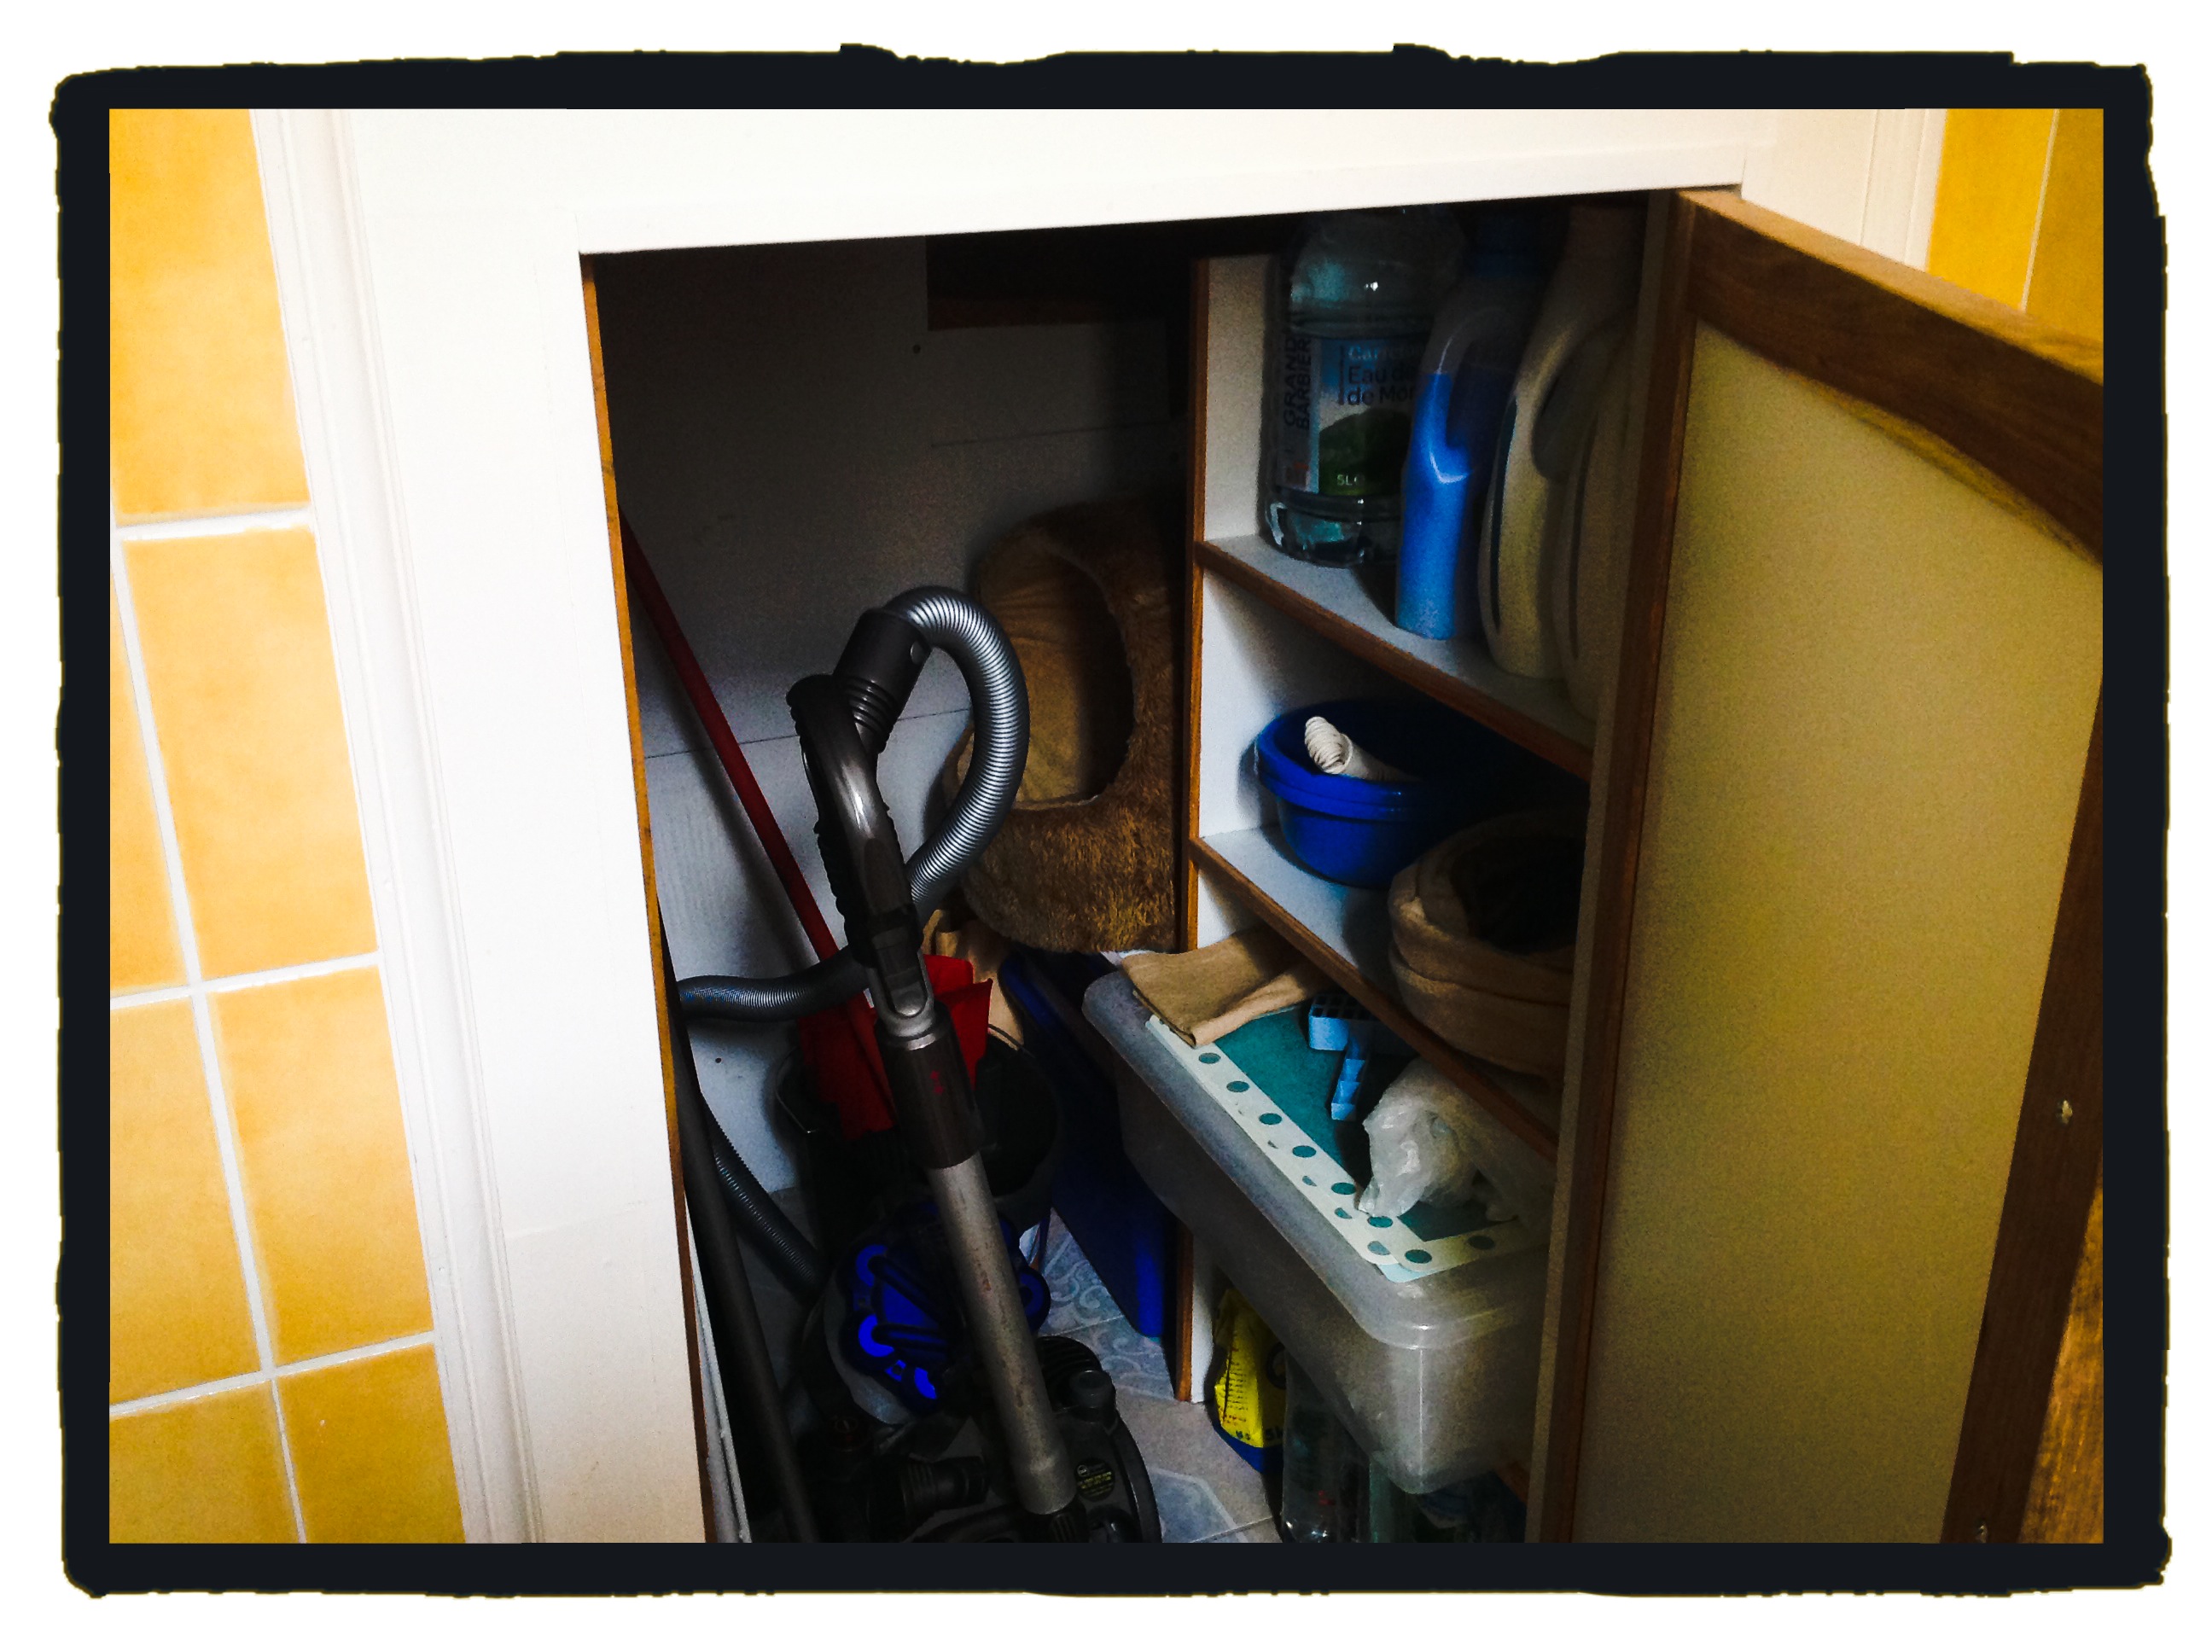
The plan is to move the plumbing for the washing machine into the cupboard under the stairs, close off the current door opening so that the washing machine is accessed from the other side (just before the entrance to the room), build a unit under the window to house a toilet and sink (or maybe two sinks – I haven’t quite decided yet!), retile the floor, put in a tiled splash back, move the door to its original location opening up the area under the stairs.

Here is my rough sketch of how it will look when finished:

photo 4-1

The only thing I haven’t quite decided on is the overall scheme/colour… it’s probably time to consult Houzz and Pinterest. SCH

Upholstery course: day two

This is a progress update on the small stool I began re-upholstering last year (well, dismantling more like)!

I realised quite quickly that we had stapled the webbing to the wrong side of the chair last time round (fine if you are planning to build the seat up without springs – not so good if you have old springs to replace). So I began by taking off the webbing, cleaning up the woodwork and reapplying the webbing to the correct (under)side.

Next it was time to hand sew the springs to the webbing and create a sprung unit from the five springs by coercing them together with string. Then I nailed a layer of hessian to the frame – over the top of the springs – and hand sewed the springs under the fabric by ‘feel’.

That took most of the morning which meant the afternoon was spent hand sewing little cord pockets for the synthetic filling which would be tucked in to create part of the seat padding. The final step was to add another piece of hessian and secure with temporary tacks.

IMG_3719 IMG_3721 IMG_3723 IMG_3726 IMG_3733 IMG_3735IMG_3736 IMG_3738 IMG_3741 IMG_3742 IMG_3746 IMG_3751

This is as far as I got in seven hours. I am hoping that one more course day may bring me closer to the actual fabric cover! SCH

Auction pieces for cleaning and restoration

The first picture below shows a piano stool – a small demonstration piece of furniture for one of Le Manoir’s restoration and reupholstering courses. Course goers will be given the opportunity to work on a piece with their tutor – to remove all of the old tacks, webbing and hessian and use a magic cleaning formula to clean and restore the wood before applying wax to protect and nourish it. That’s before they start the fun work of re-upholstery!

The second picture – showing a balloon-back chair – will get a similar treatment.

The third picture shows a round card table. The legs are in excellent condition and I really like the shape of the piece but the table top needs restoring. When it’s finished it will go by the window in The Study at Le Manoir Saint Gervais along with two high-back chairs in crushed green/grey velvet. SCH

IMG_3664 IMG_2532 IMG_3705

Upholstery course: day one

Given my penchant for auction bargains, I have been really keen to learn the skills involved in furniture upholstery. I often see tired looking sofas, chairs, stools, etc. that have lovely forms but have seen better days; wishing I had the confidence to buy them and transform them into something incredible.

On Saturday I was given that chance at a local one day workshop. I was asked to take along a small project so chose a small stool with Queen Anne legs and a sprung seat. The fabric was long gone and the stool looked a sorry state so most of the day was spent removing tacks, mending the woodwork and bandaging the wood so it was ready to take more staples and tacks. Here are some photos from the day… there’s still a lot to do including seven more layers until the stool resembles the original. The final fabric seems to be incidental!

image  IMG_2218  image  IMG_2255  image  IMG_2261  image  IMG_2273

I now hope to attend a multi-week course so I can finish the stool and move onto other projects that may benefit The Little Grange. SCH

Renovation of the linen press: before/after shots of top section

Last week the weather was finally cool enough to tackle the second component of the linen press. I set myself up in the shade of the grape vine and cleaned down the entire frame, removed the warn blue paper that was lining the linen drawers and then waxed all the parts.

Unlike the bottom section, which has the appearance of a polished Victorian set of pine drawers, the top component is a simple box structure with ‘open-fronted’ sliding drawers where linen would have been placed in olden times. The wood is untreated as this part of the linen press is intended to be hidden behind two veneered doors. I cleaned and waxed the doors and stored them in the garage as I wont be able to add these until the base and top frames are cleaned up and in situ. That’s probably a job for next week as I still need to treat those parts for wood worm first.

Below are a few pictures of work in progress as well as the finished product on top of the already renovated pine drawers. When everything is finished and assembled it will be placed in the barn/workshop at The Little Grange. SCH

IMG_1828  IMG_1826   IMG_1820  IMG_1832

Brocante finds

A couple of hours before leaving France my friend Paula took me to a brocante in Saint-Priest-Sous-Aixe (near to Limoges airport) which specialises in all things antiquey and French! There were tables, chairs and dressers galore, as well as farming machinery, old bikes and tin cans. It was an amazing collection of rooms within two large barns. Details can be found here: http://www.moulindelamie.com. While I didn’t have room in my suitcase on this particular visit, I vowed to be back as soon as I had actually bought a house to put things in! SCH

IMG_1707 IMG_1704 IMG_1699 IMG_1692