Busy sewing bee

I joined a dressmaking course last month to help me tackle some of the sewing and upholstery projects I have lined up. I will generally have a go at most things but sometimes feel I am missing the basics and would like some formal instruction. By joining the class I hope to perfect different types of seams, get a better understanding of what my sewing machine can do, learn new techniques for making projects look more professional and generally learn the tips of the trade.

IMG_2296

Sample course work: concealed zip

Each week we are covering different seams and basic sewing skills. So far we have sewn a straight seam, French seam, jean seam, corner seam, facing, round and pointed collars, and put in a dart using tailor’s tacks. We have also looked at general machine use, measuring and cutting out fabric, seam allowances, pressing out seams and troubleshooting. During this week’s class we went through the process of adding a zip to a skirt – using both machine and hand tacking, a close top stitch and a ‘quick unpicker’ to reveal the concealed zip.

I have already taken on board this zip technique because over the weekend I needed to make my nine year old nephew a maths-inspired cushion for his bedroom. Before assembling the zip-linked panels I cut out a series of number templates based on images I found on the internet and used a wide zig-zag stitch to fix them to the front panel using the same colour cotton thread.
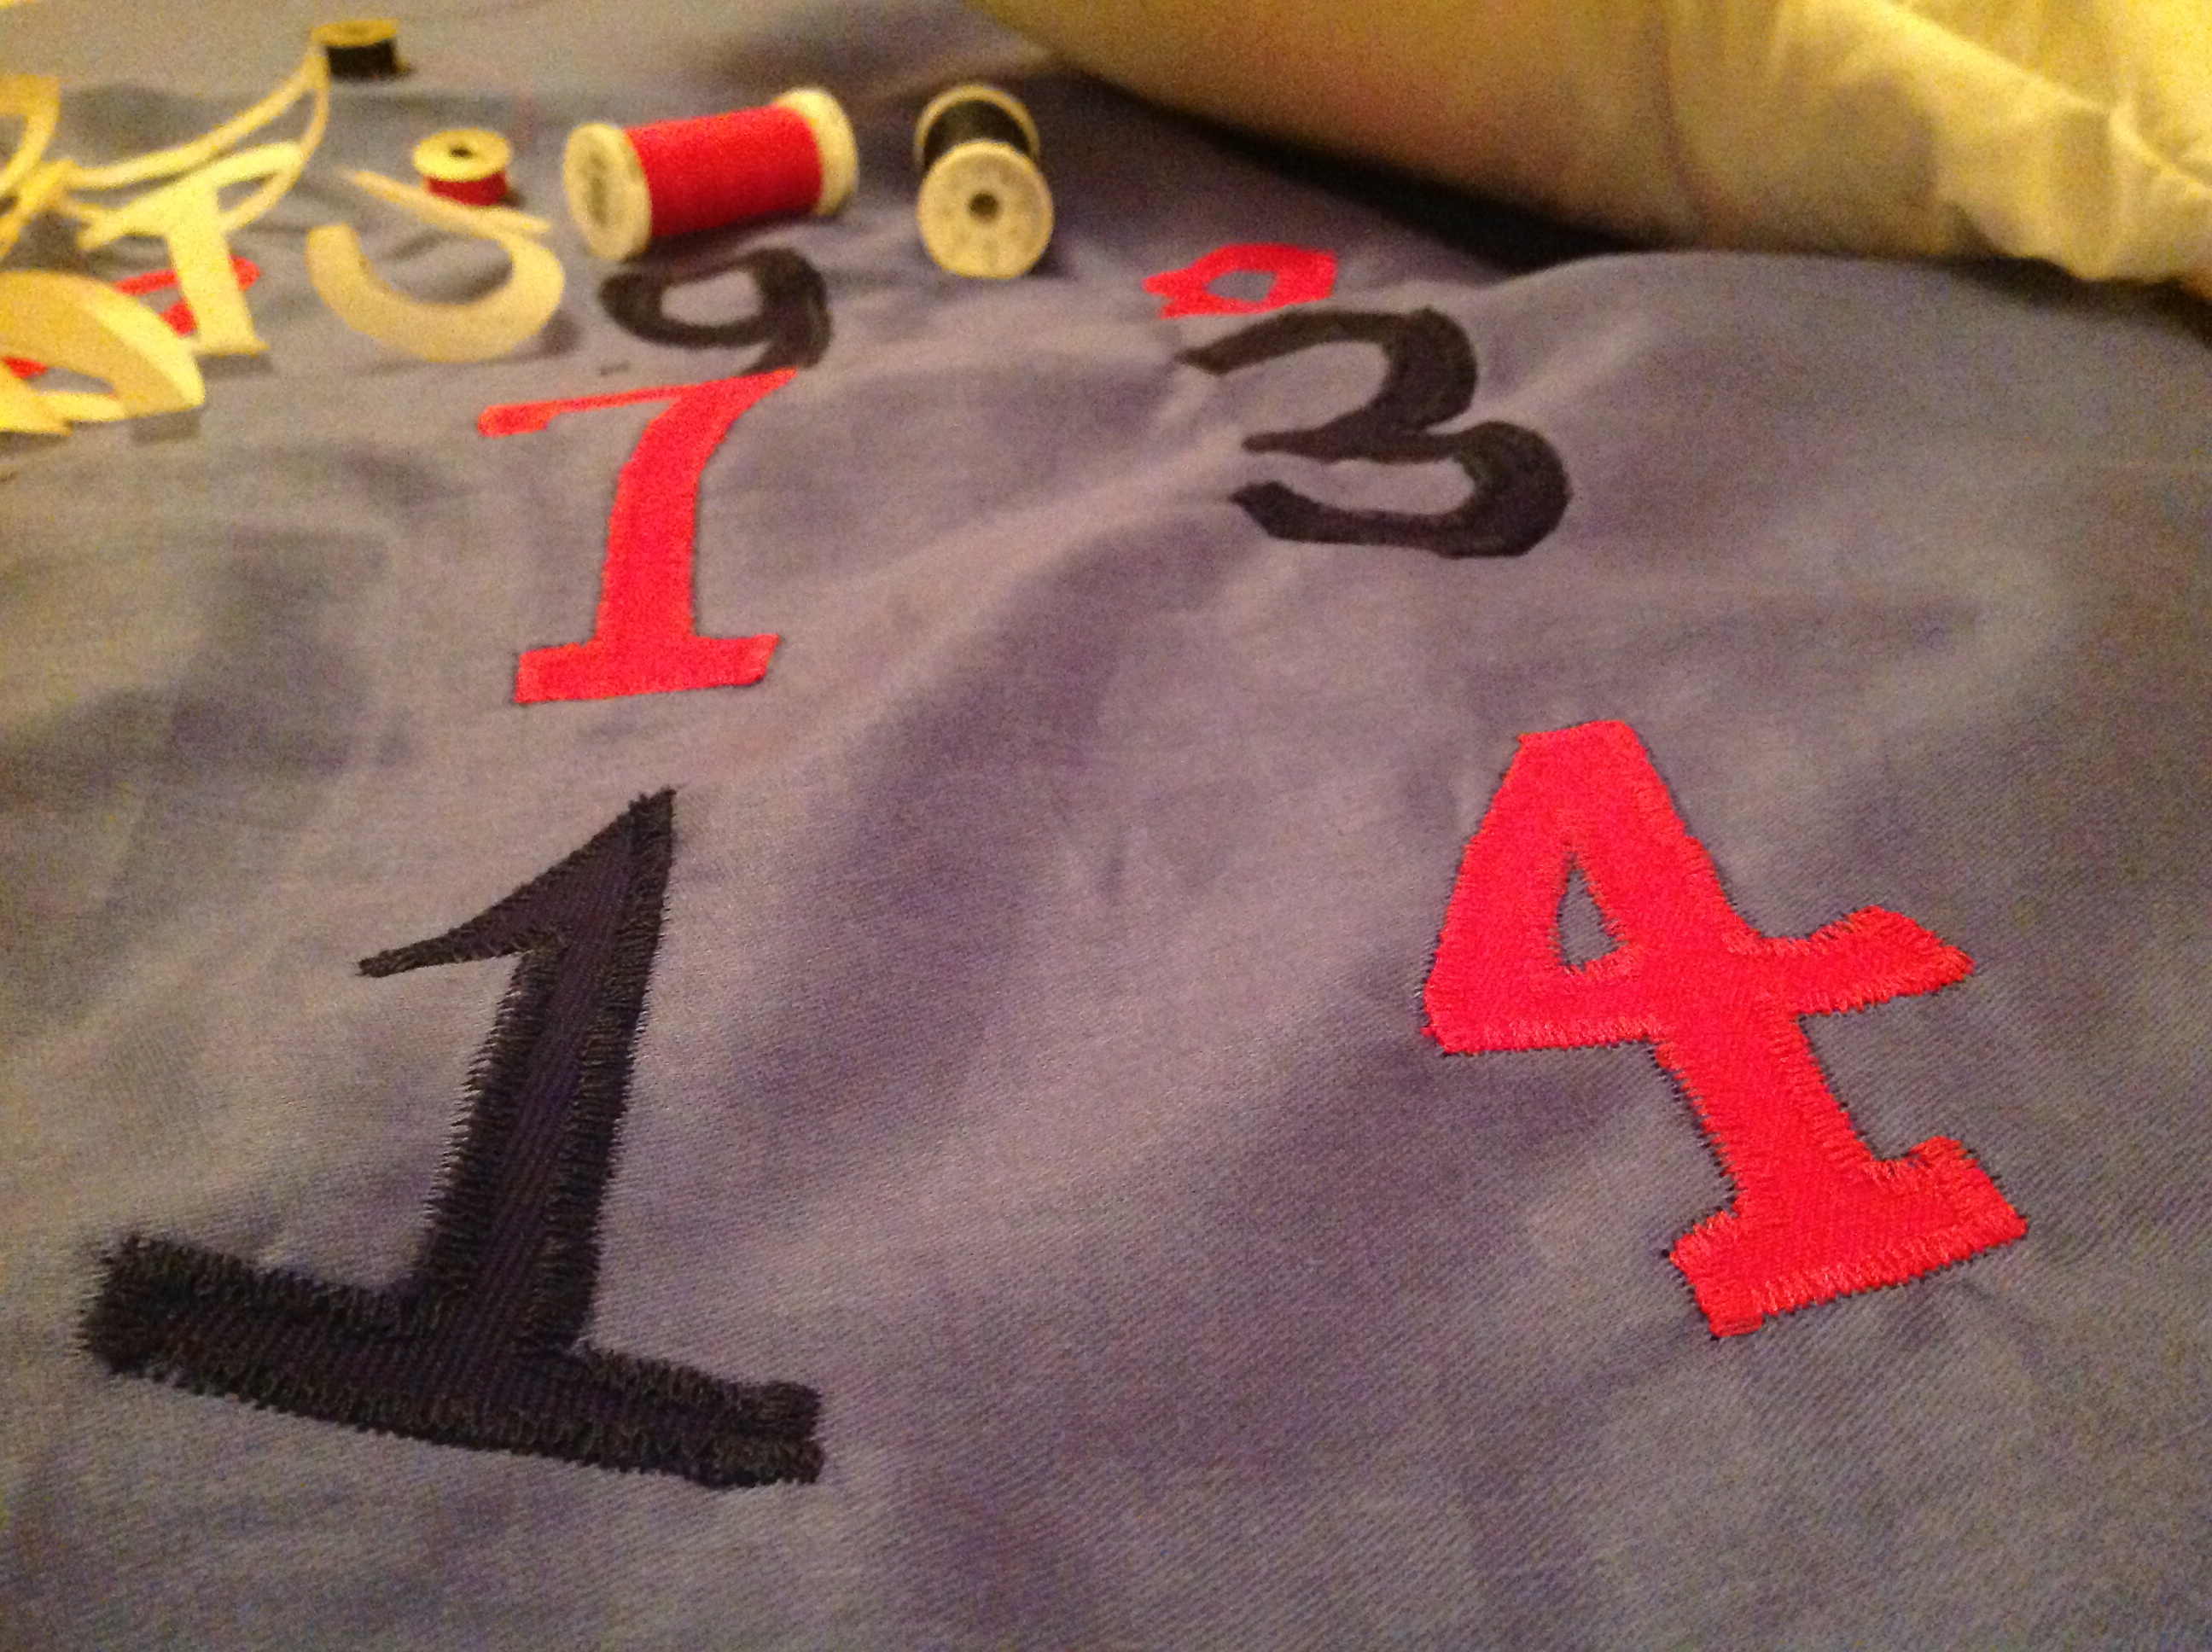
IMG_2361

Attaching numbers

A cushion, it seems, is no more tricky than a skirt; you just have to remember to open the zip before you sew the remaining three sides!

Now that’s done it’s time to tackle the padded cushions for the outside wooden chair – I keep putting this project off because I need to find an implement to cut through foam. Apparently an electric carving knife (used for cutting the Christmas turkey) works well. I will report back soon on that particular success (or failure)! SCH

Lavender update: four months on

Well, I’ve had mixed success with the lavender cuttings! Partly because I took cuttings too early (I’ve since learnt that early autumn would probably be better) and partly because we had such a warm summer and I’ve struggled to know how much water to give them (read: I have over watered them)!

Nevertheless, out of the original 36 cuttings, 24 rooted well and put on good growth and I have been able to replace any weaker cuttings with the autumn new growth from the master plant.

I have also regularly ‘pinched out’ the top shoots so they bush out and form more foilage at the bottom rather than grow leggy stems. I will only water the cuttings very occasionally now that the weather has turned cooler and will keep them in the greenhouse out of harm’s way until next spring when they can be planted out at The Little Grange. SCH

IMG_2186

Lavender cuttings 17 Oct 2013

Refreshing the strawberry bed

I have had lots of fun overhauling the strawberry bed this week.

We have an old brick bed adjoining the greenhouse which is approximately nine feet long by three feet wide. Once the plants start developing their fruit in early summer we add wooden frames covered in netting to protect them from birds.

We had a disappointing crop over the summer (two to three large punnets only) mainly because many of the plants were a few years old and past their best; the tubers where gnarly and protruding from the earth and I think the plants struggled to keep themselves going!  They did however produce lots of runners (these run along the ground looking for a place to anchor their roots and eventually become baby plants that will flower and fruit the season after next).

When I started to tackle the plot it was one big jungle and difficult to see what to do first so I began by cutting away all of the stalks and leaves and leaving only the stumps with their brand new runners. Once I had a clear view of the bed I was able to remove any rotten plants, poorly placed plants, or old plants that had not produced runners. This resulted in more uniformed rows of strawberry plants (which makes watering, weeding and picking easier) and made for an easier view of the runners.

Next I looked for the healthiest of runners and cut them back to the first rooting shoot (sometimes runners will produce two or three baby plants along their length but have to work twice as hard to feed them all)! I weighted down each shoot with a big stone to allow the tiny roots (just visible) to cling to the soil below and take hold.

In removing the old plants and weighting down new runners I took care to make sure I didn’t limit next year’s fruiting potential. For example, even though they were on their last legs I retained the old plants that were producing strong baby plants, I kept all other healthy plants as they will be the ones that will flower and fruit next year and, finally, I filled any holes with plants already grown from last year’s runners. At the beginning of next season I will be able to replace the oldest and weakest plants with the new plants provided by this year’s runners.

Below is my 5-step recap (mainly to remind myself)!

1. Cut away all stalks/leaves taking care not to cut off the runners!

2. Remove old plants that are not producing runners or fruit (tidy up the rows)

3. Weight down runners with stones

4. Surround plants with fresh compost to replenish nutrients

5. Water well

Next year I will be using this experience to build a strawberry bed from scratch at The Little Grange in France. The goal is to create a well-stocked kitchen garden at the back of the house incorporating fruit, vegetables, herbs and edible flowers. SCH

IMG_1346  IMG_1774  IMG_1739  IMG_1740

Practical garden design

I have been thinking a lot about garden design recently. True: the RHS Chelsea Flower Show was on TV and was as ever full of great ideas, but it’s the practical side of design that prompts me to write.

IMG_0905

The all-important wheelbarrow

I’m the first to admit to loving symmetry and tidy borders, but the day-to-day need for a variety of garden tools, sacks, pans, compost and water has made me realise that I am going to need a garden that ‘works’. Add to this the busy running of a B&B and you soon realise efficiency is going to be key!

We have been extremely fortunate to have had seven days of uninterrupted sunshine which has been instrumental in helping clear many an important seasonal job. I’ve spent hours trimming lawn edges, staking and trimming overgrown hedges, heaving compost into bags, weeding flower beds, potting up summer plants, thinning out vegetables and herbs, scrubbing moss off the old patio, and brushing down garden furniture… the list goes on and there’s always that unexpected job each day. But the point here is I’ve probably spent half the time traipsing backwards and forwards collecting or depositing ‘things’!

So in considering the workability and aesthetics of the garden at The Little Grange, here’s my practical design priority list:

1. Water butts in a variety of locations (fed by guttering from house, greenhouse, etc.)

2. Greenhouse for growing on new plants and for winter pot storage; ideally with a built-in earth bed

3. Tool shed attached to greenhouse as well as a similar storage solution closer to the main house

4. Potting shed attached to the main house

5. Kitchen garden within easy reach of the main house

6. Duplicates of key tools for those jobs that take you to the far end of the garden

I will keep an eye out for bargain buys at my local auction since there seems to be a constant stream of old tools, garden pots, lawn mowers, ladders, etc. You never know, I might even find that all important garden shed! SCH