Lavender update: four months on

Well, I’ve had mixed success with the lavender cuttings! Partly because I took cuttings too early (I’ve since learnt that early autumn would probably be better) and partly because we had such a warm summer and I’ve struggled to know how much water to give them (read: I have over watered them)!

Nevertheless, out of the original 36 cuttings, 24 rooted well and put on good growth and I have been able to replace any weaker cuttings with the autumn new growth from the master plant.

I have also regularly ‘pinched out’ the top shoots so they bush out and form more foilage at the bottom rather than grow leggy stems. I will only water the cuttings very occasionally now that the weather has turned cooler and will keep them in the greenhouse out of harm’s way until next spring when they can be planted out at The Little Grange. SCH

IMG_2186

Lavender cuttings 17 Oct 2013

Lavender: the two-year project

I know it sounds a little crazy to talk of edging a 100 ft garden path with lavender when I haven’t yet found the right property, but given the amount of work that goes into building a mature garden it seems wise to make an early start! Despite my impatience and general inexperience, I’m hoping that by taking cuttings from an old, gnarled lavender bush and planting them up now I will have the perfect-sized lavender plants within two years.

There are other benefits too: the cost of planting 40+ established plants from a local nursery is prohibitive (I estimate somewhere in the region of £400). With this being one of many ‘essential’ garden projects at The Little Grange it is hard to justify such a spend and the alternative – planting a few smaller plants – just wont have the same impact. By taking cuttings I will have all the plants I need for (virtually) nothing at all.*

IMG_1068  IMG_1066   IMG_1072  IMG_1071  IMG_1073 2  IMG_1074  IMG_1076  IMG_1175

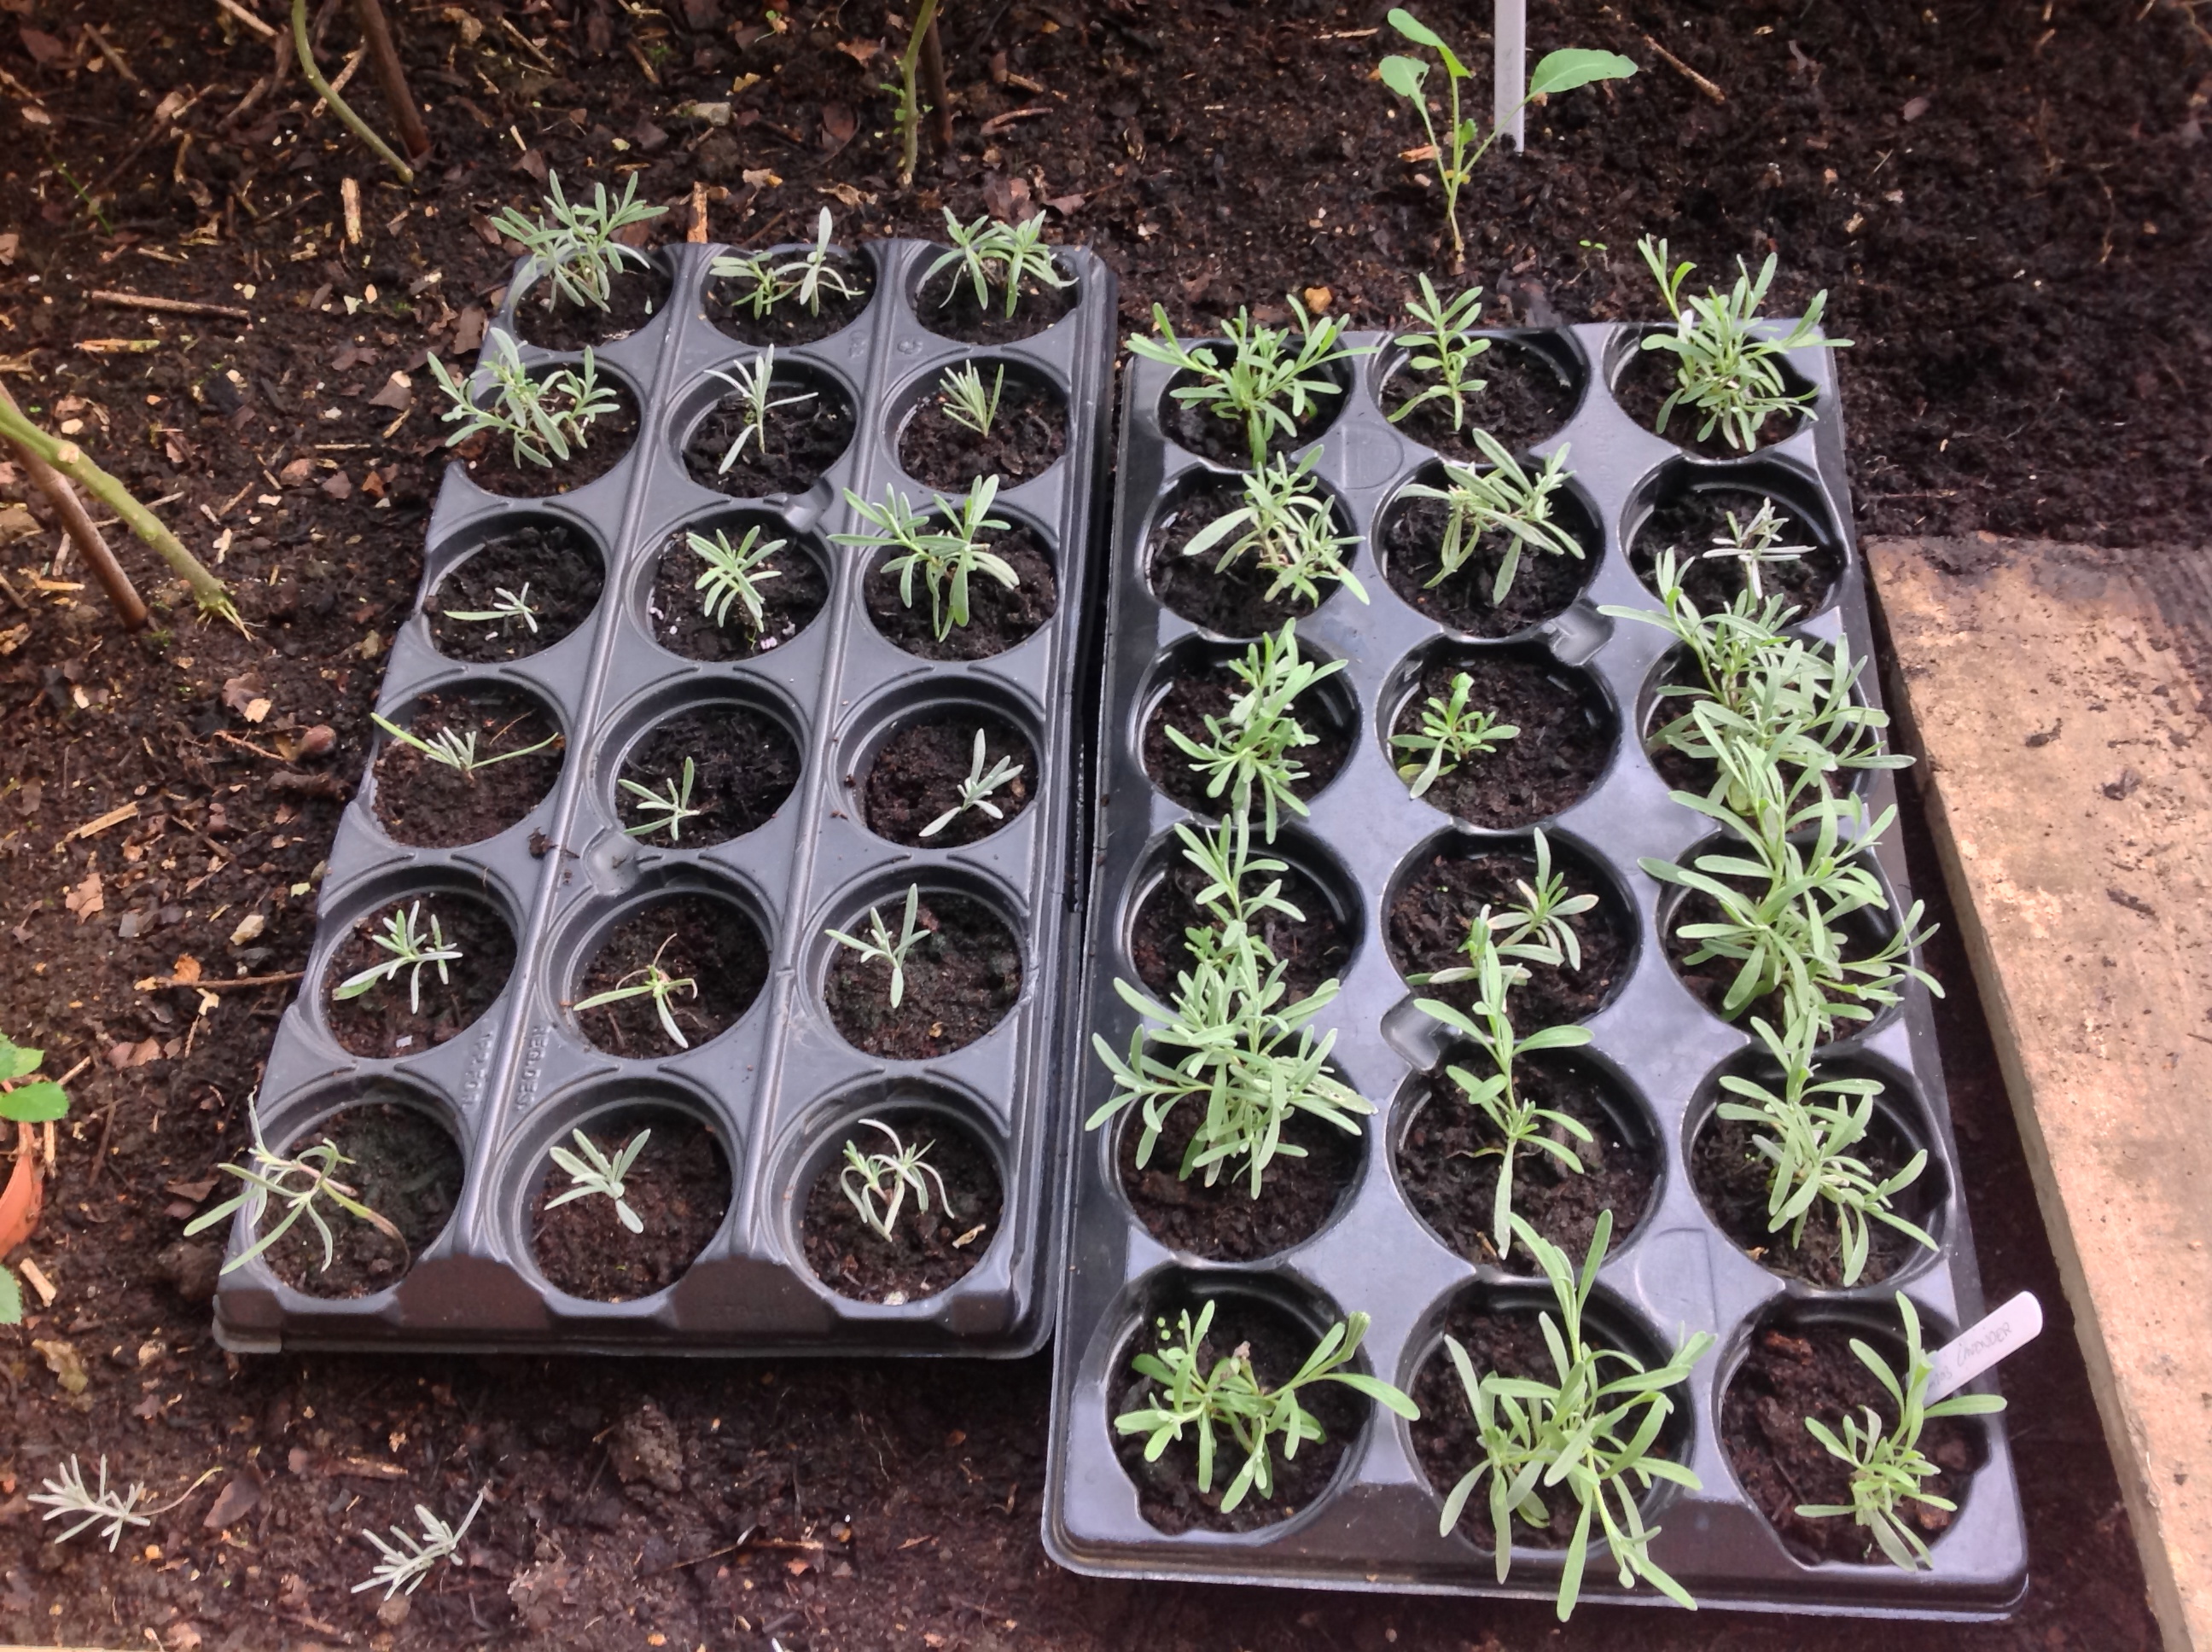
I followed these simple steps:

Step 1: take an old lavender bush with lots of new shoots

Step 2: choose small pots, fill with compost and water lightly. For ease I planted 36 cuttings in two pre-formed trays of 18

Step 3: using secateurs, cut off a semi-ripe shoot of about 5 inches from the lavender bush

Step 4: using a sharp knife, cut just below the lowest leaf bud

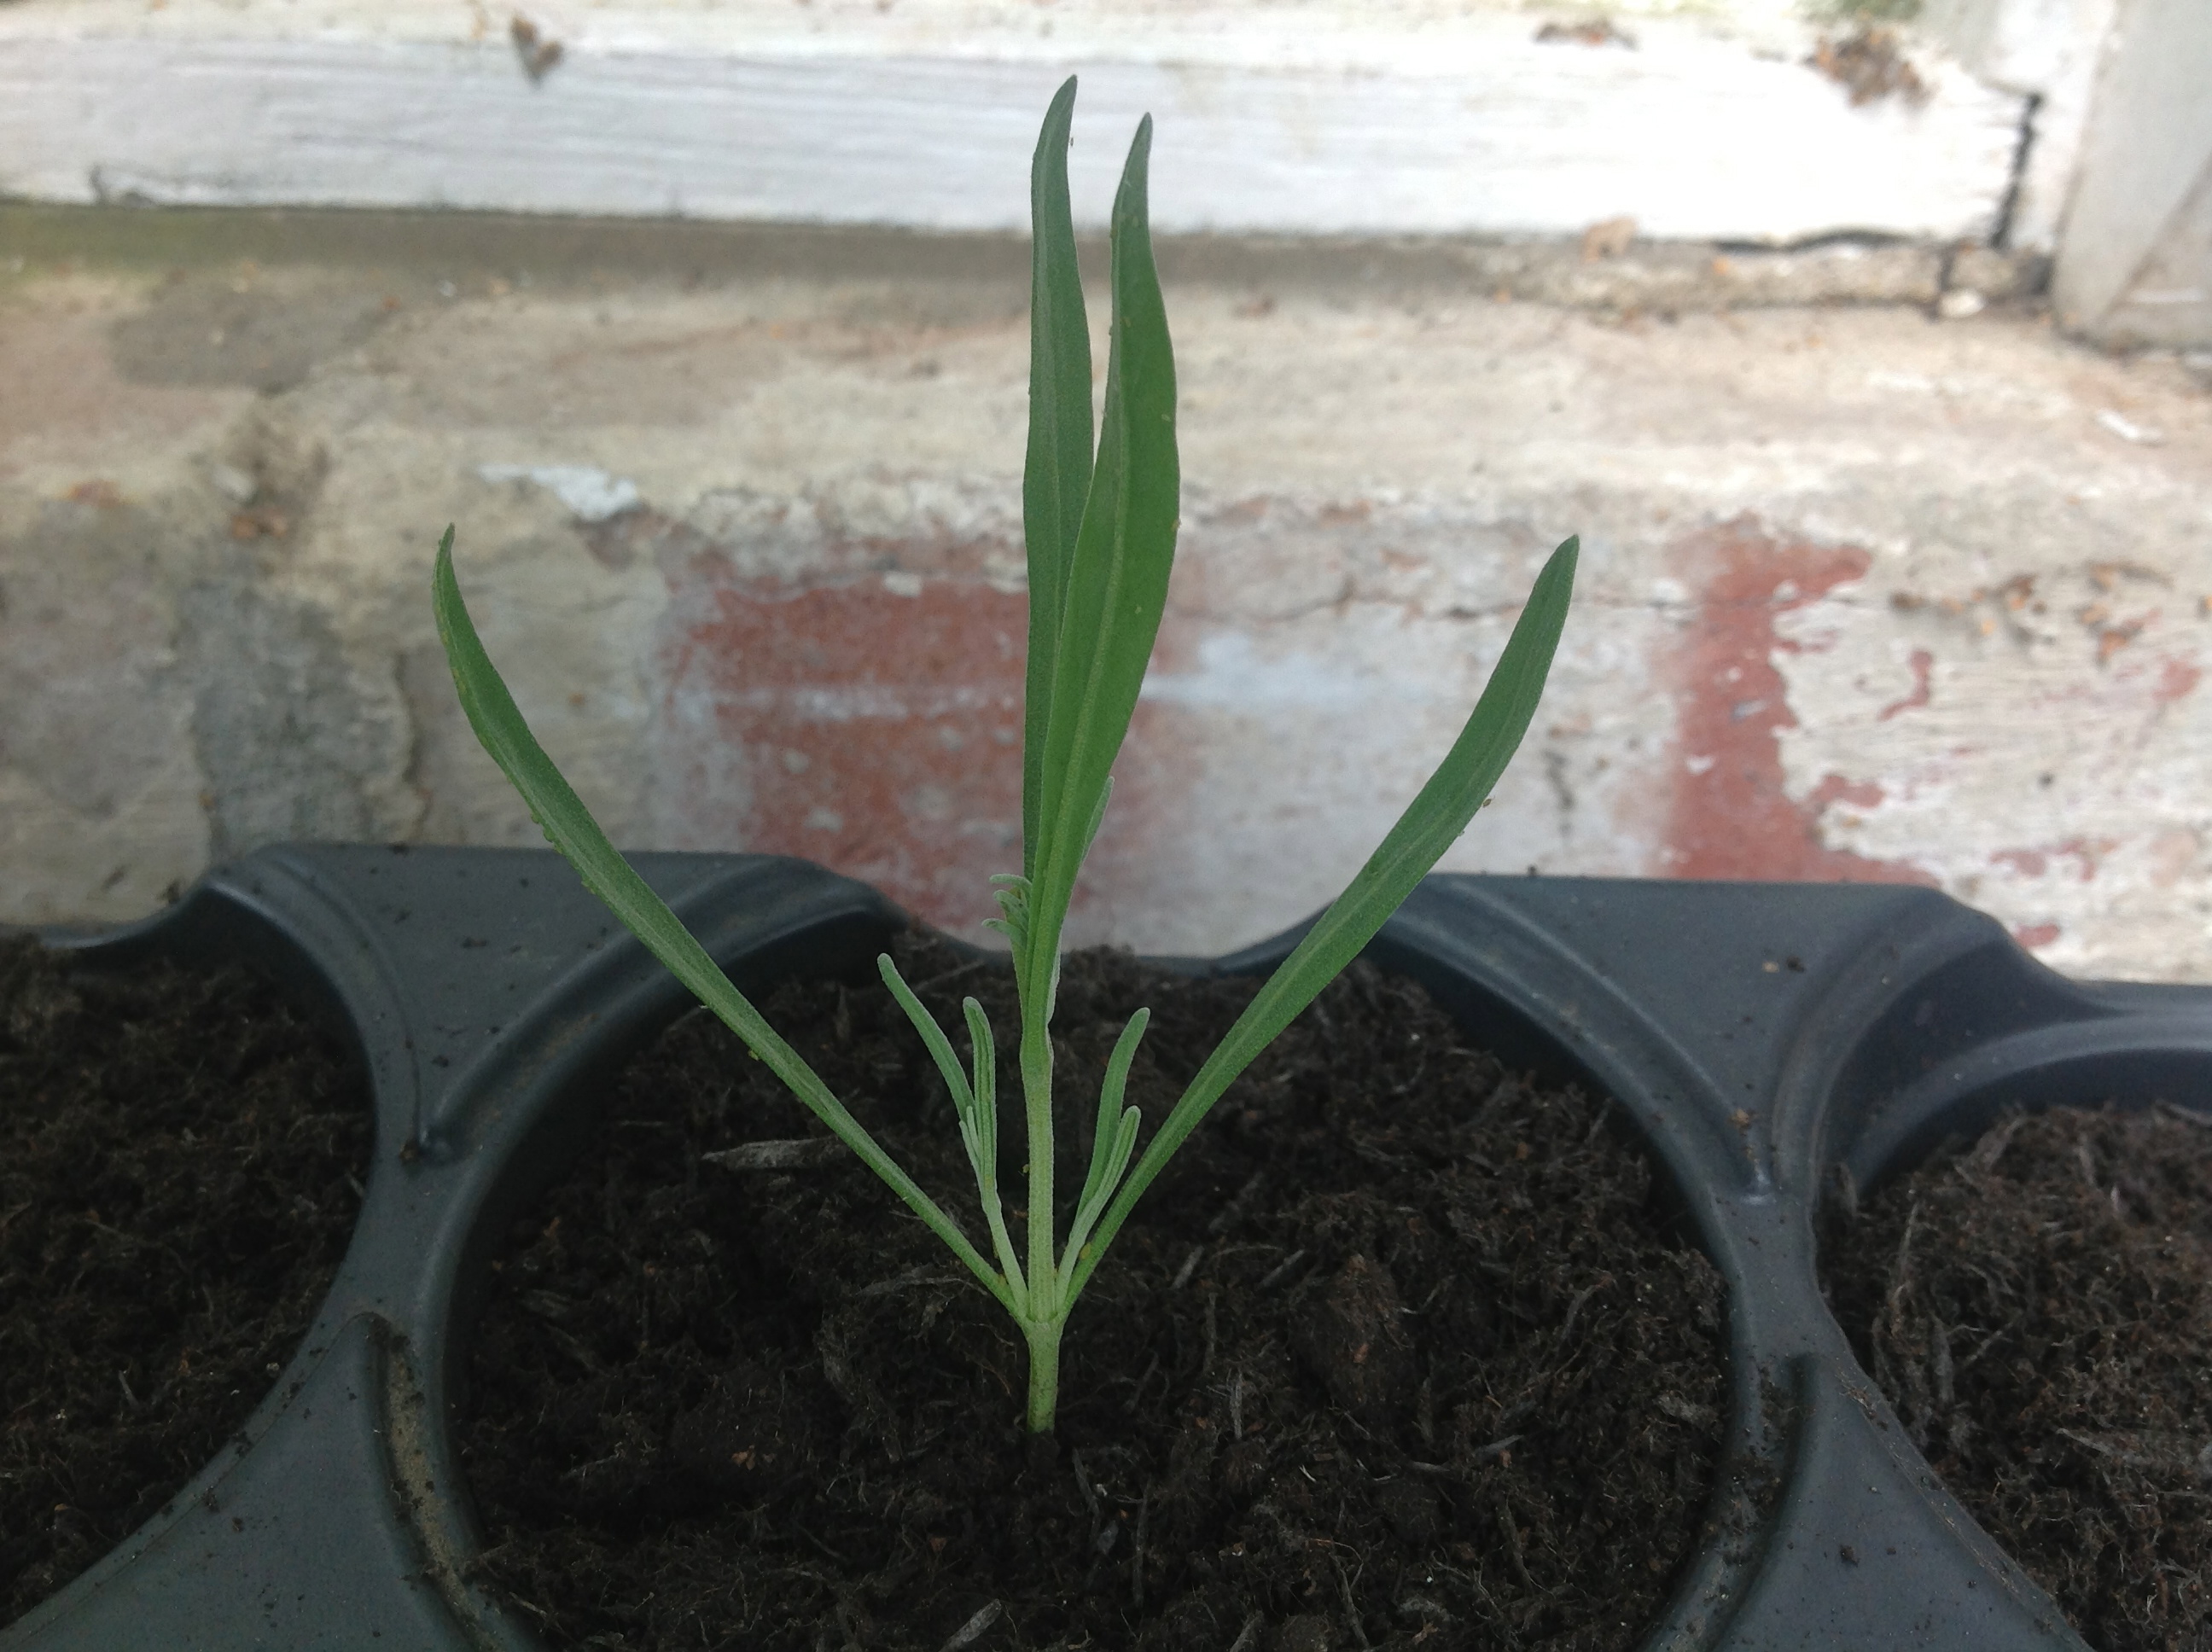
Step 5: take off all leaves apart from the top set; thin out the central leaves

Step 6: using a pencil or similar-sized implement, make a hole in the centre of the compost and pop in the cutting

Step 7: using small wooden stakes and a see-through polythene bag; protect the cuttings; keep them out of direct sunlight

Once the cuttings are firmly established – they will sprout new shoots and will have a good root system – it will be time to pot them into bigger/individual containers with poor, stoney soil and leave them in a warm, sheltered spot. SCH

* Remember to factor in potting compost and water!

Garden inspiration

What a fantastic way to spend a (partially) sunny weekend… looking around other people’s gardens!

In a small village, about two miles away, Mum and I visited 24 gardens over two afternoons as part of an open garden festival. I love looking through magazines for inspiration but nothing compares to seeing gardens up close.

Aside from getting that warm fuzzy feeling, the whole experience provided a fascinating insight into the British psyche… Armed with a map of the village we roamed from house to house on a mission to find new garden design ideas as well as new planting schemes.

No two gardens were alike; some were large and formal; others small and rambling. Planting was generally organic rather than staged and you could tell that people just loved to garden (and their gardens). What I hadn’t bargained for was the extent to which people moved beyond plants and soft/hard landscaping to create their own little havens matched perfectly to their personalities and obsessions! For example, the first Georgian house we visited just off the high street had a miniature train track running around the perimeter and a very excitable owner keeping the train and carriages moving past their stations. Another garden lover had a corner plot complete with hot tub, pond and chicken coup!

Other fun elements included a hill with secret kiddy tunnel, an enormous medieval castle dominating the back garden of a family home, and a teeny weeny garden filled with all manner of decorative objects including the inimitable gnome! All set in a small village no more than two miles square… what a treat.

IMG_1032  IMG_1005  IMG_0981  IMG_1009  IMG_1055  IMG_1017  IMG_1052  IMG_1037

However, for me it was the traditional garden elements that I enjoyed the most. Above are some of the ideas I hope to introduce into the garden at The Little Grange: stone boundary walls, big old gnarly trees, formal buxus hedges, wisteria in full bloom, well-planted vegetable patches and a suspended garden bench. SCH