Exploring the house and garden

We are finally here. In France. In the house!

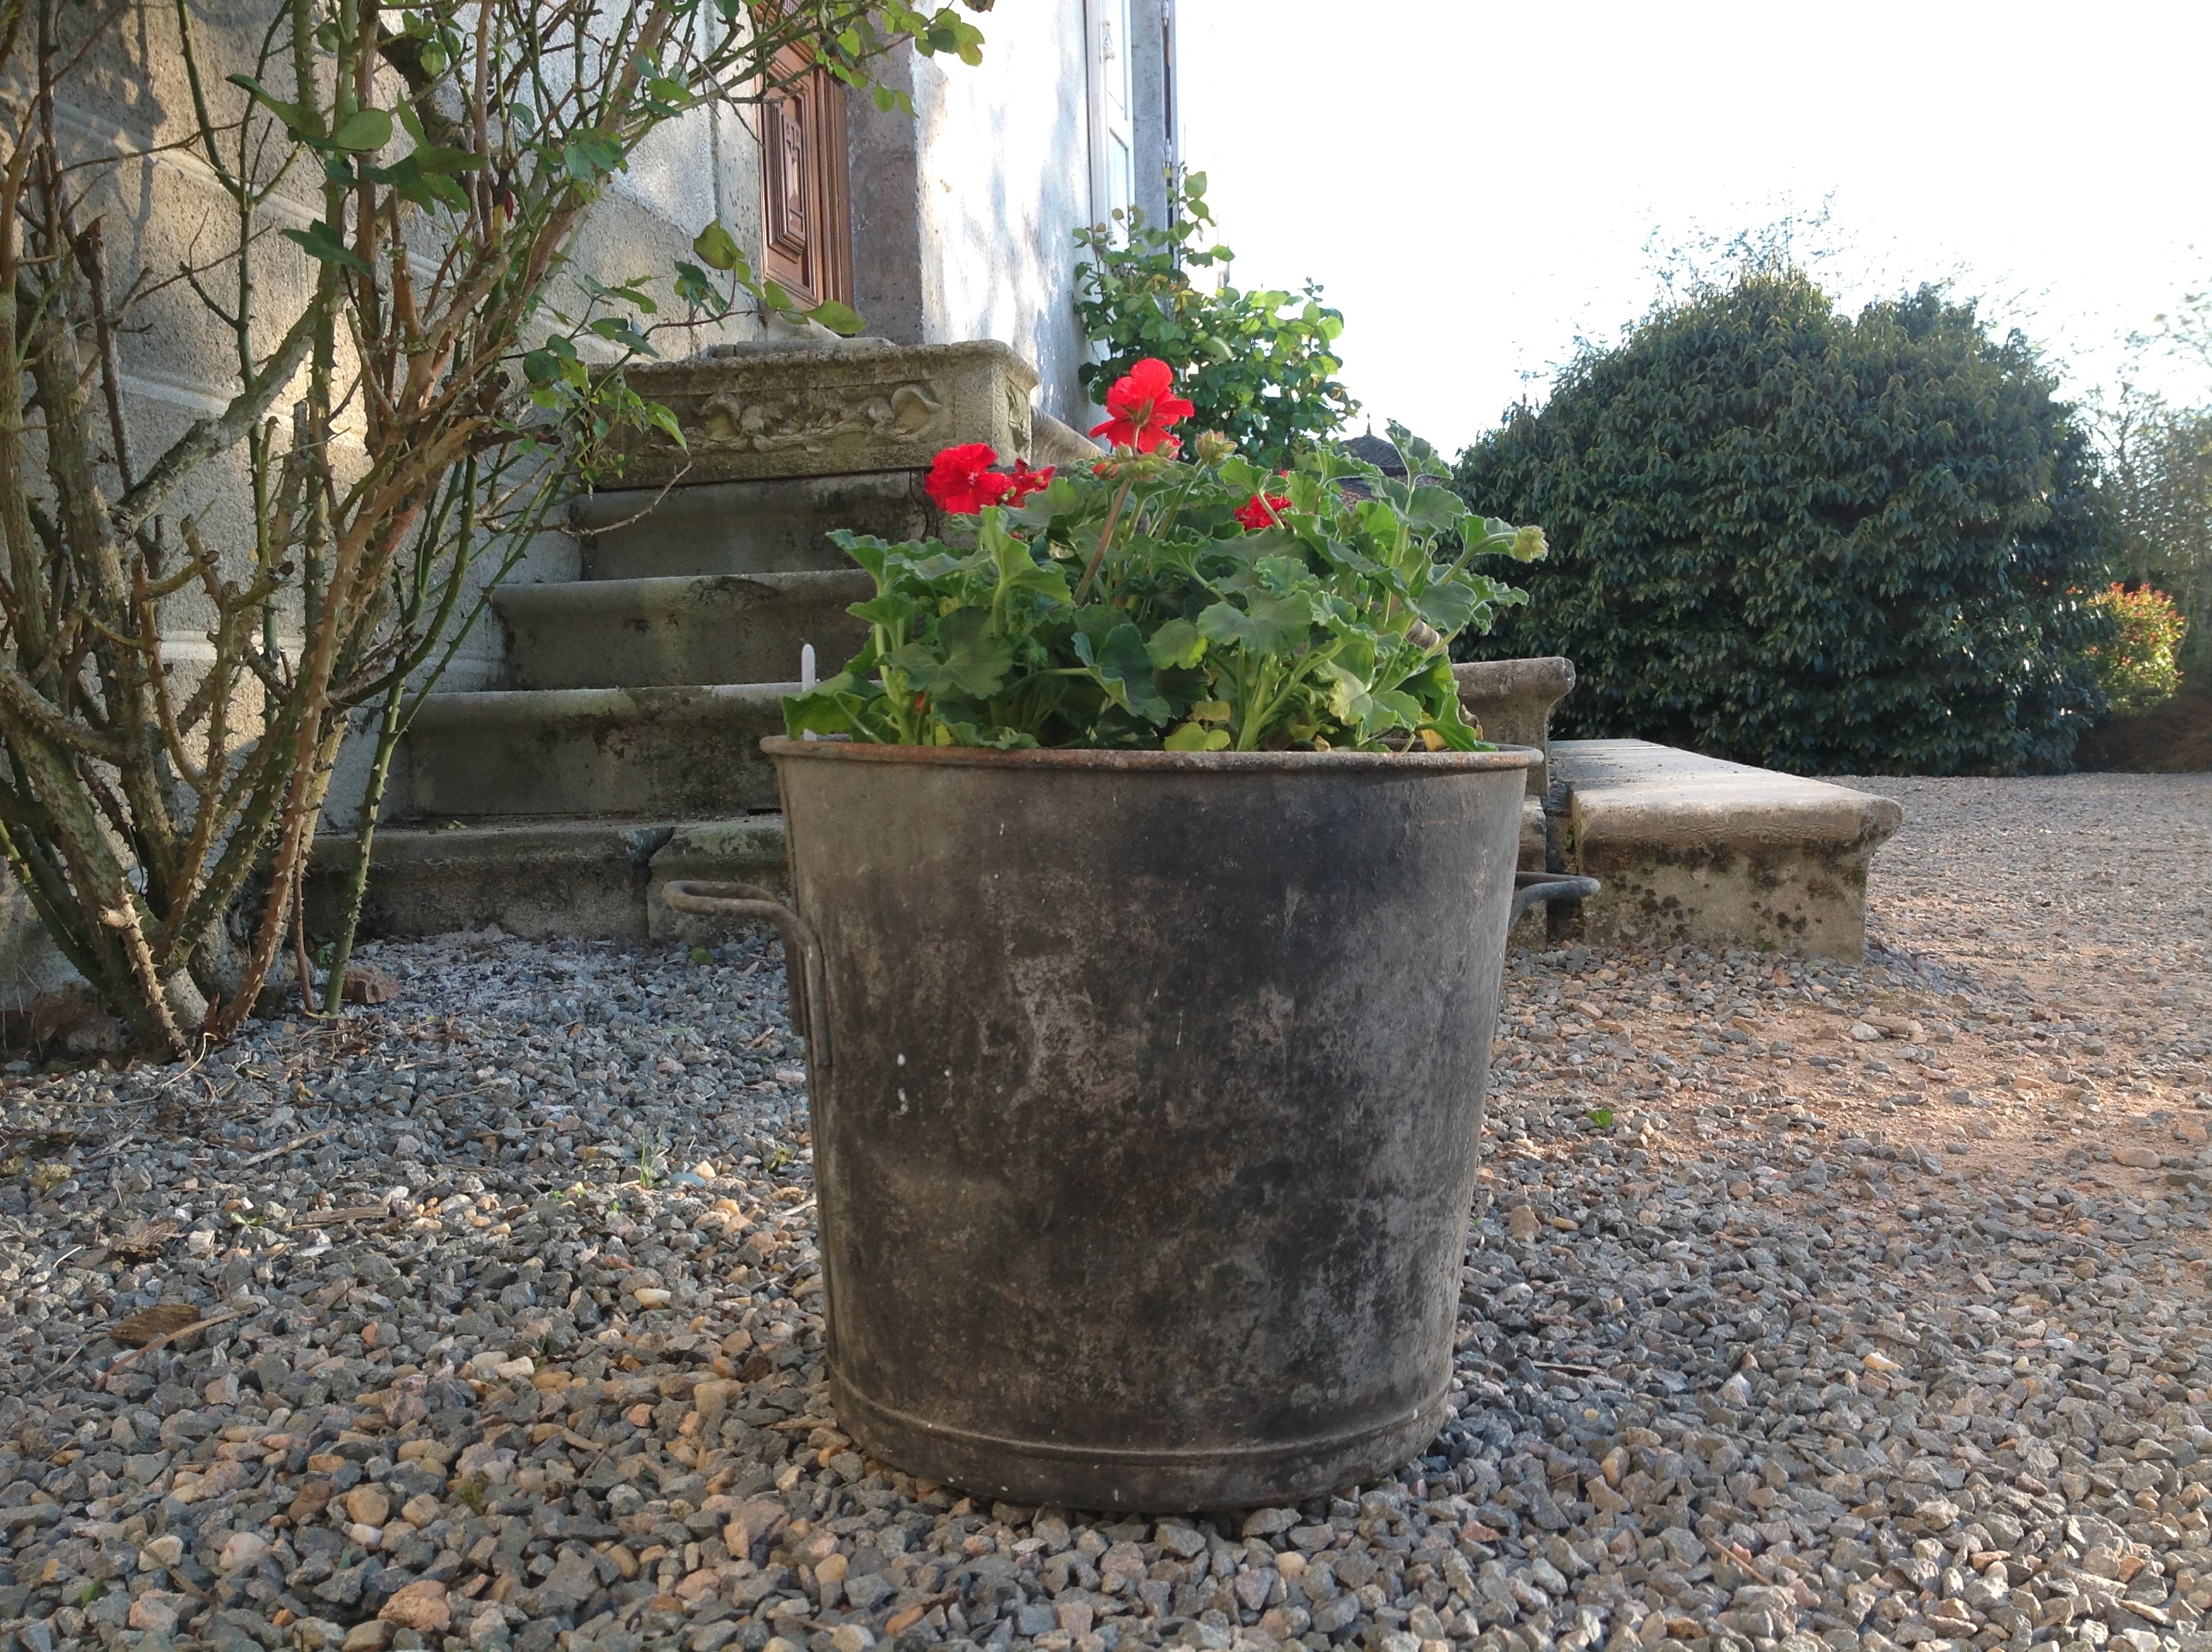
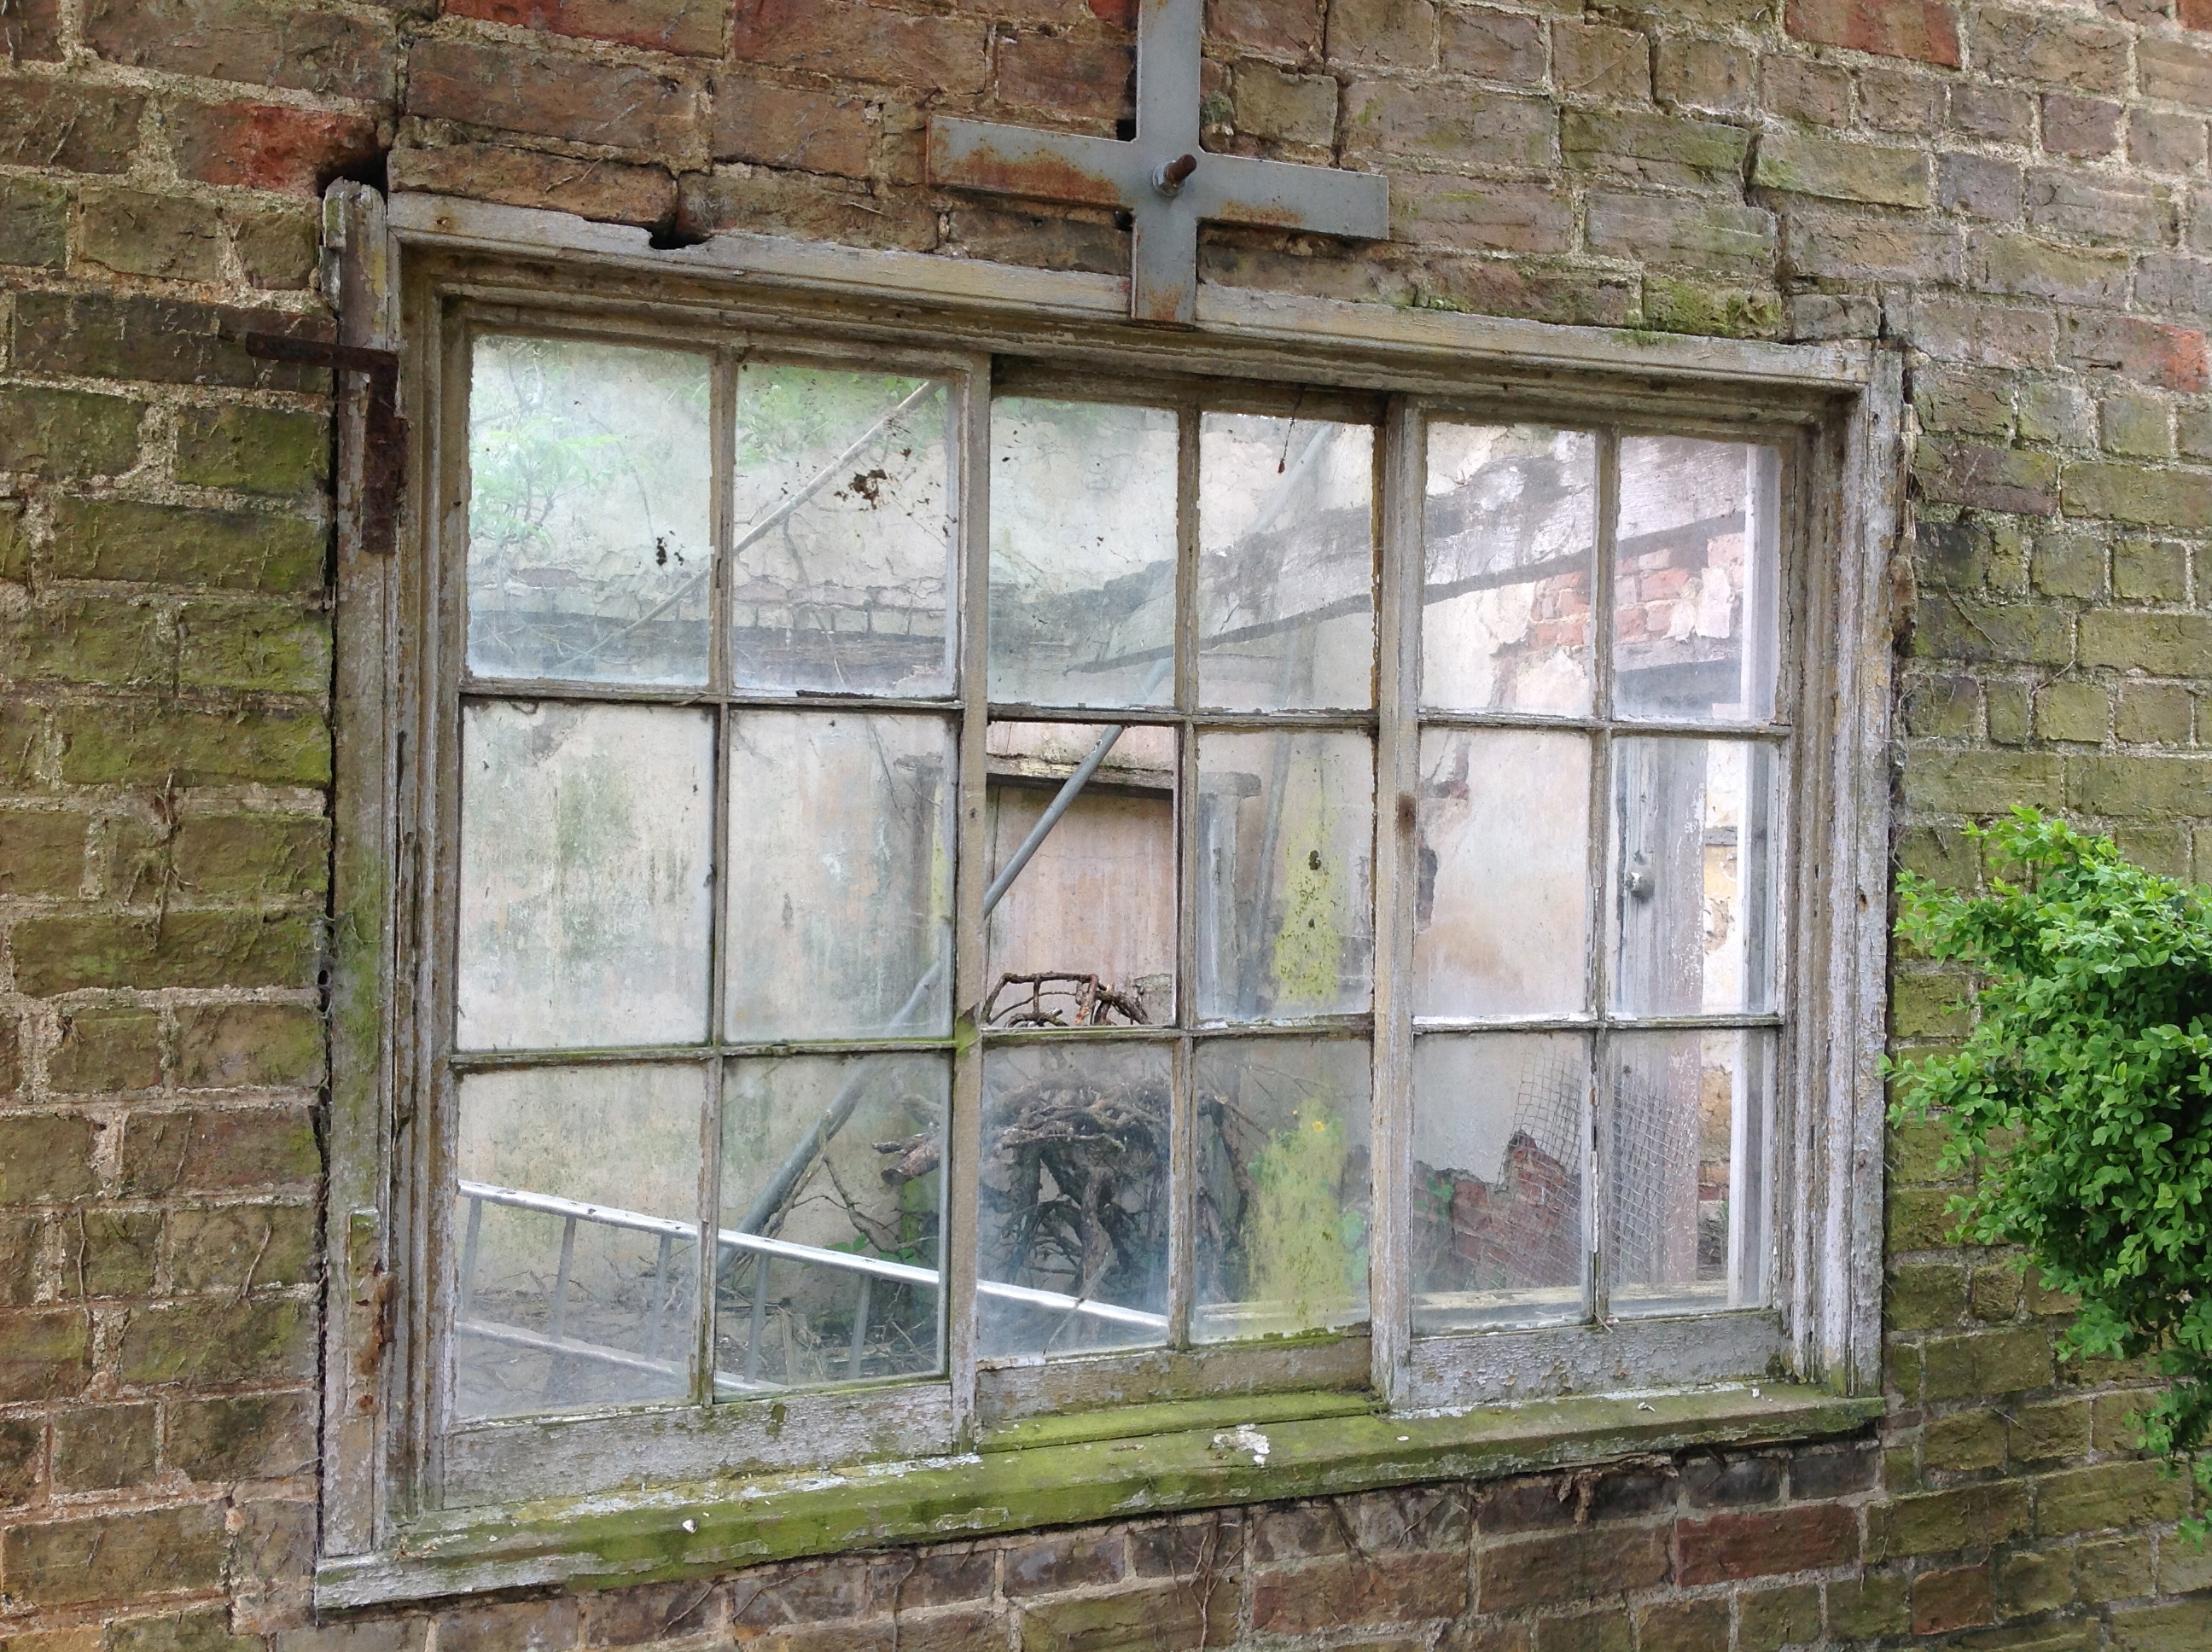
It is all we could have imagined, and much much more… It is BIG and echoey at the moment as there isn’t much furniture in it until the container arrives next week. But that doesn’t matter – it really is one big adventure.

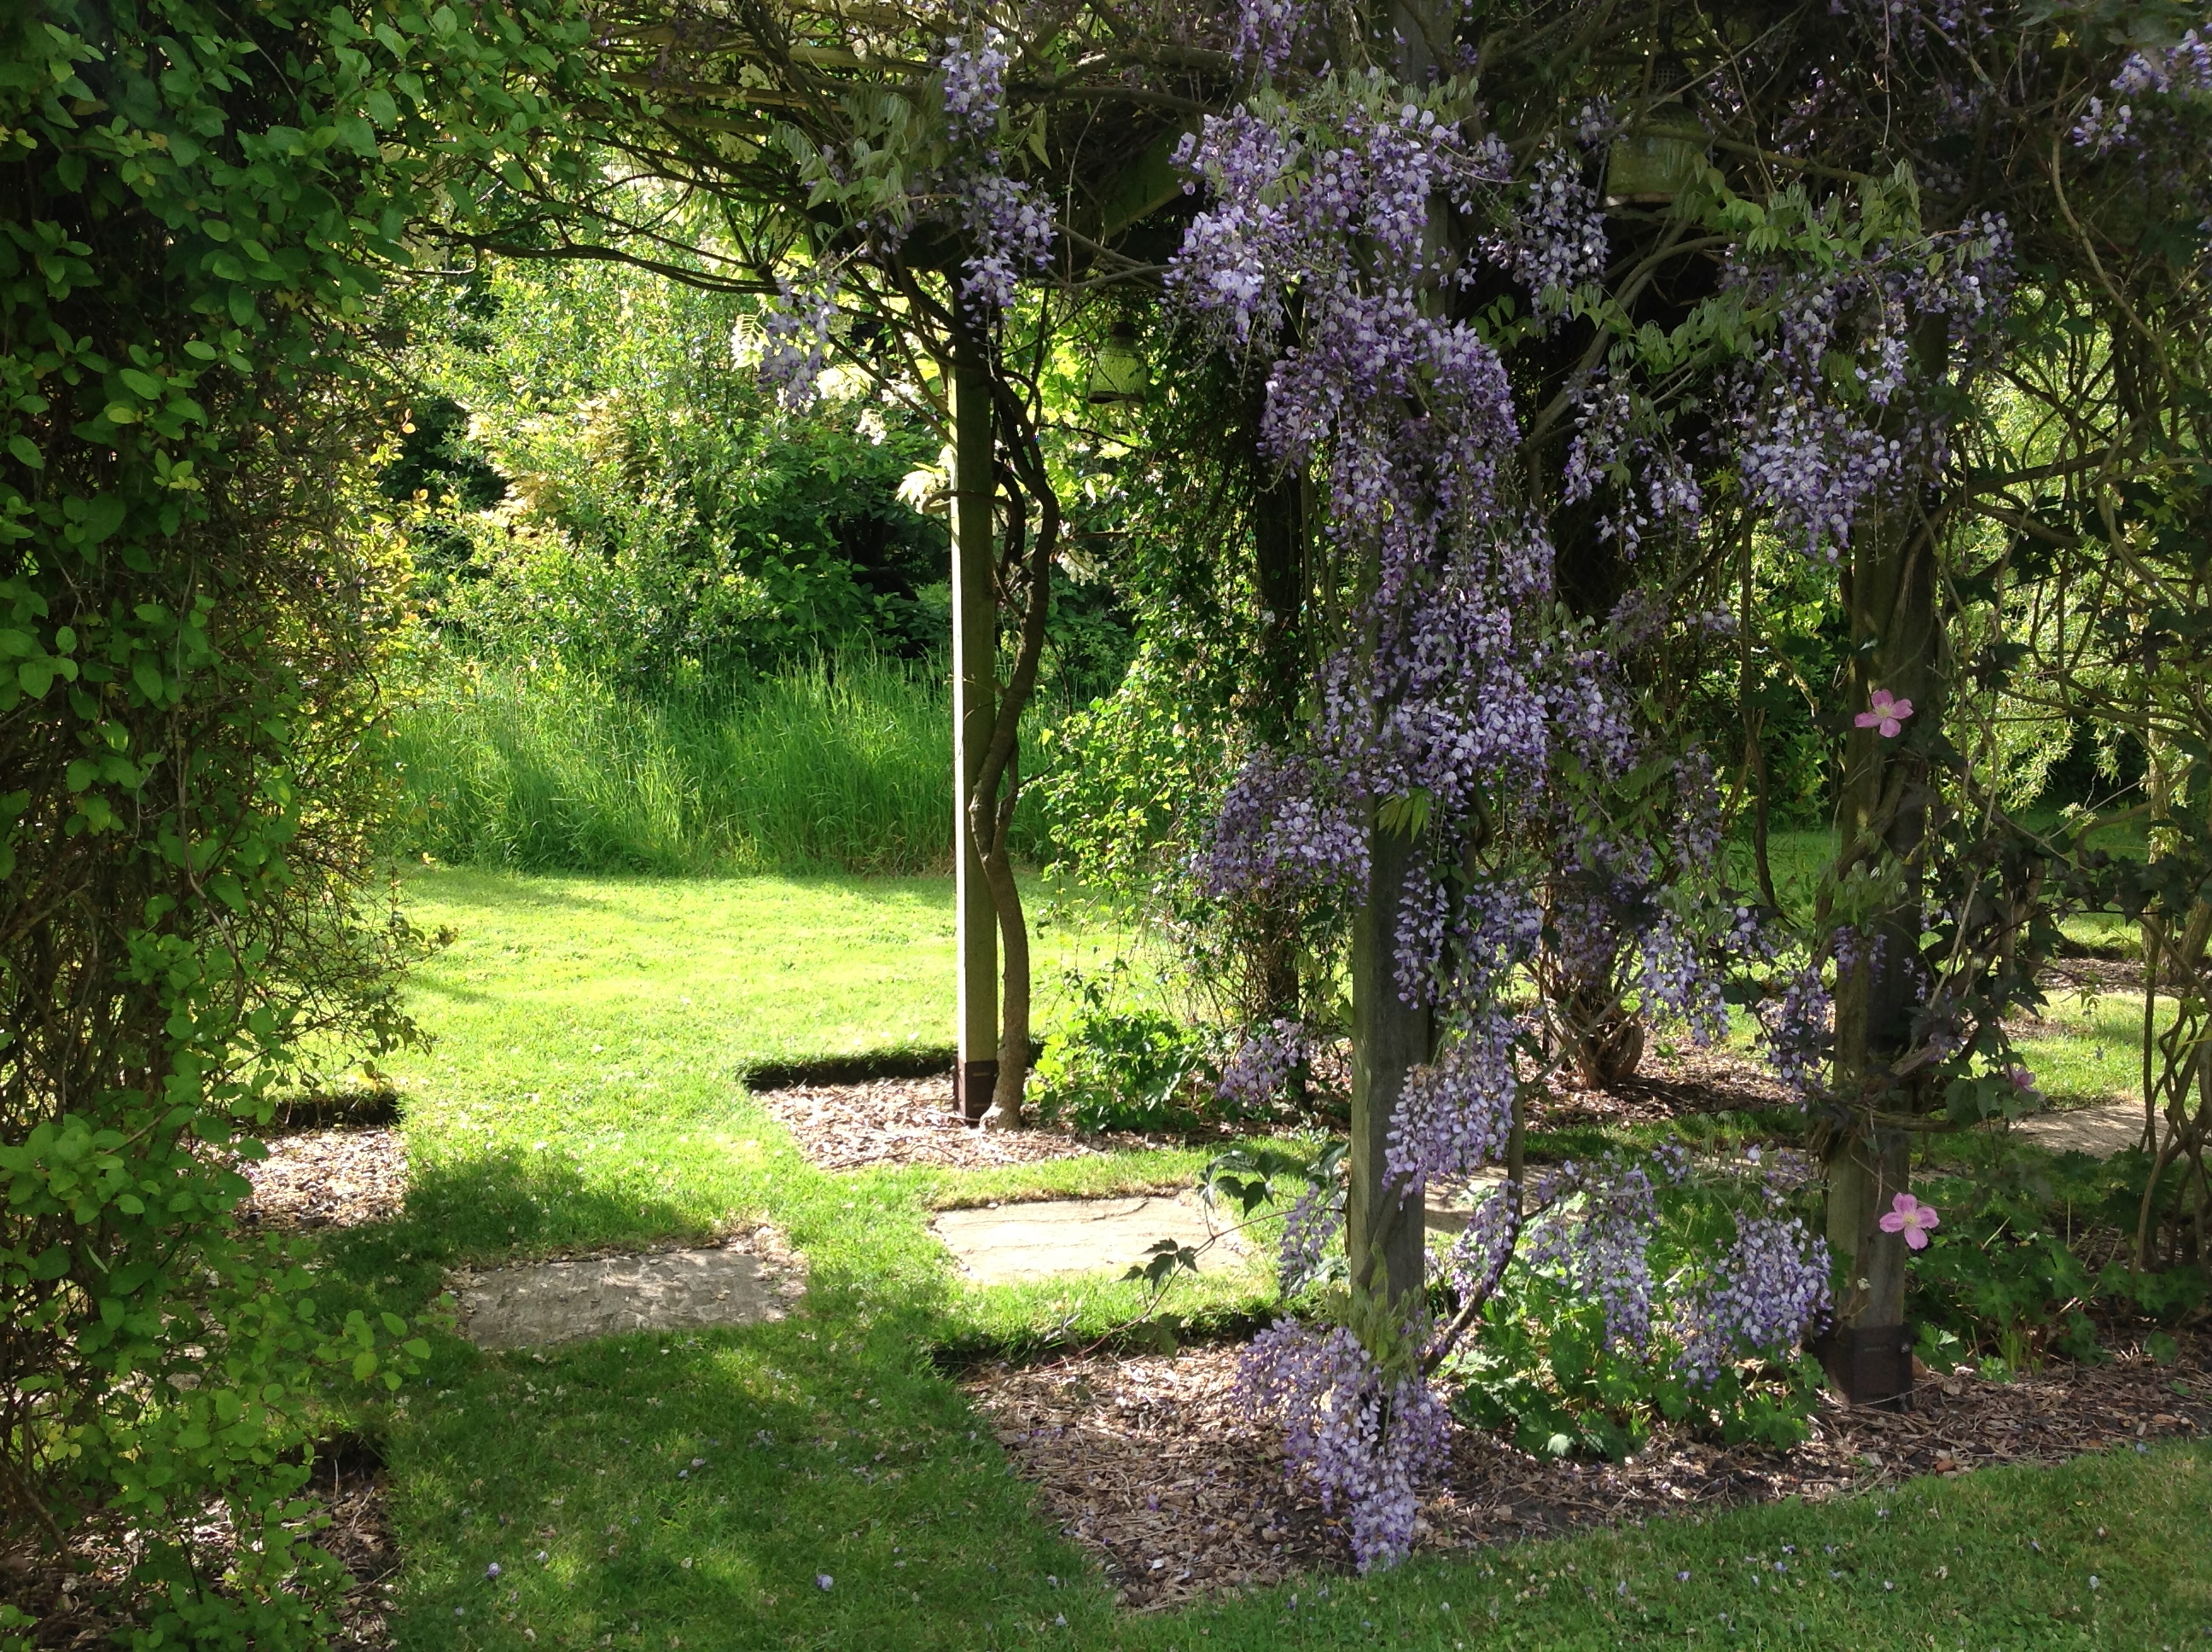
The previous owners are living near by and have been on hand to answer questions about the house as well as living in France. On Thursday we walked around the garden together taking notes of the various trees, shrubs and plants:

Climbers:
– Honeysuckle; Clematis (Montana); roses

Trees:
– Acer; yew; monkey puzzle; hazelnut; acacia; laurel; Christmas; Japenese maple
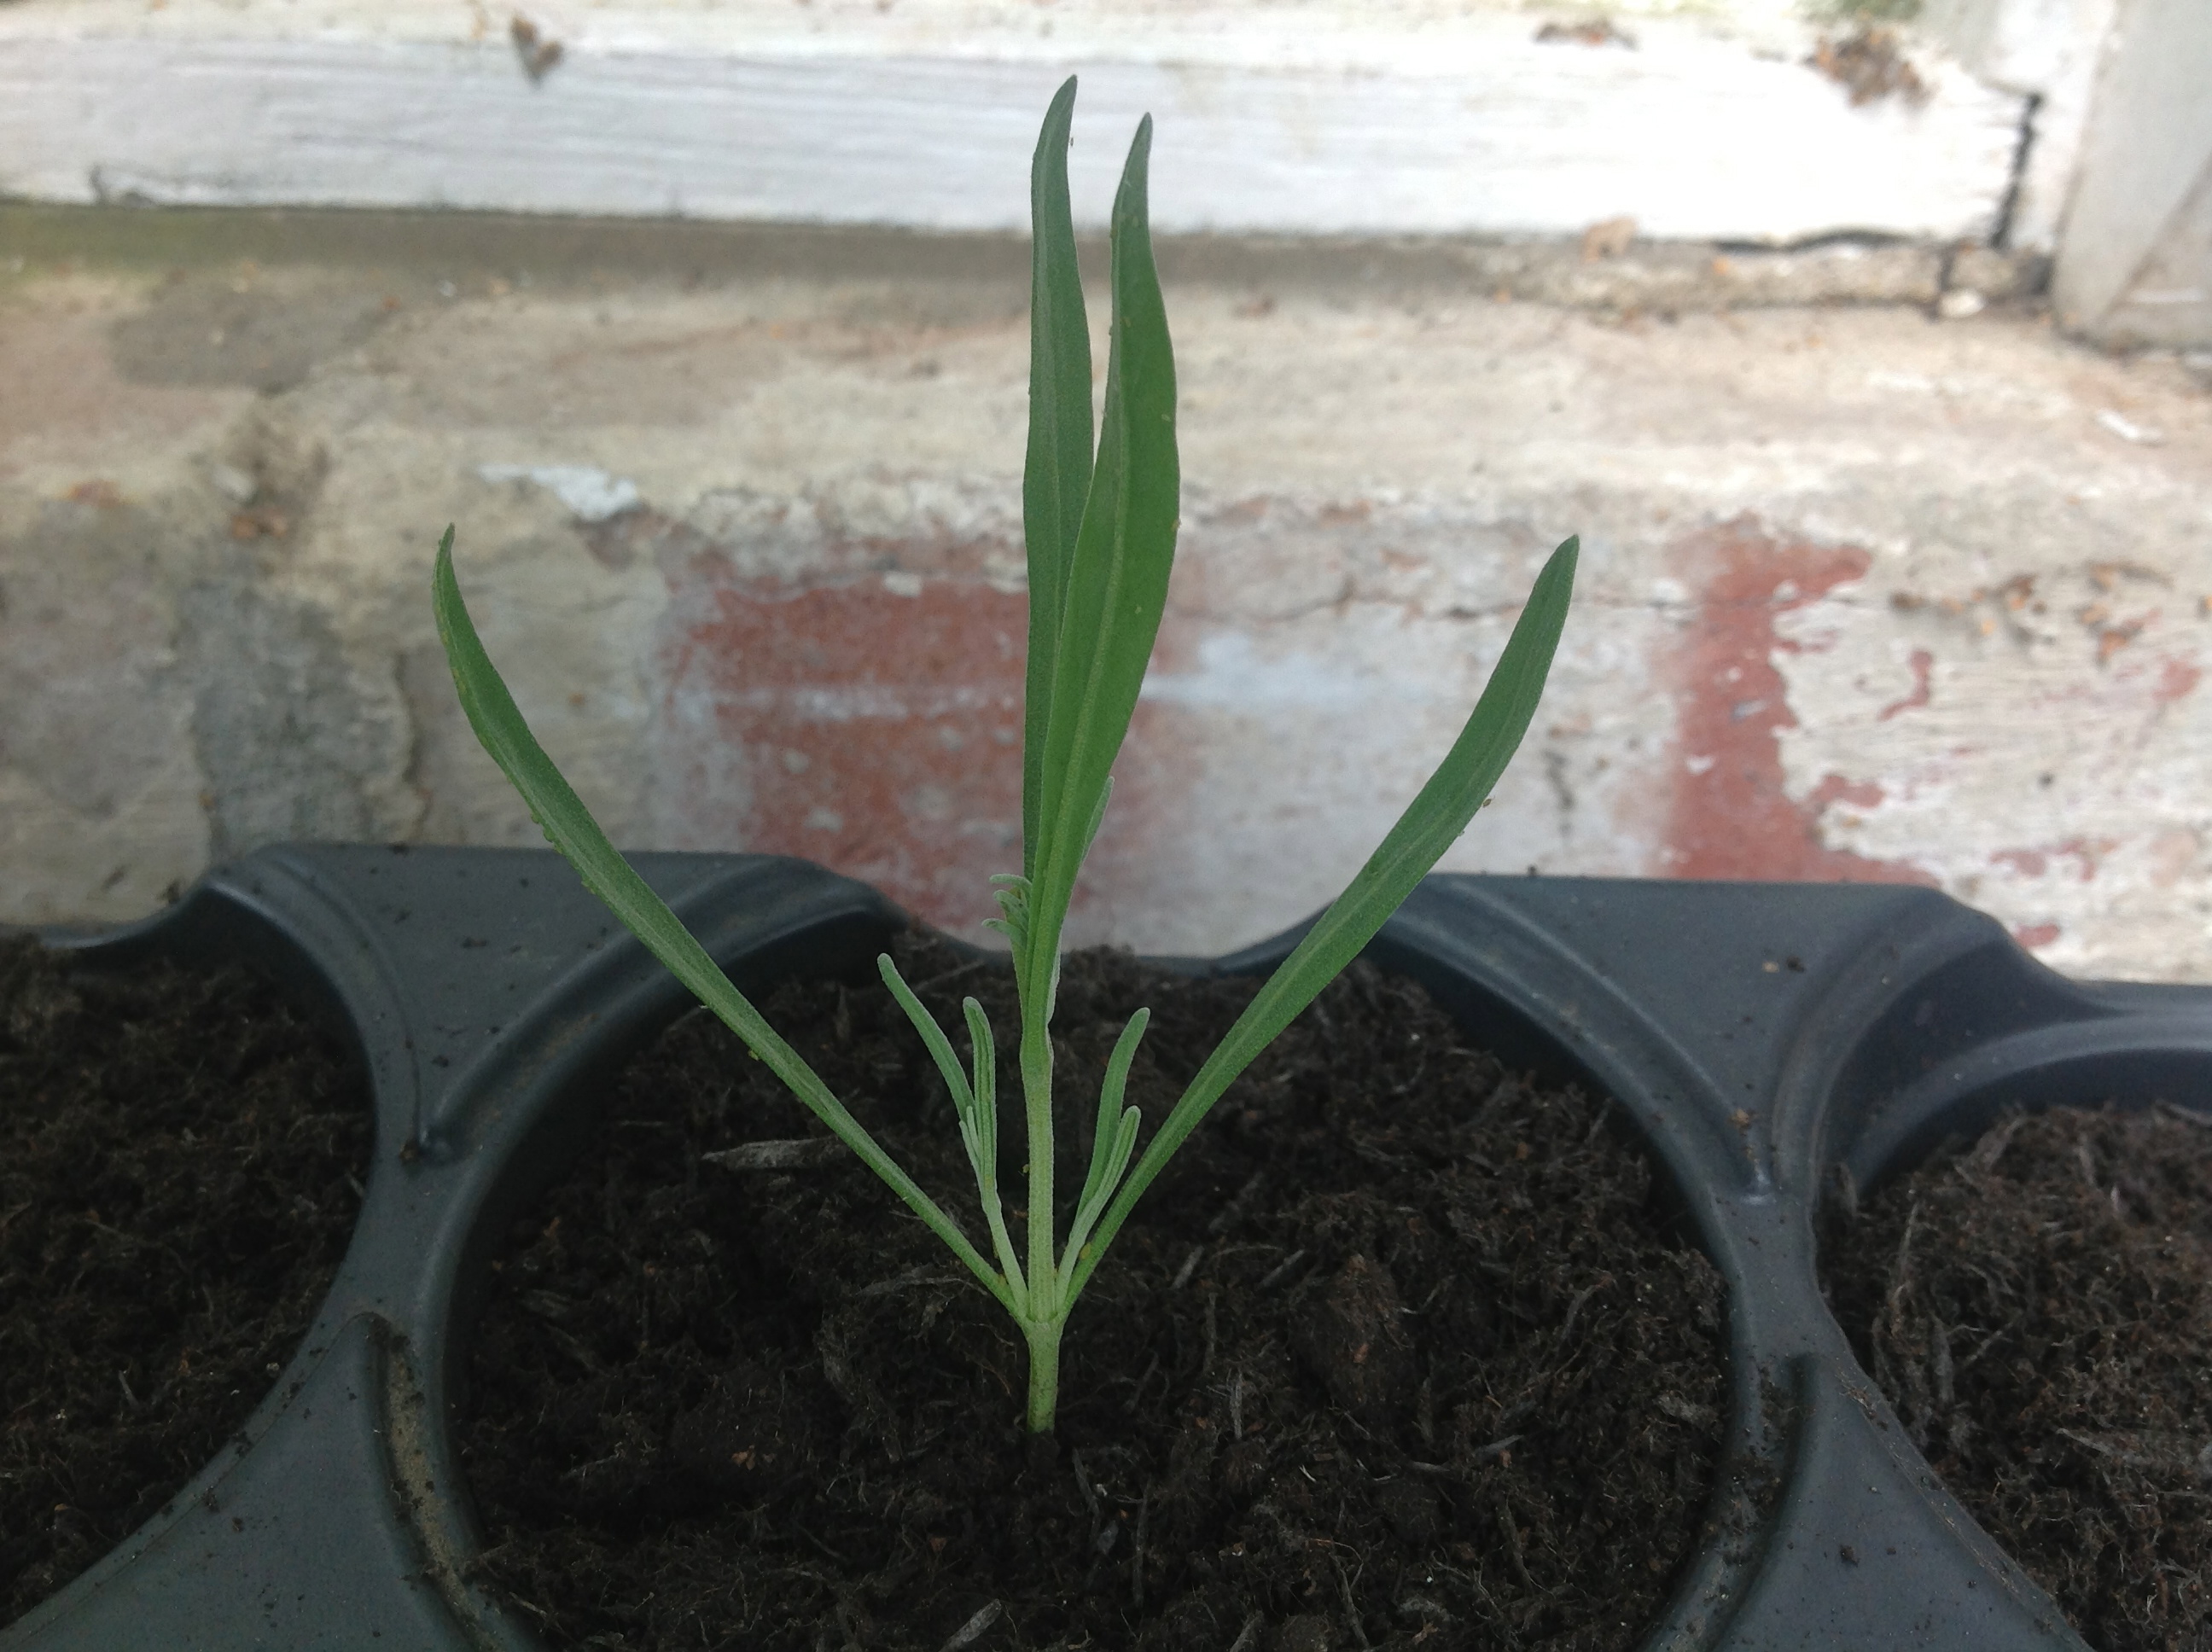
Shrubs:
– Holly; Magnolia; Lilac; privet hedge; box; copper beach; Rhododendron; roses; lavender; hydrangea; peony
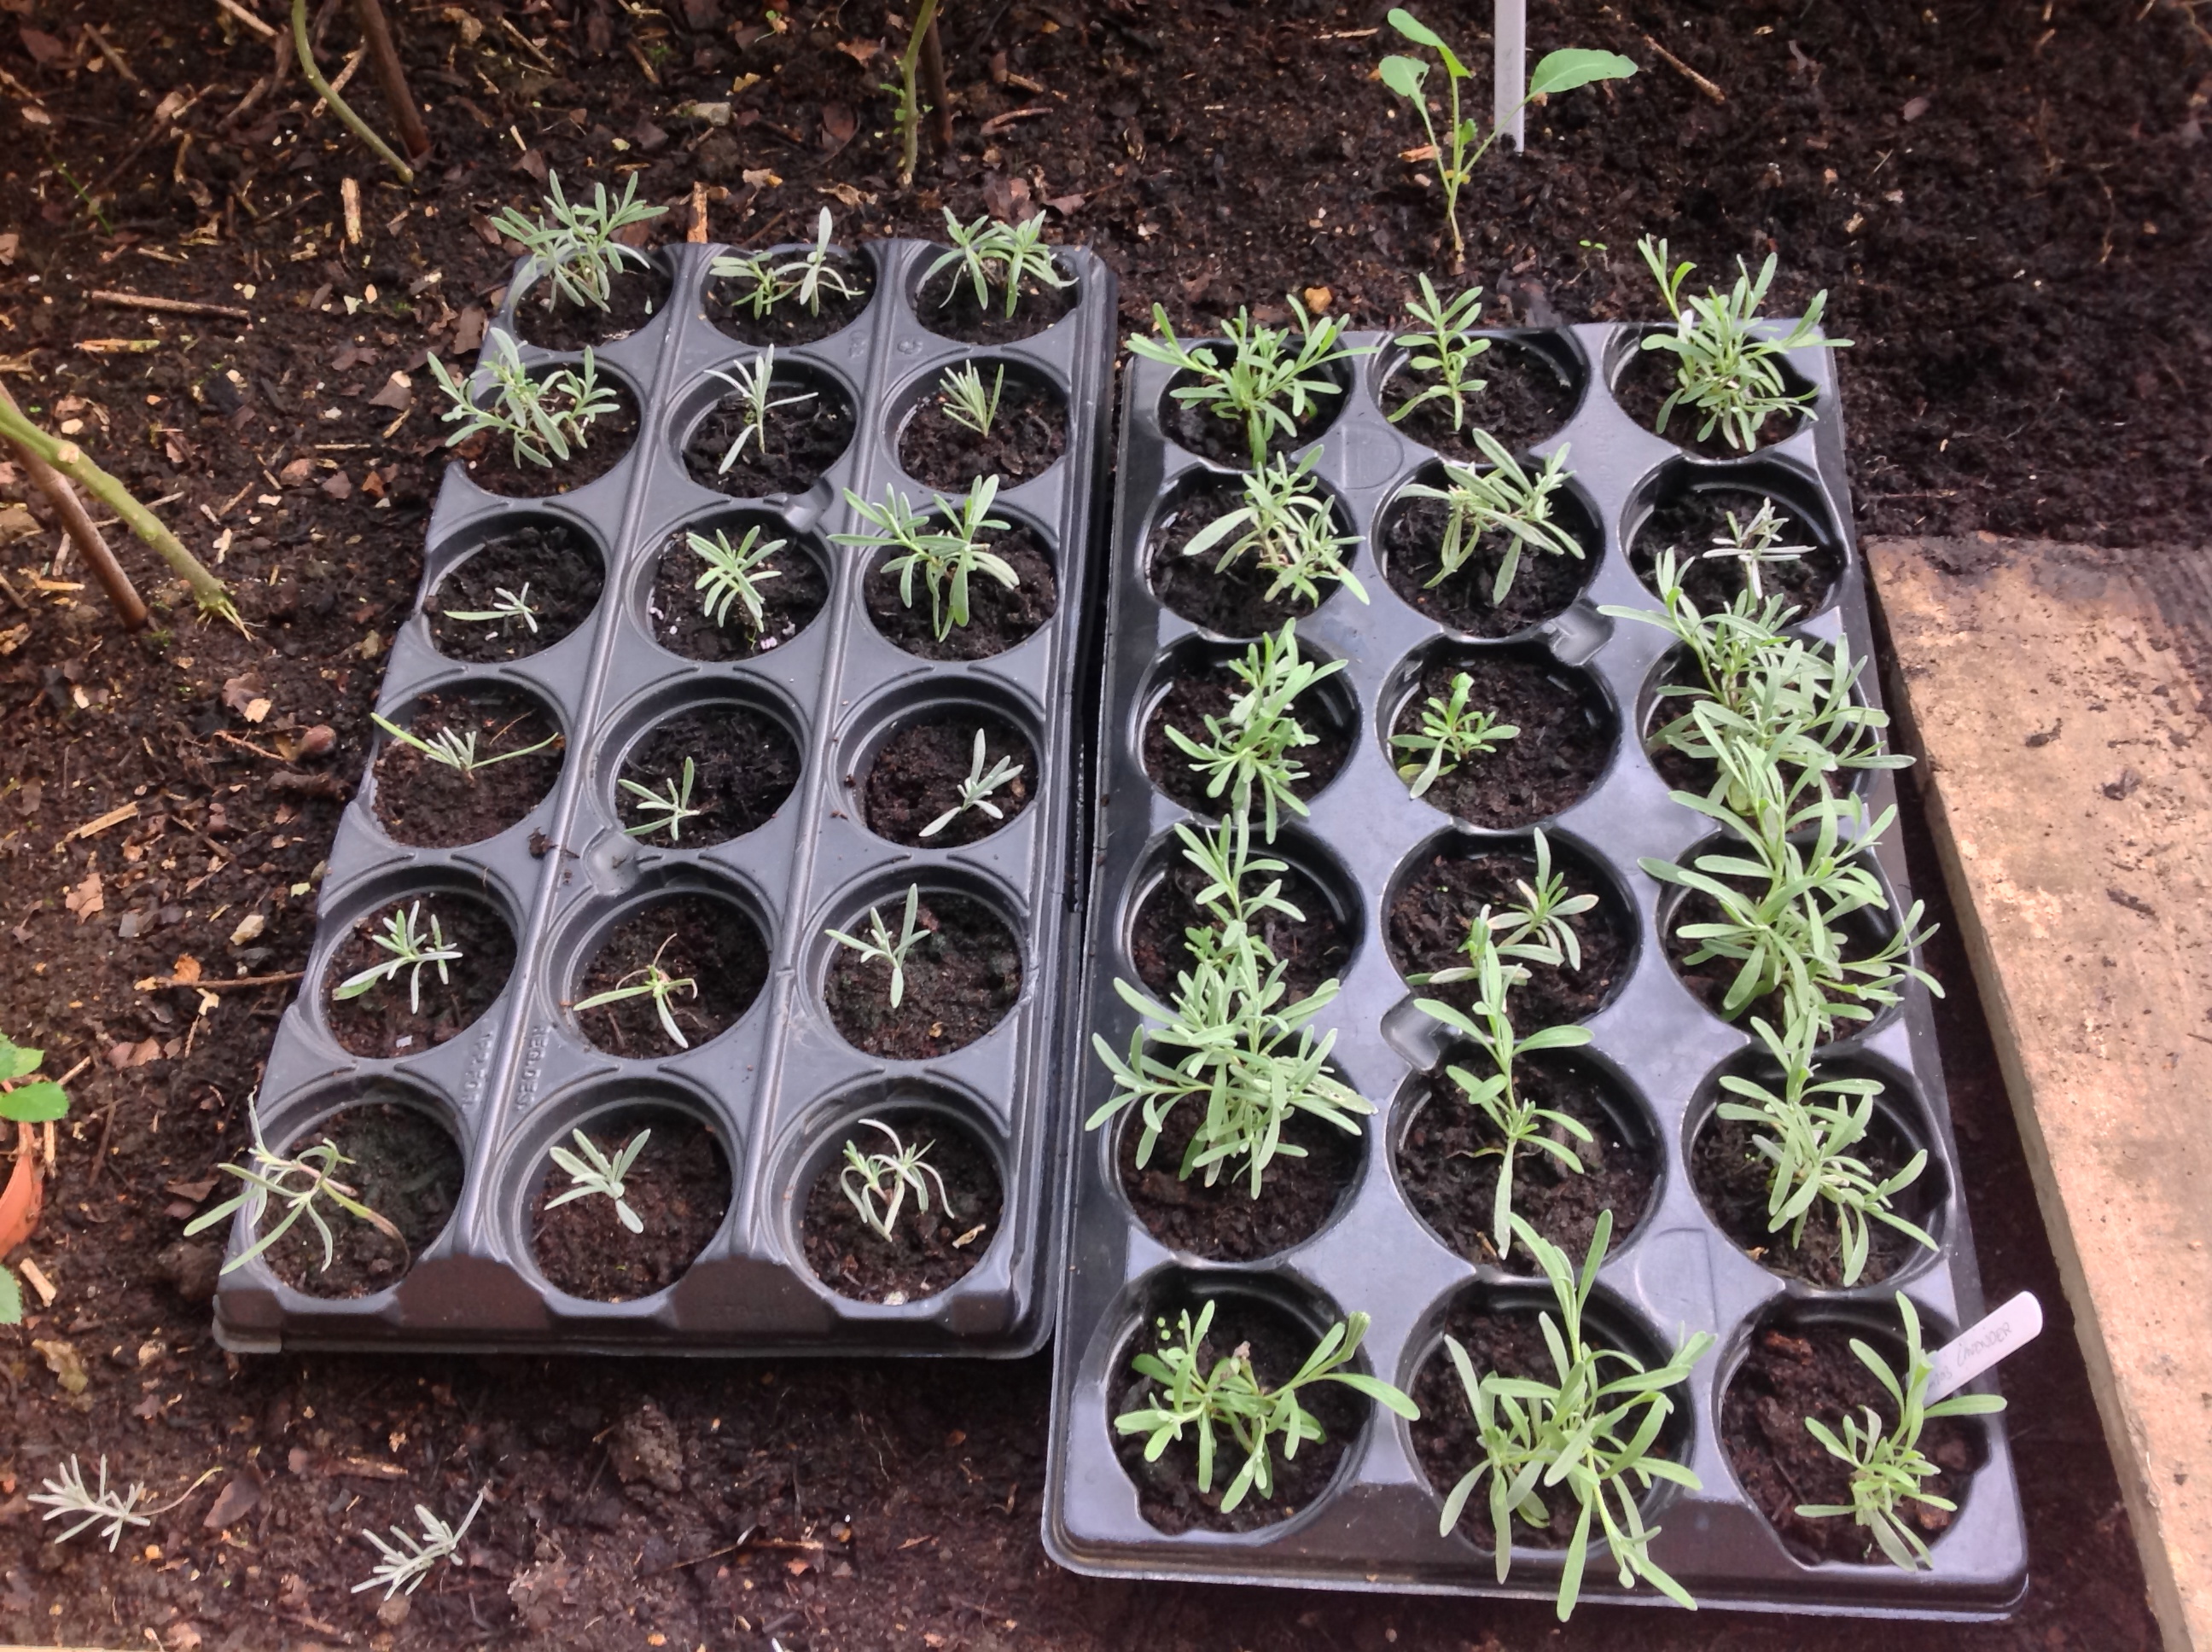
Aromatic herbs:
– Sage; oregano; rosemary; curry plant; chives; mint; bay tree

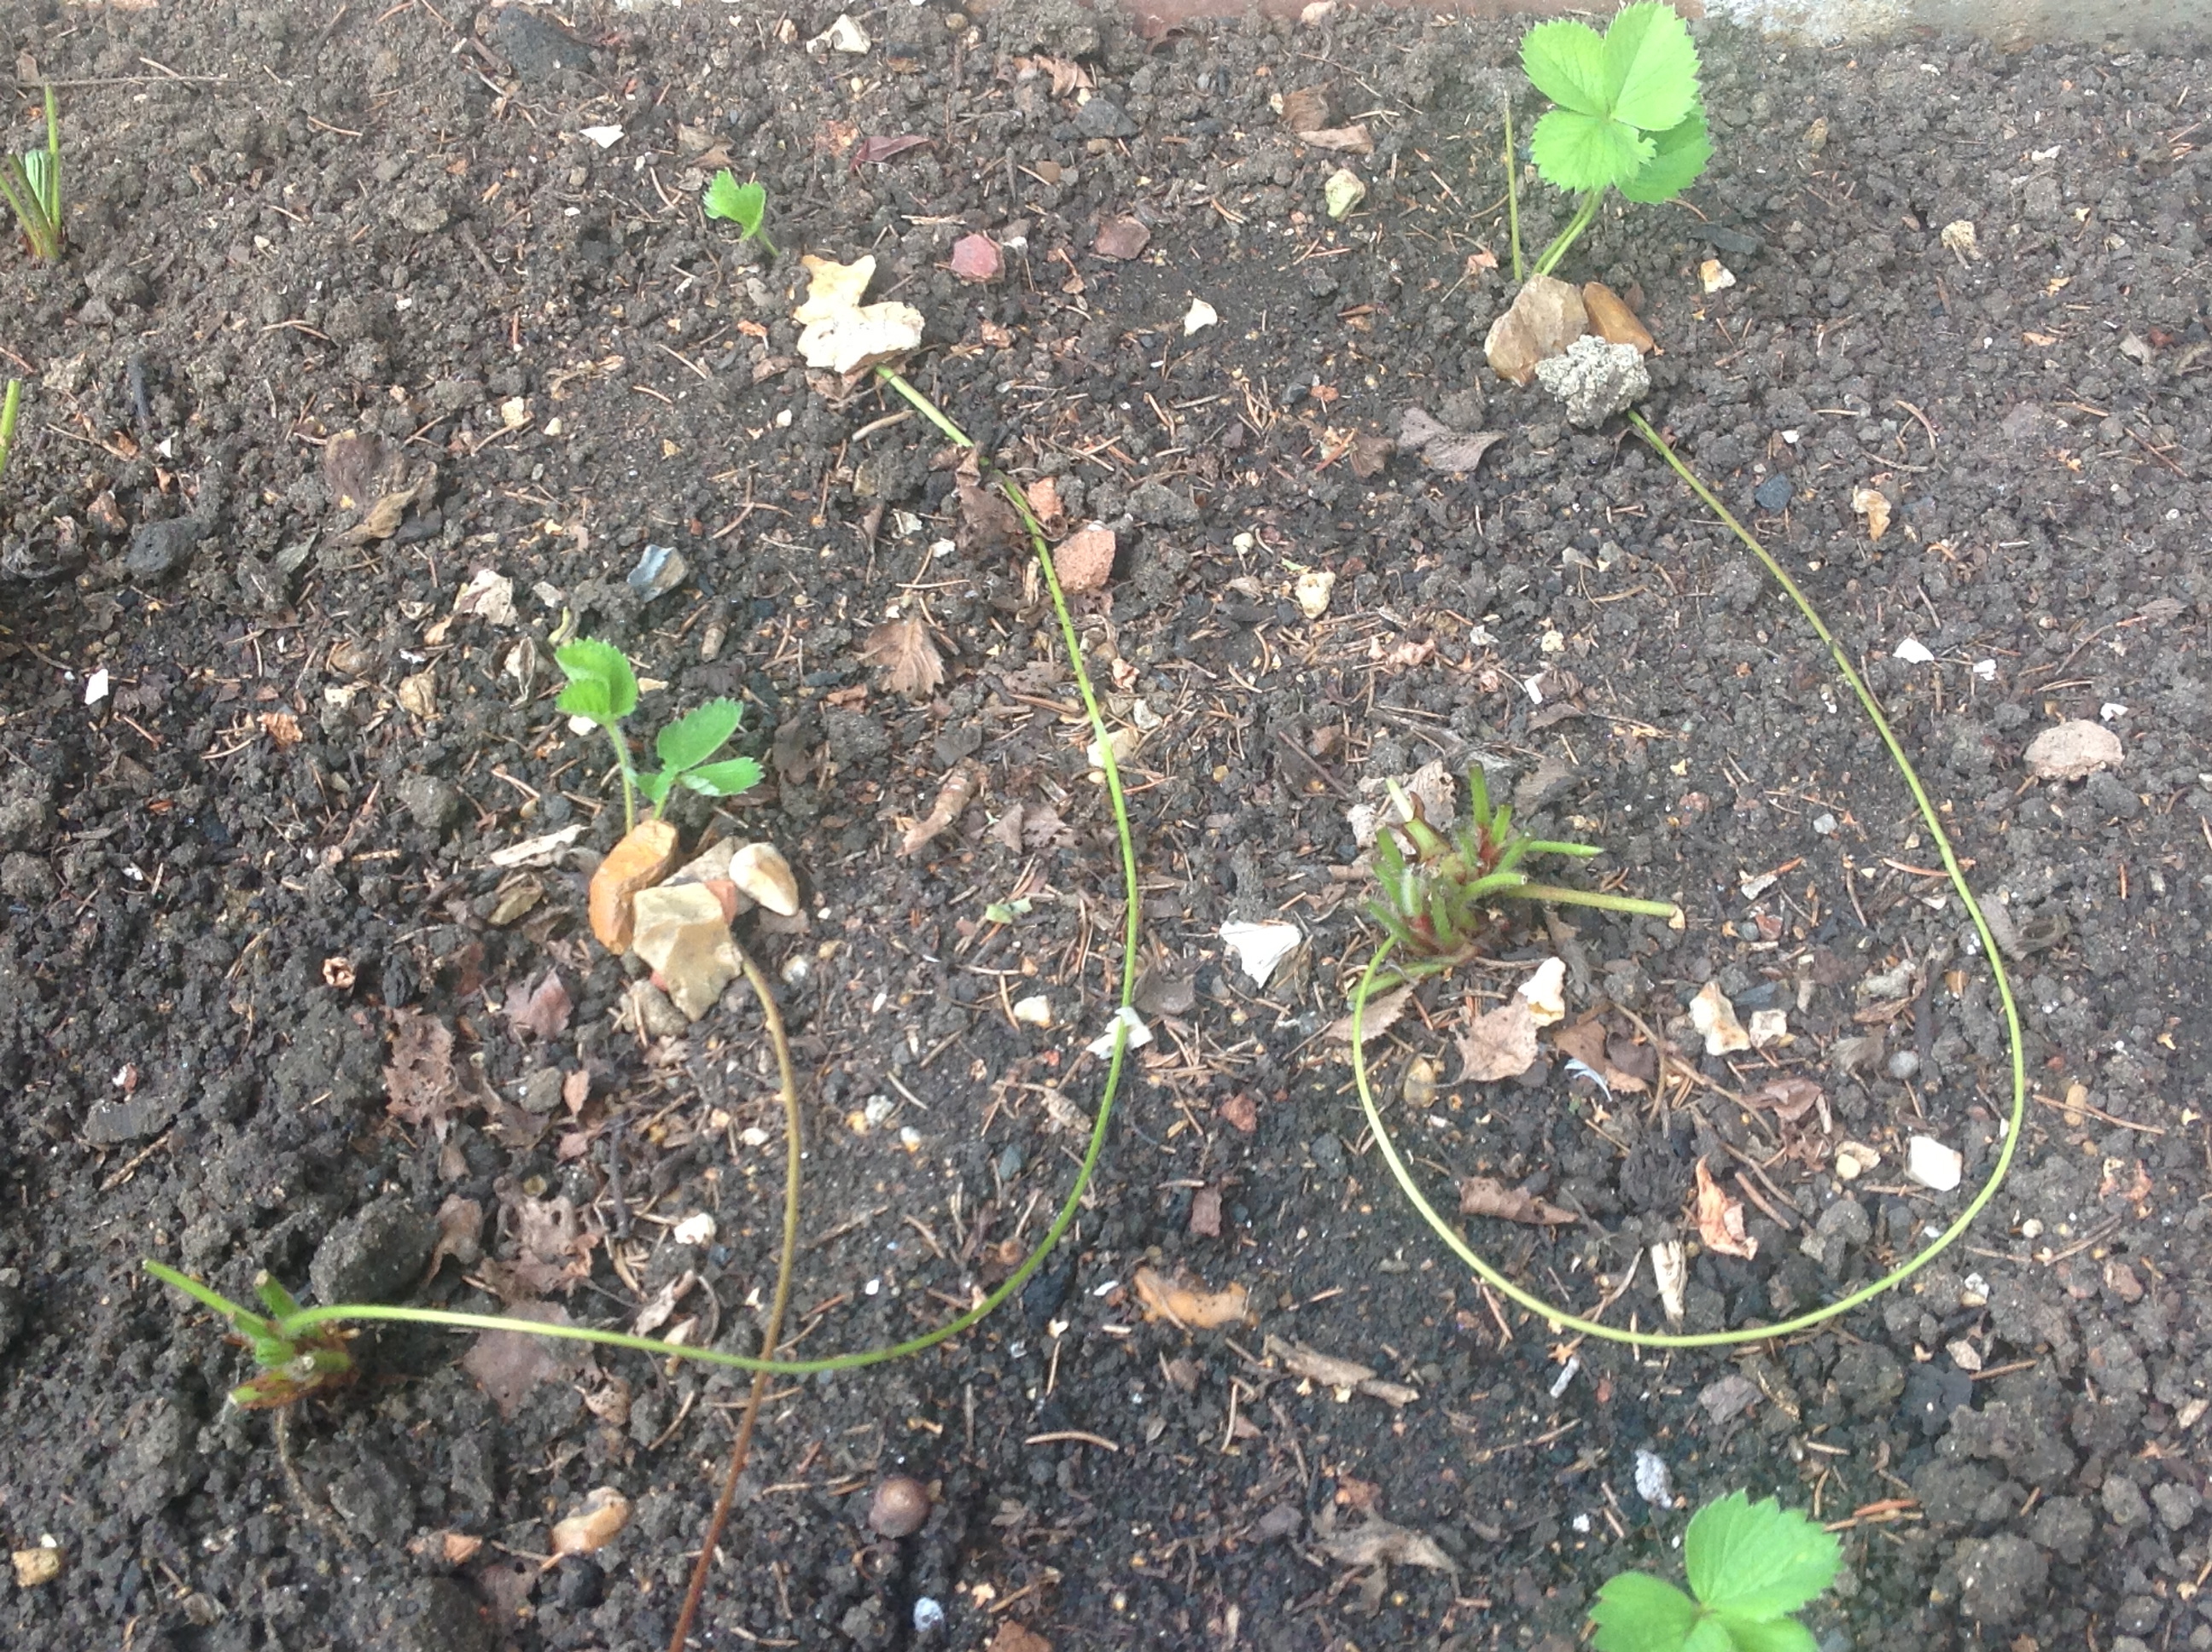
Fruit trees and fruit:
– Apple tree; Mirabelle plum tree; cherry tree; fig tree; olive tree; grape vine; wild strawberries, kiwi, blackberry bush

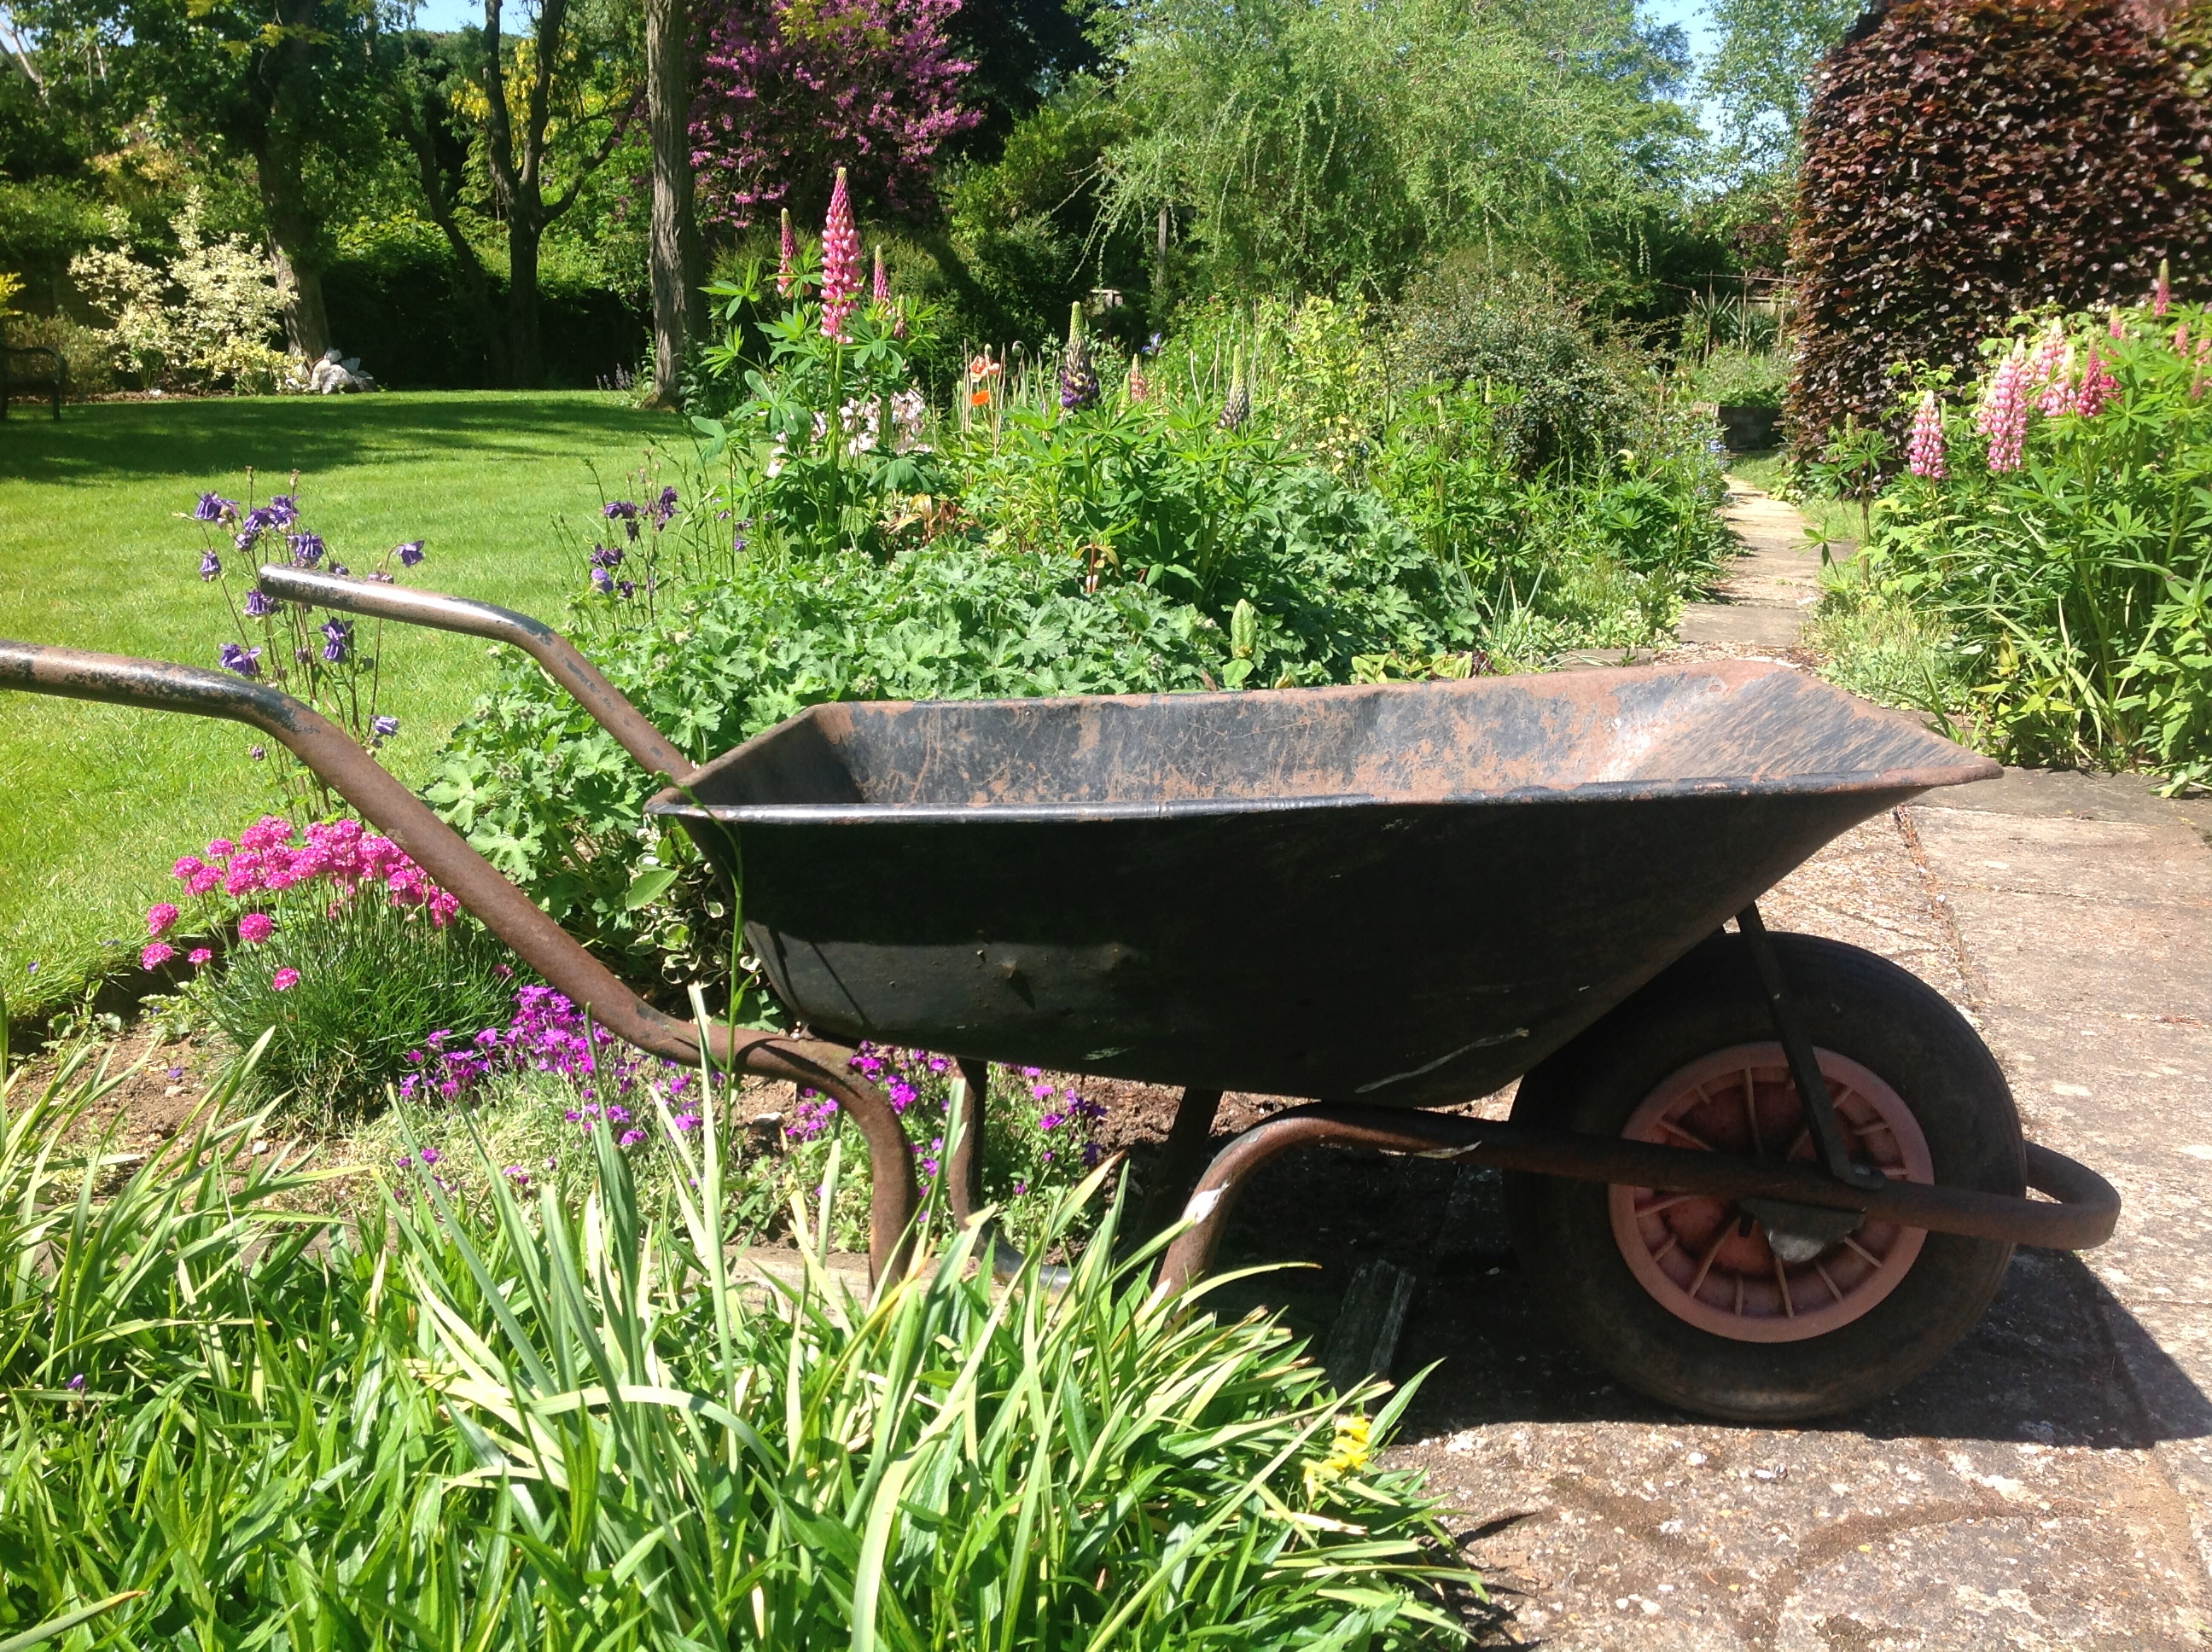
Next steps are to draw a garden plan as well as work out where the allotment and compost heaps are going to go. My gardening-mad family arrive next week so no doubt they will want to help out! SCH

IMG_4351  IMG_4387  IMG_4364  IMG_4391

Lavender update: four months on

Well, I’ve had mixed success with the lavender cuttings! Partly because I took cuttings too early (I’ve since learnt that early autumn would probably be better) and partly because we had such a warm summer and I’ve struggled to know how much water to give them (read: I have over watered them)!

Nevertheless, out of the original 36 cuttings, 24 rooted well and put on good growth and I have been able to replace any weaker cuttings with the autumn new growth from the master plant.

I have also regularly ‘pinched out’ the top shoots so they bush out and form more foilage at the bottom rather than grow leggy stems. I will only water the cuttings very occasionally now that the weather has turned cooler and will keep them in the greenhouse out of harm’s way until next spring when they can be planted out at The Little Grange. SCH

IMG_2186

Lavender cuttings 17 Oct 2013

Refreshing the strawberry bed

I have had lots of fun overhauling the strawberry bed this week.

We have an old brick bed adjoining the greenhouse which is approximately nine feet long by three feet wide. Once the plants start developing their fruit in early summer we add wooden frames covered in netting to protect them from birds.

We had a disappointing crop over the summer (two to three large punnets only) mainly because many of the plants were a few years old and past their best; the tubers where gnarly and protruding from the earth and I think the plants struggled to keep themselves going!  They did however produce lots of runners (these run along the ground looking for a place to anchor their roots and eventually become baby plants that will flower and fruit the season after next).

When I started to tackle the plot it was one big jungle and difficult to see what to do first so I began by cutting away all of the stalks and leaves and leaving only the stumps with their brand new runners. Once I had a clear view of the bed I was able to remove any rotten plants, poorly placed plants, or old plants that had not produced runners. This resulted in more uniformed rows of strawberry plants (which makes watering, weeding and picking easier) and made for an easier view of the runners.

Next I looked for the healthiest of runners and cut them back to the first rooting shoot (sometimes runners will produce two or three baby plants along their length but have to work twice as hard to feed them all)! I weighted down each shoot with a big stone to allow the tiny roots (just visible) to cling to the soil below and take hold.

In removing the old plants and weighting down new runners I took care to make sure I didn’t limit next year’s fruiting potential. For example, even though they were on their last legs I retained the old plants that were producing strong baby plants, I kept all other healthy plants as they will be the ones that will flower and fruit next year and, finally, I filled any holes with plants already grown from last year’s runners. At the beginning of next season I will be able to replace the oldest and weakest plants with the new plants provided by this year’s runners.

Below is my 5-step recap (mainly to remind myself)!

1. Cut away all stalks/leaves taking care not to cut off the runners!

2. Remove old plants that are not producing runners or fruit (tidy up the rows)

3. Weight down runners with stones

4. Surround plants with fresh compost to replenish nutrients

5. Water well

Next year I will be using this experience to build a strawberry bed from scratch at The Little Grange in France. The goal is to create a well-stocked kitchen garden at the back of the house incorporating fruit, vegetables, herbs and edible flowers. SCH

IMG_1346  IMG_1774  IMG_1739  IMG_1740

Lavender: the two-year project

I know it sounds a little crazy to talk of edging a 100 ft garden path with lavender when I haven’t yet found the right property, but given the amount of work that goes into building a mature garden it seems wise to make an early start! Despite my impatience and general inexperience, I’m hoping that by taking cuttings from an old, gnarled lavender bush and planting them up now I will have the perfect-sized lavender plants within two years.

There are other benefits too: the cost of planting 40+ established plants from a local nursery is prohibitive (I estimate somewhere in the region of £400). With this being one of many ‘essential’ garden projects at The Little Grange it is hard to justify such a spend and the alternative – planting a few smaller plants – just wont have the same impact. By taking cuttings I will have all the plants I need for (virtually) nothing at all.*

IMG_1068  IMG_1066   IMG_1072  IMG_1071  IMG_1073 2  IMG_1074  IMG_1076  IMG_1175

I followed these simple steps:

Step 1: take an old lavender bush with lots of new shoots

Step 2: choose small pots, fill with compost and water lightly. For ease I planted 36 cuttings in two pre-formed trays of 18

Step 3: using secateurs, cut off a semi-ripe shoot of about 5 inches from the lavender bush

Step 4: using a sharp knife, cut just below the lowest leaf bud

Step 5: take off all leaves apart from the top set; thin out the central leaves

Step 6: using a pencil or similar-sized implement, make a hole in the centre of the compost and pop in the cutting

Step 7: using small wooden stakes and a see-through polythene bag; protect the cuttings; keep them out of direct sunlight

Once the cuttings are firmly established – they will sprout new shoots and will have a good root system – it will be time to pot them into bigger/individual containers with poor, stoney soil and leave them in a warm, sheltered spot. SCH

* Remember to factor in potting compost and water!

Garden inspiration

What a fantastic way to spend a (partially) sunny weekend… looking around other people’s gardens!

In a small village, about two miles away, Mum and I visited 24 gardens over two afternoons as part of an open garden festival. I love looking through magazines for inspiration but nothing compares to seeing gardens up close.

Aside from getting that warm fuzzy feeling, the whole experience provided a fascinating insight into the British psyche… Armed with a map of the village we roamed from house to house on a mission to find new garden design ideas as well as new planting schemes.

No two gardens were alike; some were large and formal; others small and rambling. Planting was generally organic rather than staged and you could tell that people just loved to garden (and their gardens). What I hadn’t bargained for was the extent to which people moved beyond plants and soft/hard landscaping to create their own little havens matched perfectly to their personalities and obsessions! For example, the first Georgian house we visited just off the high street had a miniature train track running around the perimeter and a very excitable owner keeping the train and carriages moving past their stations. Another garden lover had a corner plot complete with hot tub, pond and chicken coup!

Other fun elements included a hill with secret kiddy tunnel, an enormous medieval castle dominating the back garden of a family home, and a teeny weeny garden filled with all manner of decorative objects including the inimitable gnome! All set in a small village no more than two miles square… what a treat.

IMG_1032  IMG_1005  IMG_0981  IMG_1009  IMG_1055  IMG_1017  IMG_1052  IMG_1037

However, for me it was the traditional garden elements that I enjoyed the most. Above are some of the ideas I hope to introduce into the garden at The Little Grange: stone boundary walls, big old gnarly trees, formal buxus hedges, wisteria in full bloom, well-planted vegetable patches and a suspended garden bench. SCH

Practical garden design

I have been thinking a lot about garden design recently. True: the RHS Chelsea Flower Show was on TV and was as ever full of great ideas, but it’s the practical side of design that prompts me to write.

IMG_0905

The all-important wheelbarrow

I’m the first to admit to loving symmetry and tidy borders, but the day-to-day need for a variety of garden tools, sacks, pans, compost and water has made me realise that I am going to need a garden that ‘works’. Add to this the busy running of a B&B and you soon realise efficiency is going to be key!

We have been extremely fortunate to have had seven days of uninterrupted sunshine which has been instrumental in helping clear many an important seasonal job. I’ve spent hours trimming lawn edges, staking and trimming overgrown hedges, heaving compost into bags, weeding flower beds, potting up summer plants, thinning out vegetables and herbs, scrubbing moss off the old patio, and brushing down garden furniture… the list goes on and there’s always that unexpected job each day. But the point here is I’ve probably spent half the time traipsing backwards and forwards collecting or depositing ‘things’!

So in considering the workability and aesthetics of the garden at The Little Grange, here’s my practical design priority list:

1. Water butts in a variety of locations (fed by guttering from house, greenhouse, etc.)

2. Greenhouse for growing on new plants and for winter pot storage; ideally with a built-in earth bed

3. Tool shed attached to greenhouse as well as a similar storage solution closer to the main house

4. Potting shed attached to the main house

5. Kitchen garden within easy reach of the main house

6. Duplicates of key tools for those jobs that take you to the far end of the garden

I will keep an eye out for bargain buys at my local auction since there seems to be a constant stream of old tools, garden pots, lawn mowers, ladders, etc. You never know, I might even find that all important garden shed! SCH

Tuesday’s tip no. 1

Cut up an old (white) yoghurt pot to create cheap and quick labels for your herb garden

1. Cut strips vertically from the top (about an inch wide)

2. Cut a point at the end (for inserting into the soil)

3. Use a pencil to write the name of the herb (pencil is better on plastic)

4. Insert your new labels, and, ‘voila’!

IMG_0671

Yoghurt pot herb labels