Upholstery course: day two

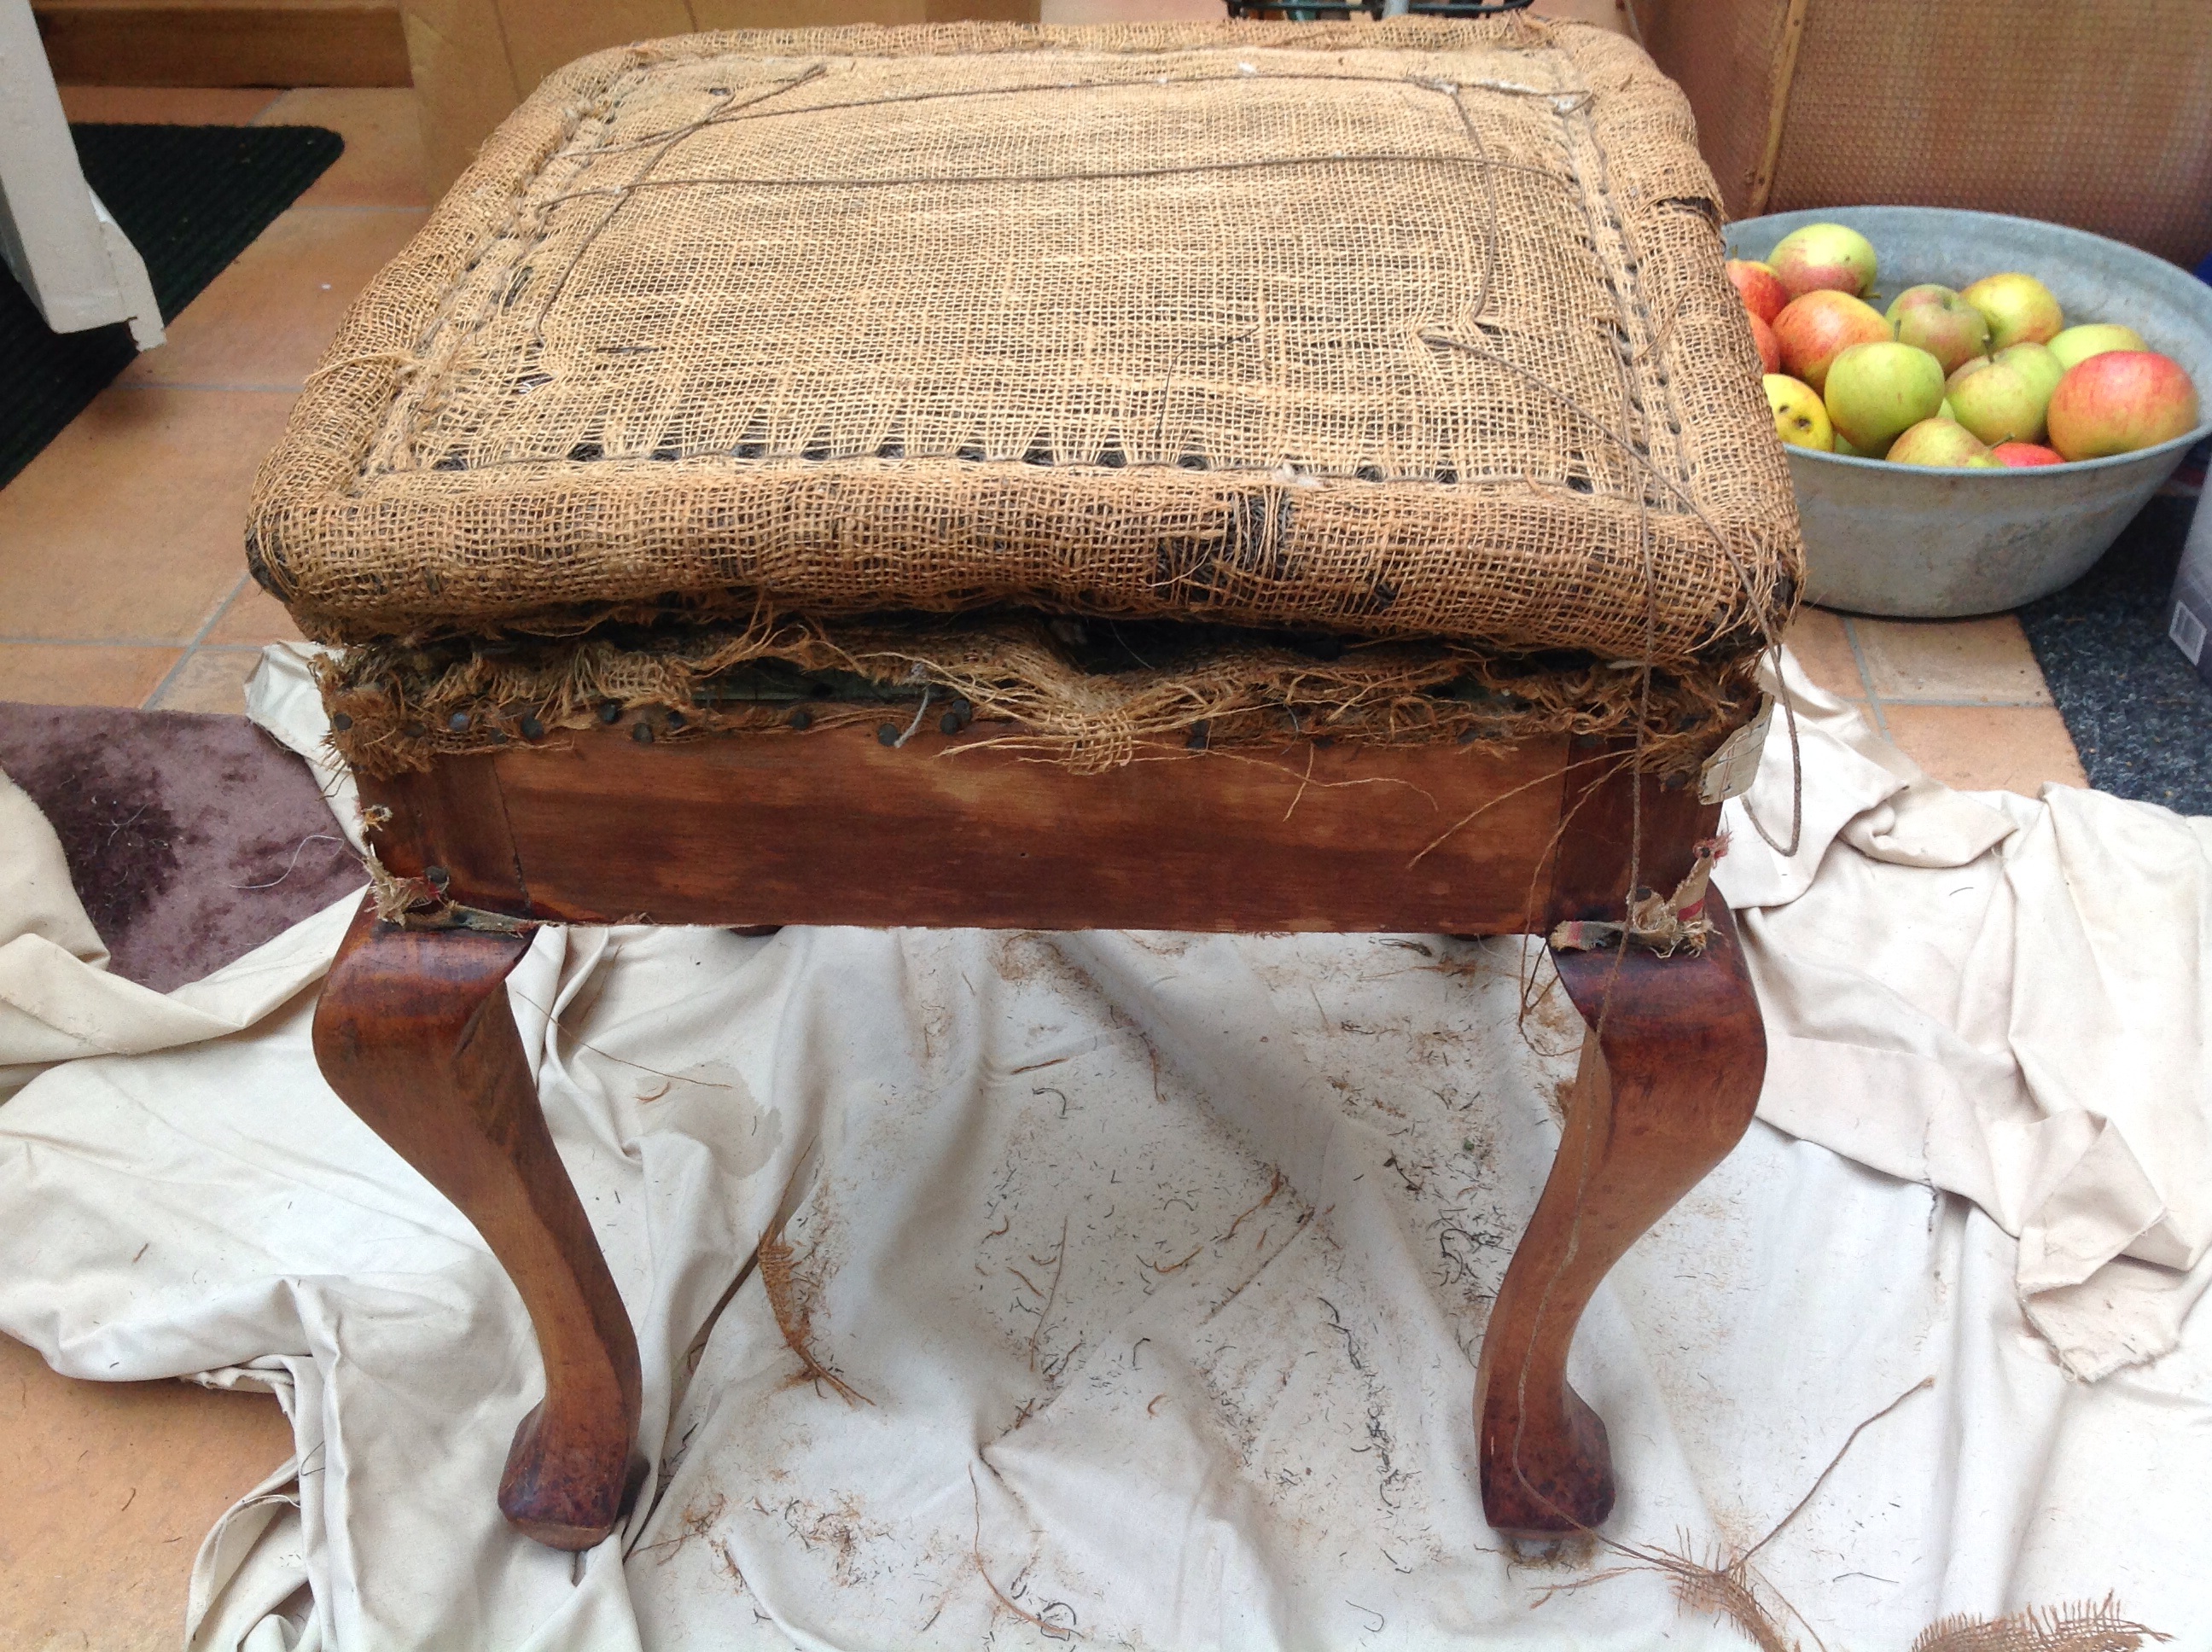
This is a progress update on the small stool I began re-upholstering last year (well, dismantling more like)!

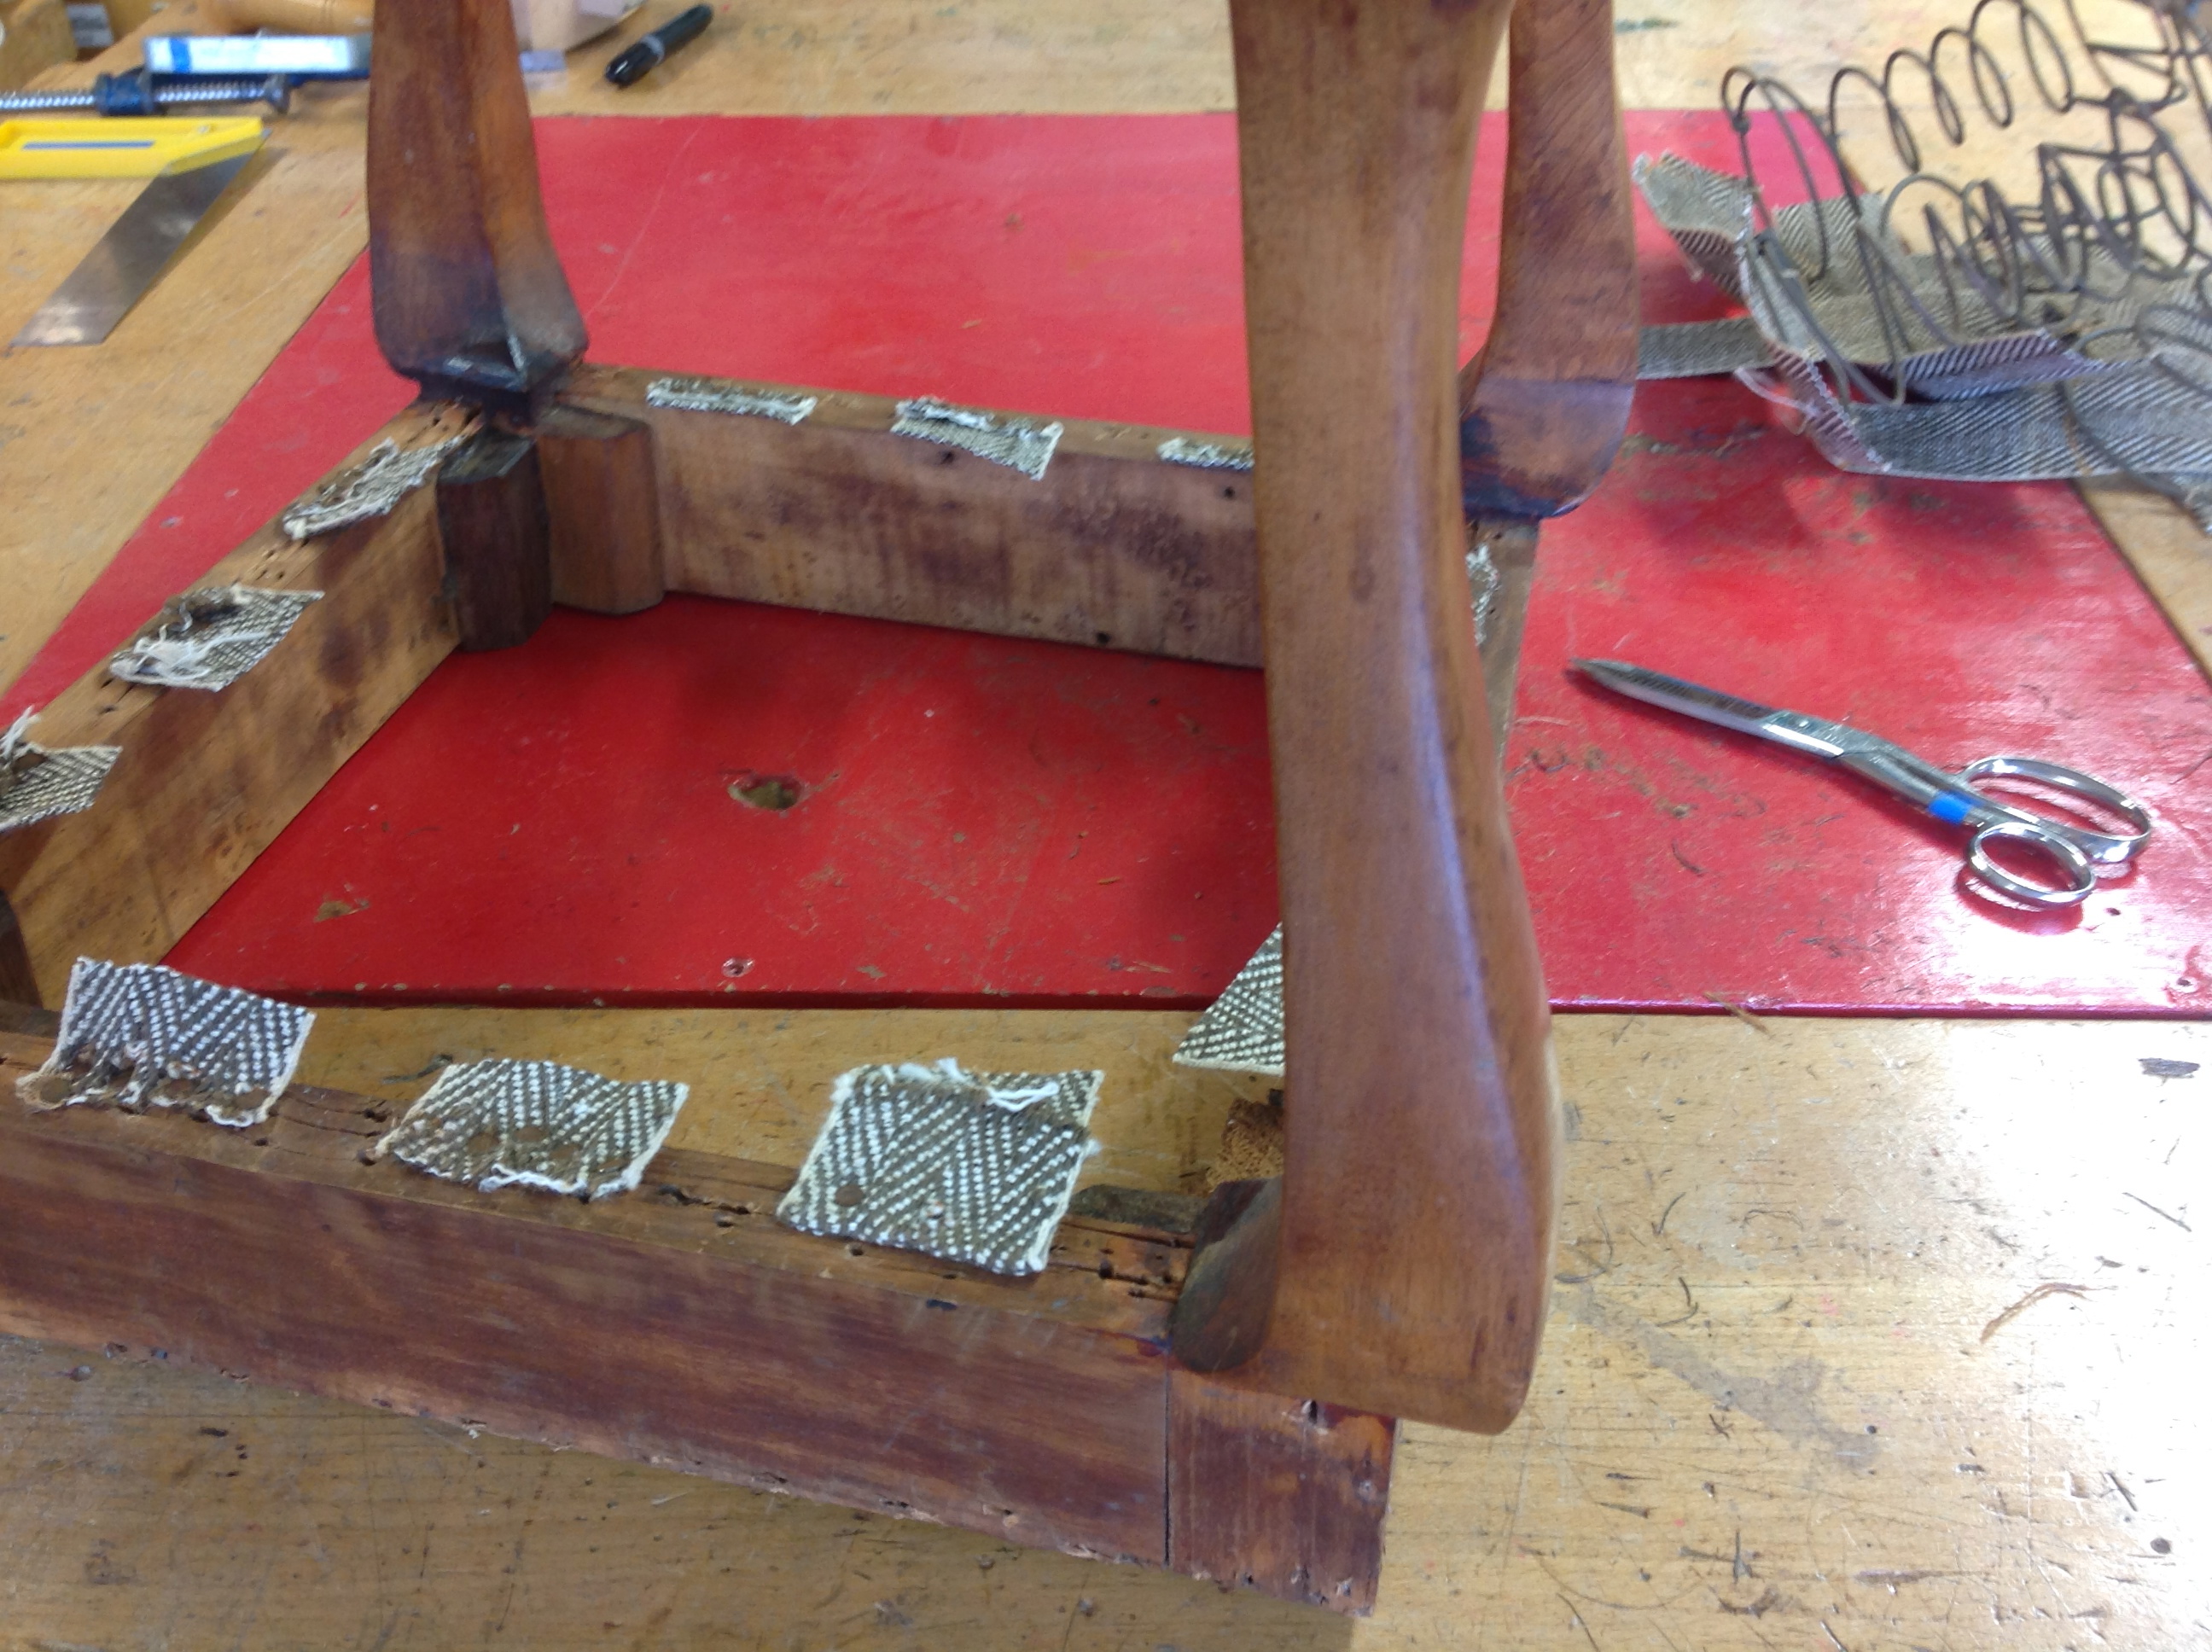
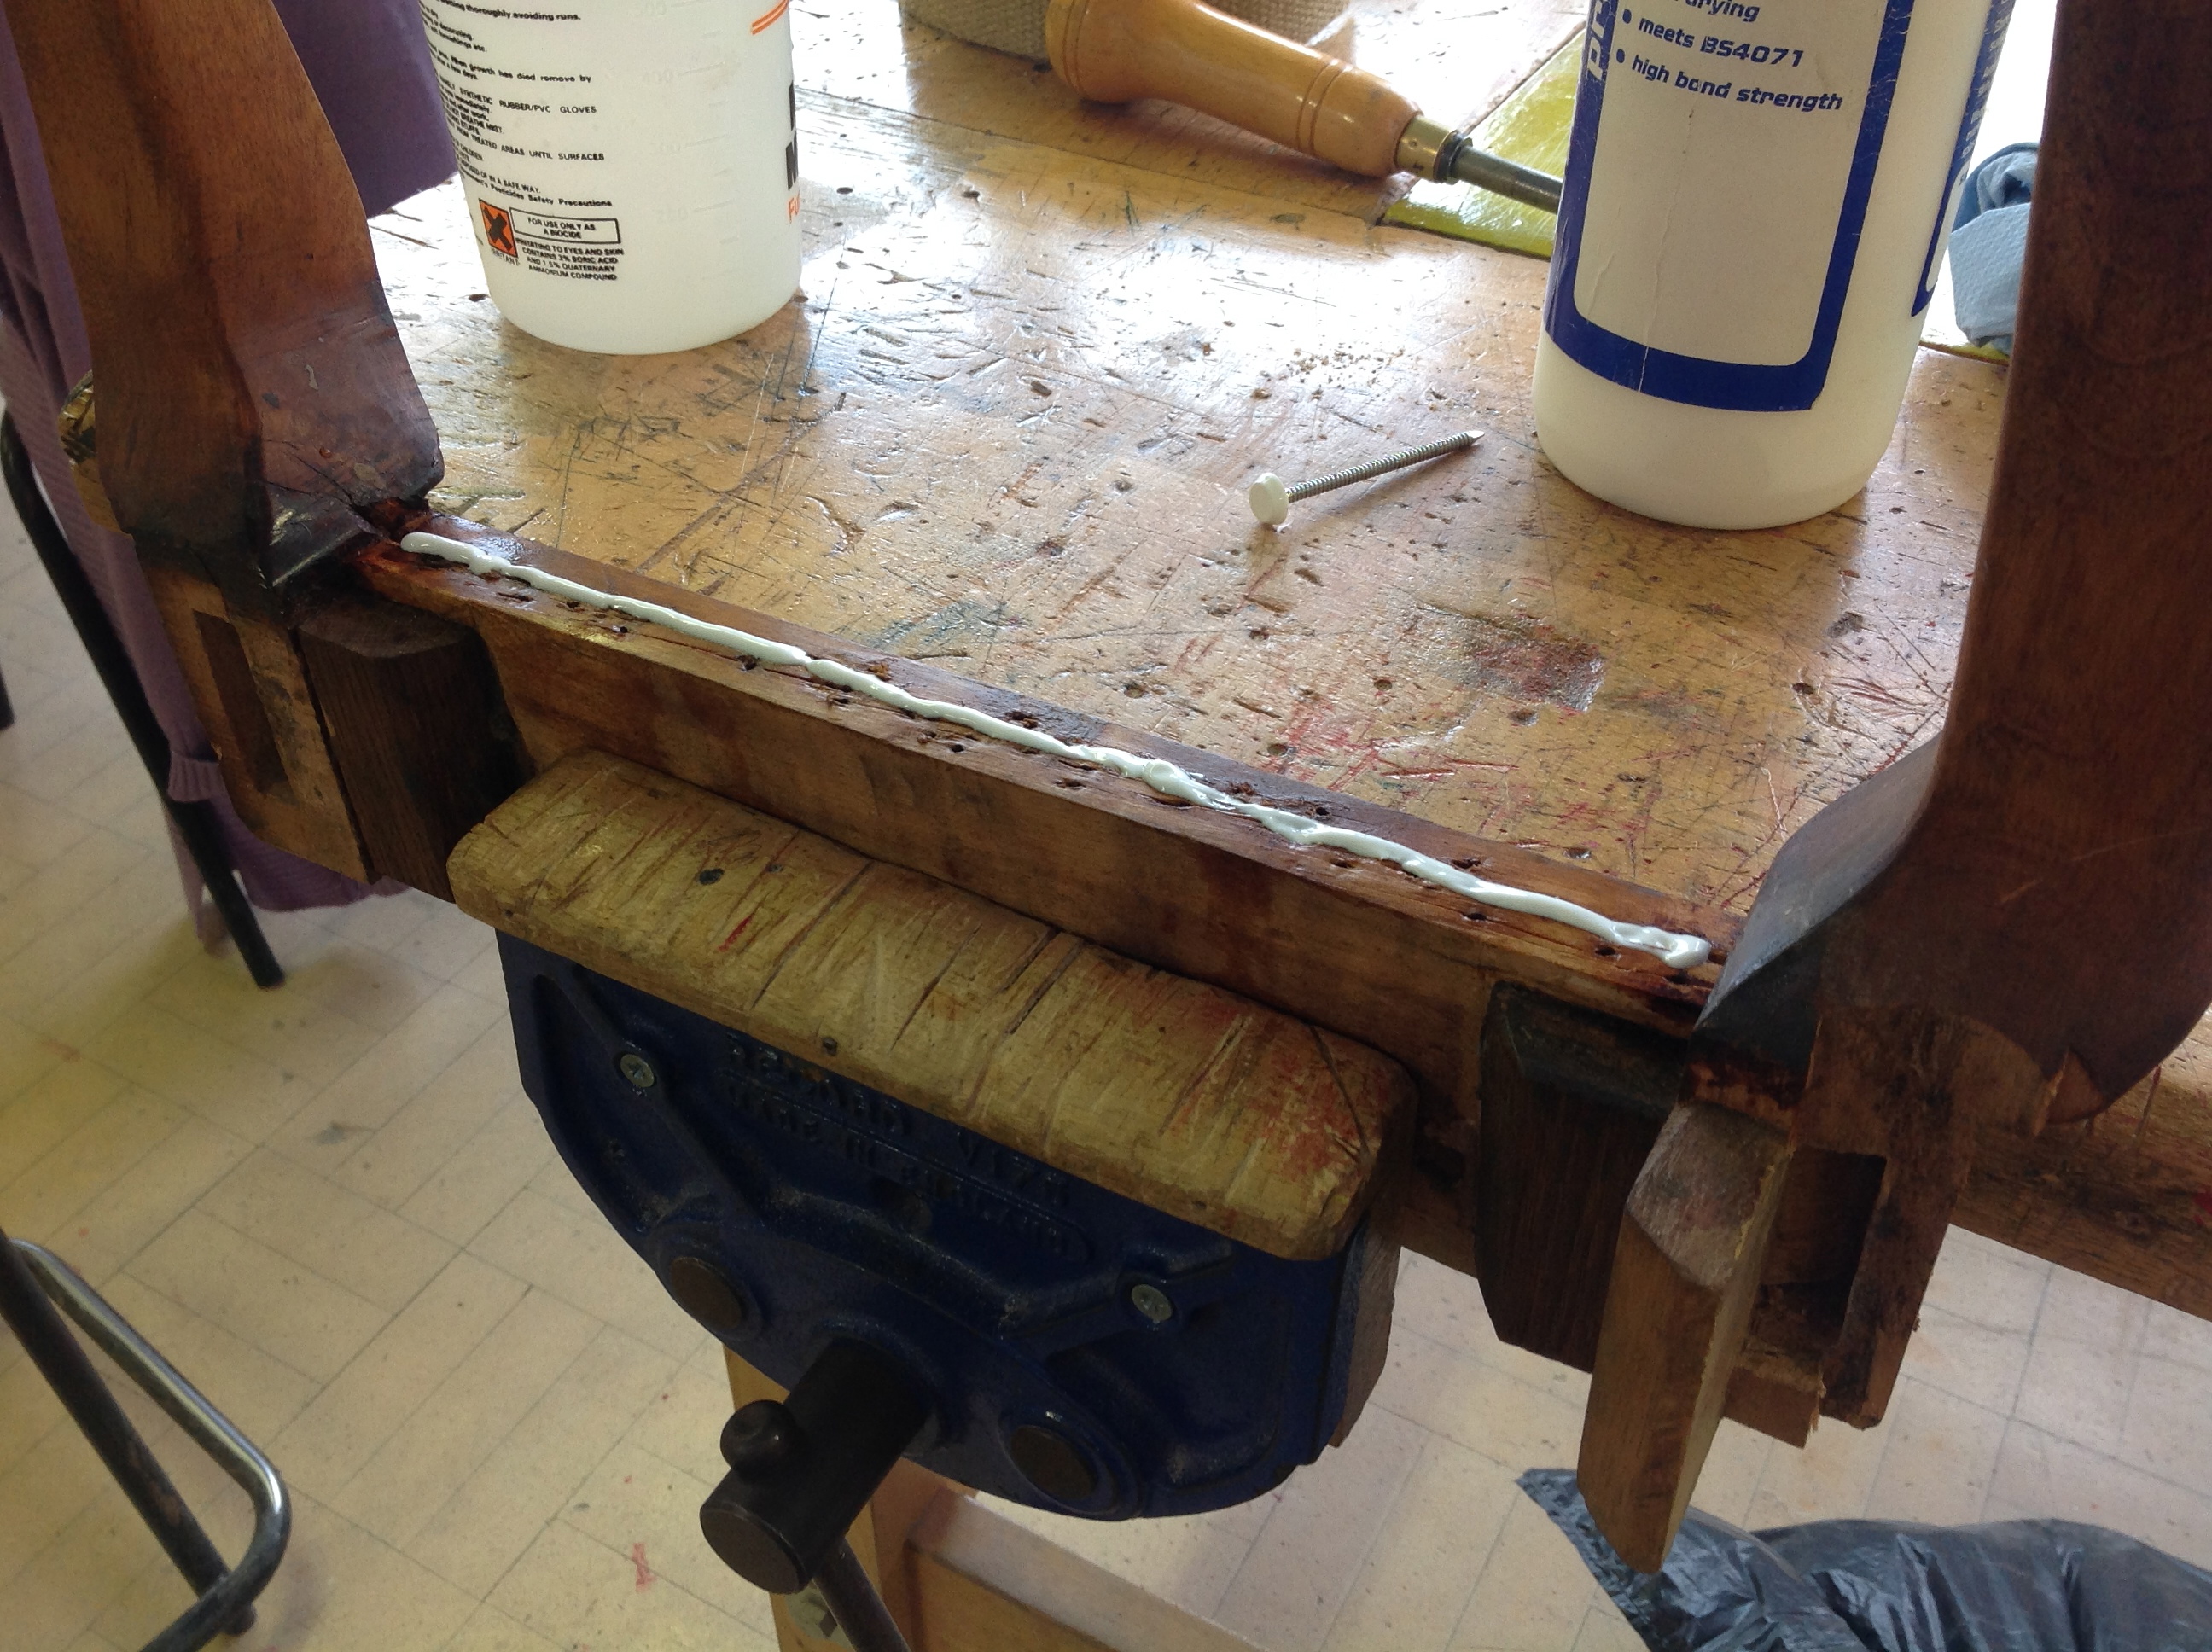
I realised quite quickly that we had stapled the webbing to the wrong side of the chair last time round (fine if you are planning to build the seat up without springs – not so good if you have old springs to replace). So I began by taking off the webbing, cleaning up the woodwork and reapplying the webbing to the correct (under)side.

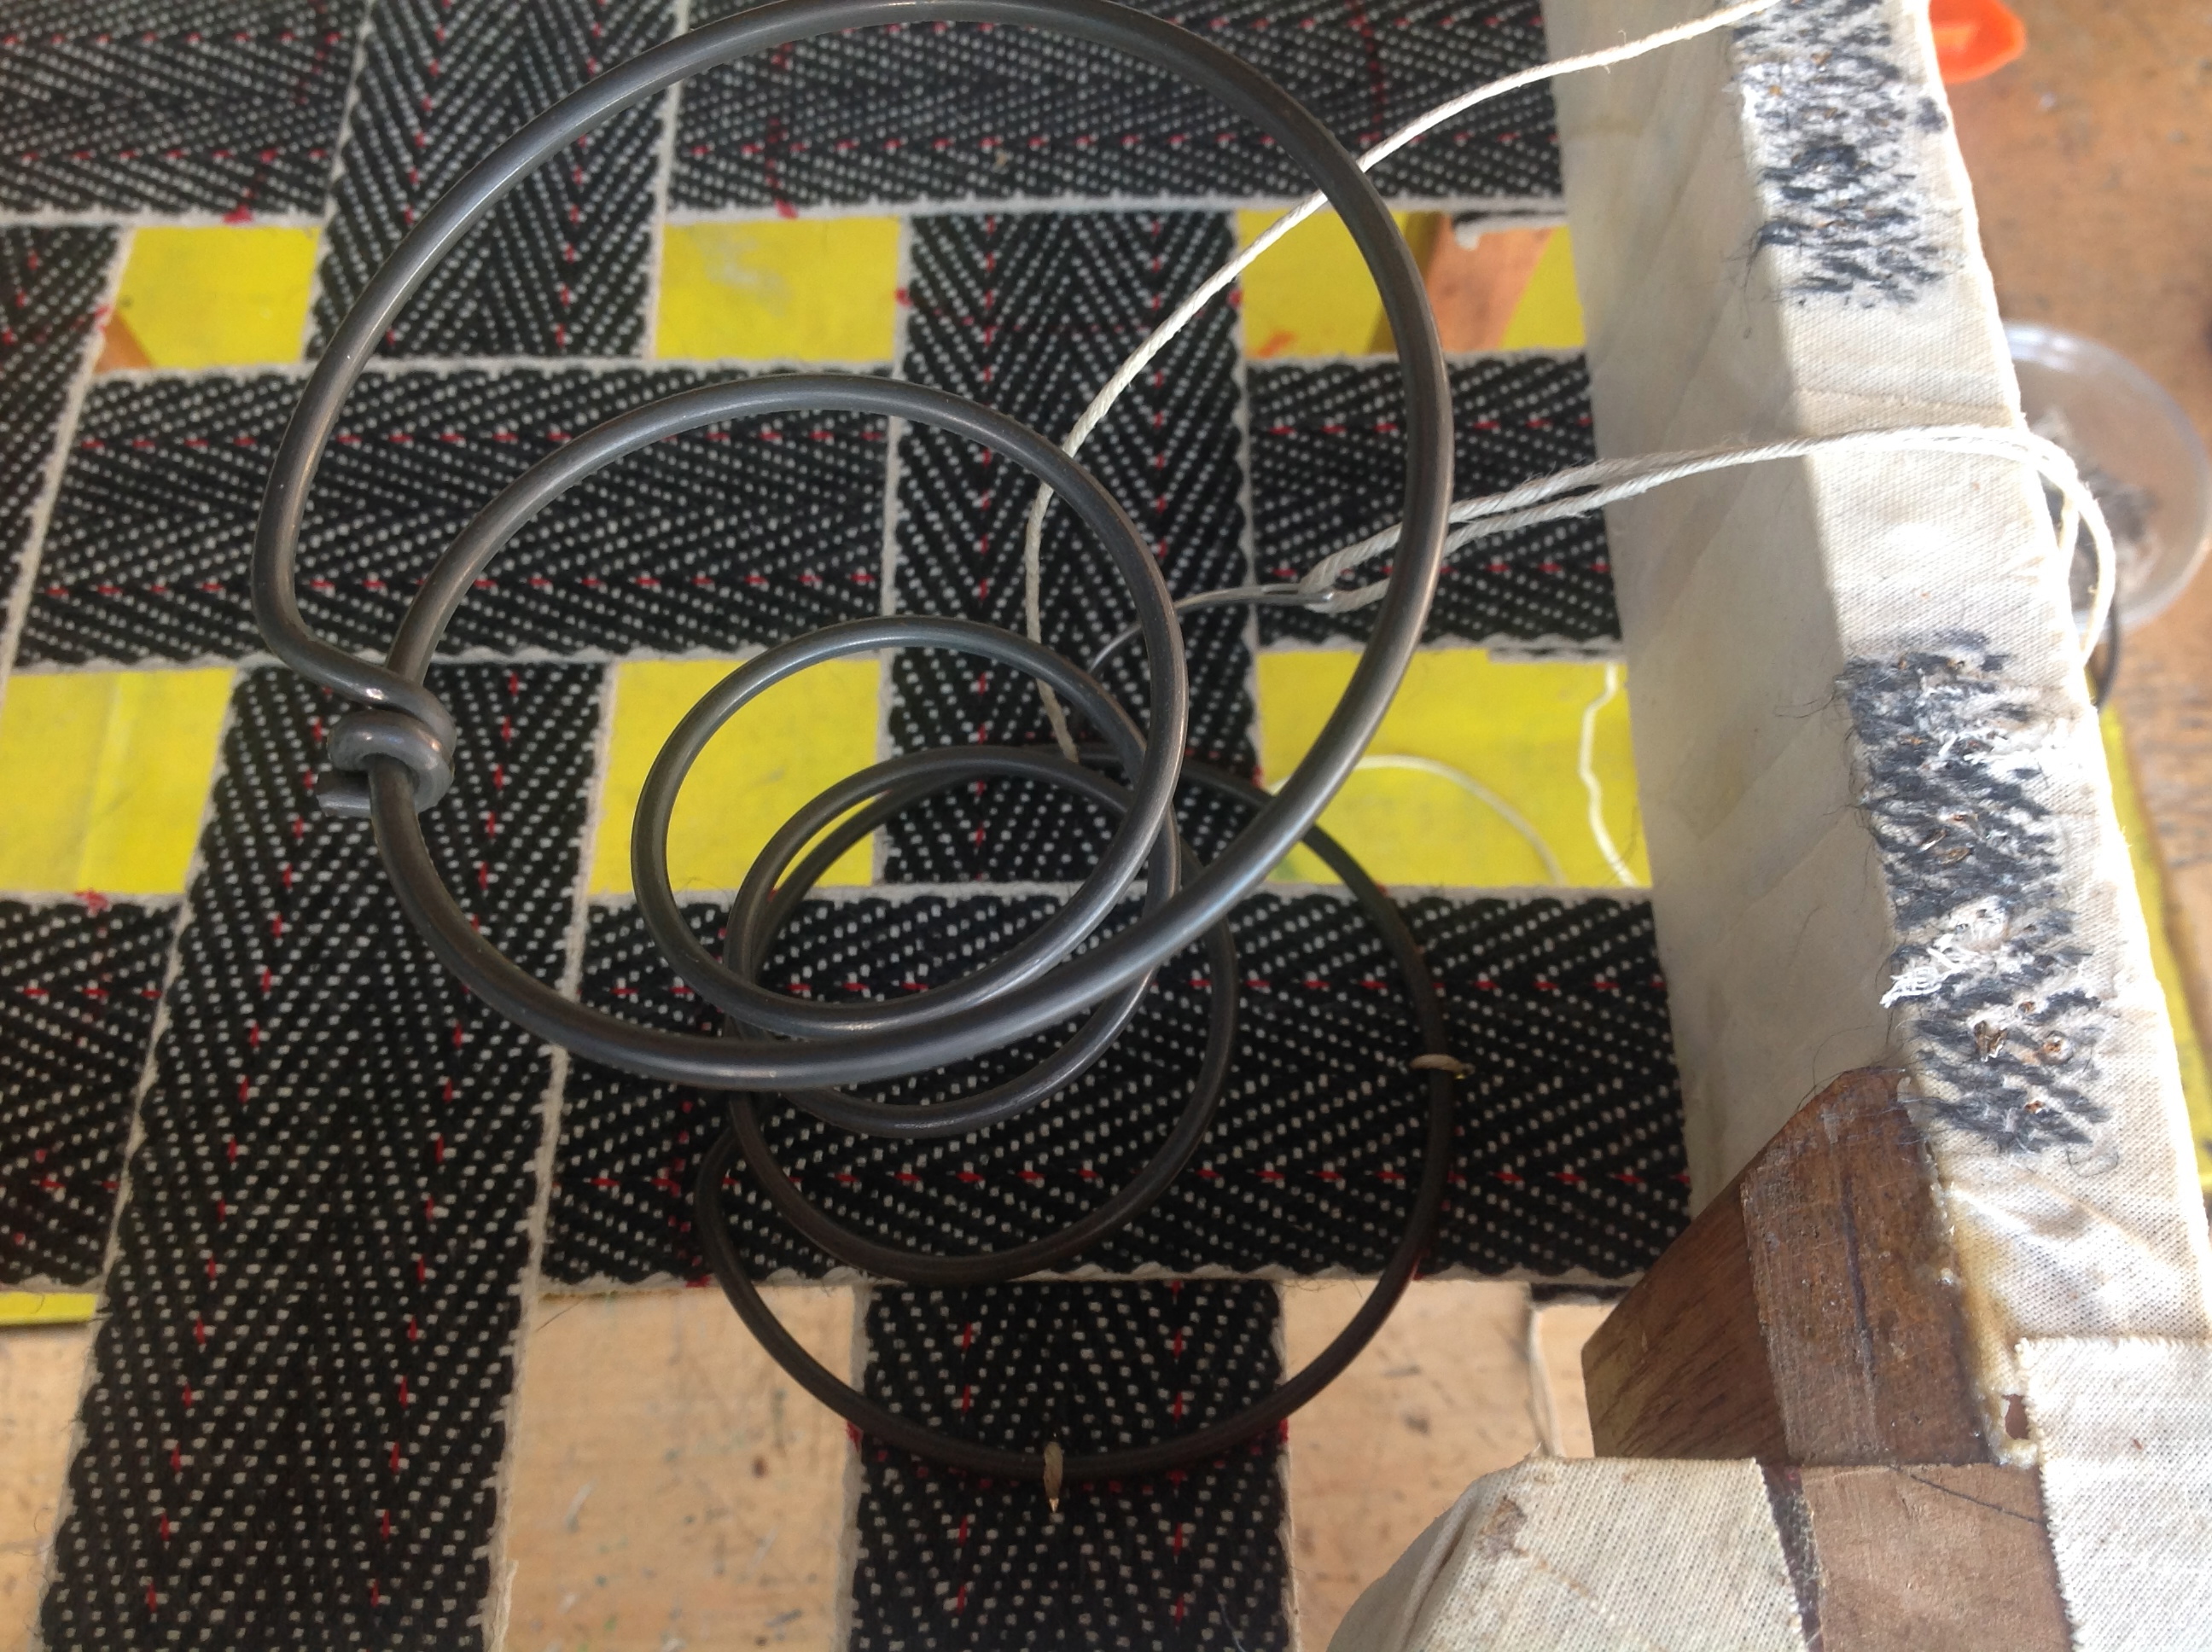
Next it was time to hand sew the springs to the webbing and create a sprung unit from the five springs by coercing them together with string. Then I nailed a layer of hessian to the frame – over the top of the springs – and hand sewed the springs under the fabric by ‘feel’.

That took most of the morning which meant the afternoon was spent hand sewing little cord pockets for the synthetic filling which would be tucked in to create part of the seat padding. The final step was to add another piece of hessian and secure with temporary tacks.

IMG_3719 IMG_3721 IMG_3723 IMG_3726 IMG_3733 IMG_3735IMG_3736 IMG_3738 IMG_3741 IMG_3742 IMG_3746 IMG_3751

This is as far as I got in seven hours. I am hoping that one more course day may bring me closer to the actual fabric cover! SCH

Upholstery course: day one

Given my penchant for auction bargains, I have been really keen to learn the skills involved in furniture upholstery. I often see tired looking sofas, chairs, stools, etc. that have lovely forms but have seen better days; wishing I had the confidence to buy them and transform them into something incredible.

On Saturday I was given that chance at a local one day workshop. I was asked to take along a small project so chose a small stool with Queen Anne legs and a sprung seat. The fabric was long gone and the stool looked a sorry state so most of the day was spent removing tacks, mending the woodwork and bandaging the wood so it was ready to take more staples and tacks. Here are some photos from the day… there’s still a lot to do including seven more layers until the stool resembles the original. The final fabric seems to be incidental!

image  IMG_2218  image  IMG_2255  image  IMG_2261  image  IMG_2273

I now hope to attend a multi-week course so I can finish the stool and move onto other projects that may benefit The Little Grange. SCH

Renovation of the linen press: before/after shots of pine drawers

I decided this is the week to begin work on the linen press… the sun is shining and there is no chance of rain!

The overall condition of the wood wasn’t too bad but there were certainly bits of veneer falling off and a couple of front strips that had come off altogether (although thankfully they had been left inside the furniture). Oh, and a small case of woodworm that needed treating.

The first thing to do was give the draws and box frame a good clean with a damp cloth and a bit of elbow grease; after that I used wood glue, clamps and masking tape to fix back the veneer. Having left the glue to dry overnight, I then waxed everything so that the wood was better protected and shone.

The drawers also needed cleaning inside as there was a warn blue lining in each made of paper. I used a similar method to removing old wallpaper while trying not to make the wood too wet. I am very happy with the result; the wood has a zebra-like grain running through it which makes for an interesting effect! SCH

IMG_0841  image  image  IMG_0845  IMG_0840  IMG_0828  IMG_0855  IMG_0857

New beginnings

The Little Grange is born!

The concept is firmly planted in my head… now to articulate it and make it a reality. I remember my cousin saying to me two years ago: “please be the one that actually does it!” . How exciting: to begin the process of setting up and running a B&B of sorts; something I have been dreaming of doing since I was about eight year’s old.

IMG_0981

Time to get outdoors

The concept, then, is a boutique retreat set in a rural location with rambling farm buildings where people can spend time indulging their passions or learning new skills: from baking to sewing to DIY to kitchen gardening. All those essential skills our parents and grandparents knew so well… ones which are at risk of disappearing as technology takes over and reduces our leisure time. I want the space to be beautiful and inspiring; somewhere you can totally switch off. Food needs to be grown either on-site or grown locally. Guest bedrooms need to be fresh and comfortable with an element of surprise.

Until very recently I was working in Dubai running a PR training academy. I plan to use the course management skills I gained there to set up a schedule of exciting courses based around modern crafts and artistry as well as practical, everyday skills courses.

At the moment I’m busy sorting finance, spending hours trawling websites for the perfect property as well as sourcing items that are going to add to the overall atmosphere of the The Little Grange. Until Launch Day I will be documenting my thoughts and inspiration via this blog, as well as seeking ideas and advice. As the project materialises, I will be sharing practical experiences too (the good, the bad and the better)!

If, as you read this blog, you have creative inspiration or practical advice to share – please do!  If you think an idea is crazy, I would like to know. Similarly, if you love, love, love what I have planned, do comment… that will give me the courage to keep going! SCH