The Great British Sewing Bee is back

I was really happy to see The Great British Sewing Bee back on our screens this week having recently completed a ten week dressmaking course, and now being in the middle of another term. The programme didn’t disappoint; ten new contestants of varying personalities, sewing experience and creative styles; three different sewing tasks; three types of common fabric: cotton, wool and silk.

Task one: a simple sleeveless, round-neck top in cotton / Task two: repurposing an ankle-length woollen skirt / Task three: making a made-to-measure silk nightie.

IMG_3962 IMG_3964 IMG_3967 IMG_3970 IMG_3971 IMG_3973 IMG_3975 IMG_3979

It’s amazing how many skills and techniques were covered by those three tasks in week one. Here are just a few that I jotted down:

  1. – Choosing the right fabric for the type of garment
  2. – Understanding how to treat / work with different fabrics
  3. – Measuring models and transferring measurements to patterns
  4. – Accurately marking, pinning and cutting out patterns
  5. – Matching fabric patterns (especially where it meets in the middle of a garment)
  6. – Adding darts / understanding body contours
  7. – Hand stitching (ladder stitch, etc.)
  8. – Understitching (e.g. necklines)
  9. – Rolling hems
  10. – Applying trims (e.g. lace)
  11. – Adding drama/impact
  12. – Following instructions and mManaging your time!

What have I missed out? Next week I’m sure the BBC will up the difficulty level. SCH

Upholstery course: day two

This is a progress update on the small stool I began re-upholstering last year (well, dismantling more like)!

I realised quite quickly that we had stapled the webbing to the wrong side of the chair last time round (fine if you are planning to build the seat up without springs – not so good if you have old springs to replace). So I began by taking off the webbing, cleaning up the woodwork and reapplying the webbing to the correct (under)side.

Next it was time to hand sew the springs to the webbing and create a sprung unit from the five springs by coercing them together with string. Then I nailed a layer of hessian to the frame – over the top of the springs – and hand sewed the springs under the fabric by ‘feel’.

That took most of the morning which meant the afternoon was spent hand sewing little cord pockets for the synthetic filling which would be tucked in to create part of the seat padding. The final step was to add another piece of hessian and secure with temporary tacks.

IMG_3719 IMG_3721 IMG_3723 IMG_3726 IMG_3733 IMG_3735IMG_3736 IMG_3738 IMG_3741 IMG_3742 IMG_3746 IMG_3751

This is as far as I got in seven hours. I am hoping that one more course day may bring me closer to the actual fabric cover! SCH

Busy sewing bee

I joined a dressmaking course last month to help me tackle some of the sewing and upholstery projects I have lined up. I will generally have a go at most things but sometimes feel I am missing the basics and would like some formal instruction. By joining the class I hope to perfect different types of seams, get a better understanding of what my sewing machine can do, learn new techniques for making projects look more professional and generally learn the tips of the trade.

IMG_2296

Sample course work: concealed zip

Each week we are covering different seams and basic sewing skills. So far we have sewn a straight seam, French seam, jean seam, corner seam, facing, round and pointed collars, and put in a dart using tailor’s tacks. We have also looked at general machine use, measuring and cutting out fabric, seam allowances, pressing out seams and troubleshooting. During this week’s class we went through the process of adding a zip to a skirt – using both machine and hand tacking, a close top stitch and a ‘quick unpicker’ to reveal the concealed zip.

I have already taken on board this zip technique because over the weekend I needed to make my nine year old nephew a maths-inspired cushion for his bedroom. Before assembling the zip-linked panels I cut out a series of number templates based on images I found on the internet and used a wide zig-zag stitch to fix them to the front panel using the same colour cotton thread.

IMG_2361

Attaching numbers

A cushion, it seems, is no more tricky than a skirt; you just have to remember to open the zip before you sew the remaining three sides!

Now that’s done it’s time to tackle the padded cushions for the outside wooden chair – I keep putting this project off because I need to find an implement to cut through foam. Apparently an electric carving knife (used for cutting the Christmas turkey) works well. I will report back soon on that particular success (or failure)! SCH

Upholstery course: day one

Given my penchant for auction bargains, I have been really keen to learn the skills involved in furniture upholstery. I often see tired looking sofas, chairs, stools, etc. that have lovely forms but have seen better days; wishing I had the confidence to buy them and transform them into something incredible.

On Saturday I was given that chance at a local one day workshop. I was asked to take along a small project so chose a small stool with Queen Anne legs and a sprung seat. The fabric was long gone and the stool looked a sorry state so most of the day was spent removing tacks, mending the woodwork and bandaging the wood so it was ready to take more staples and tacks. Here are some photos from the day… there’s still a lot to do including seven more layers until the stool resembles the original. The final fabric seems to be incidental!

image  IMG_2218  image  IMG_2255  image  IMG_2261  image  IMG_2273

I now hope to attend a multi-week course so I can finish the stool and move onto other projects that may benefit The Little Grange. SCH

Fresh eggs for breakfast

After a couple of weeks away from the auction it was great to get back there today.

Despite a cold chill in the air there were still a few items in the outside section. Gone are the summer parasols and tables and chairs… household bricks, lawn mowers, wheelbarrows and chicken wire are more the seasonal order of the day.

Now speaking of chicken wire, I had my eye on a group of five galvanised chicken feeders and, despite a lot of interest, I managed to get them! A helpful friend explained how the large hanging feeder worked and declared it a simple yet effective feat of engineering to keep away the rats; he also fixed the water dispenser together and talked about the 120 odd chickens and pigs he used to keep. A local farmer came over for a chat with his dog Alfie to find it was his lot we were discussing and that it had made £30. He then mentioned he had about 30 pig feeders scattered around his fields that were too heavy to lift… I suspect they will make their way to auction in time.

I bought the chicken feeders because I am keen to keep chickens at The Little Grange; a new enterprise has started up in St. Gervais which means chicks and feed are now readily available. I plan to provide guests with fresh eggs for breakfast. This time next year…!  SCH

image

Galvanised steel chicken feeders

Renovation of the linen press: before/after shots of top section

Last week the weather was finally cool enough to tackle the second component of the linen press. I set myself up in the shade of the grape vine and cleaned down the entire frame, removed the warn blue paper that was lining the linen drawers and then waxed all the parts.

Unlike the bottom section, which has the appearance of a polished Victorian set of pine drawers, the top component is a simple box structure with ‘open-fronted’ sliding drawers where linen would have been placed in olden times. The wood is untreated as this part of the linen press is intended to be hidden behind two veneered doors. I cleaned and waxed the doors and stored them in the garage as I wont be able to add these until the base and top frames are cleaned up and in situ. That’s probably a job for next week as I still need to treat those parts for wood worm first.

Below are a few pictures of work in progress as well as the finished product on top of the already renovated pine drawers. When everything is finished and assembled it will be placed in the barn/workshop at The Little Grange. SCH

IMG_1828  IMG_1826   IMG_1820  IMG_1832

Refreshing the strawberry bed

I have had lots of fun overhauling the strawberry bed this week.

We have an old brick bed adjoining the greenhouse which is approximately nine feet long by three feet wide. Once the plants start developing their fruit in early summer we add wooden frames covered in netting to protect them from birds.

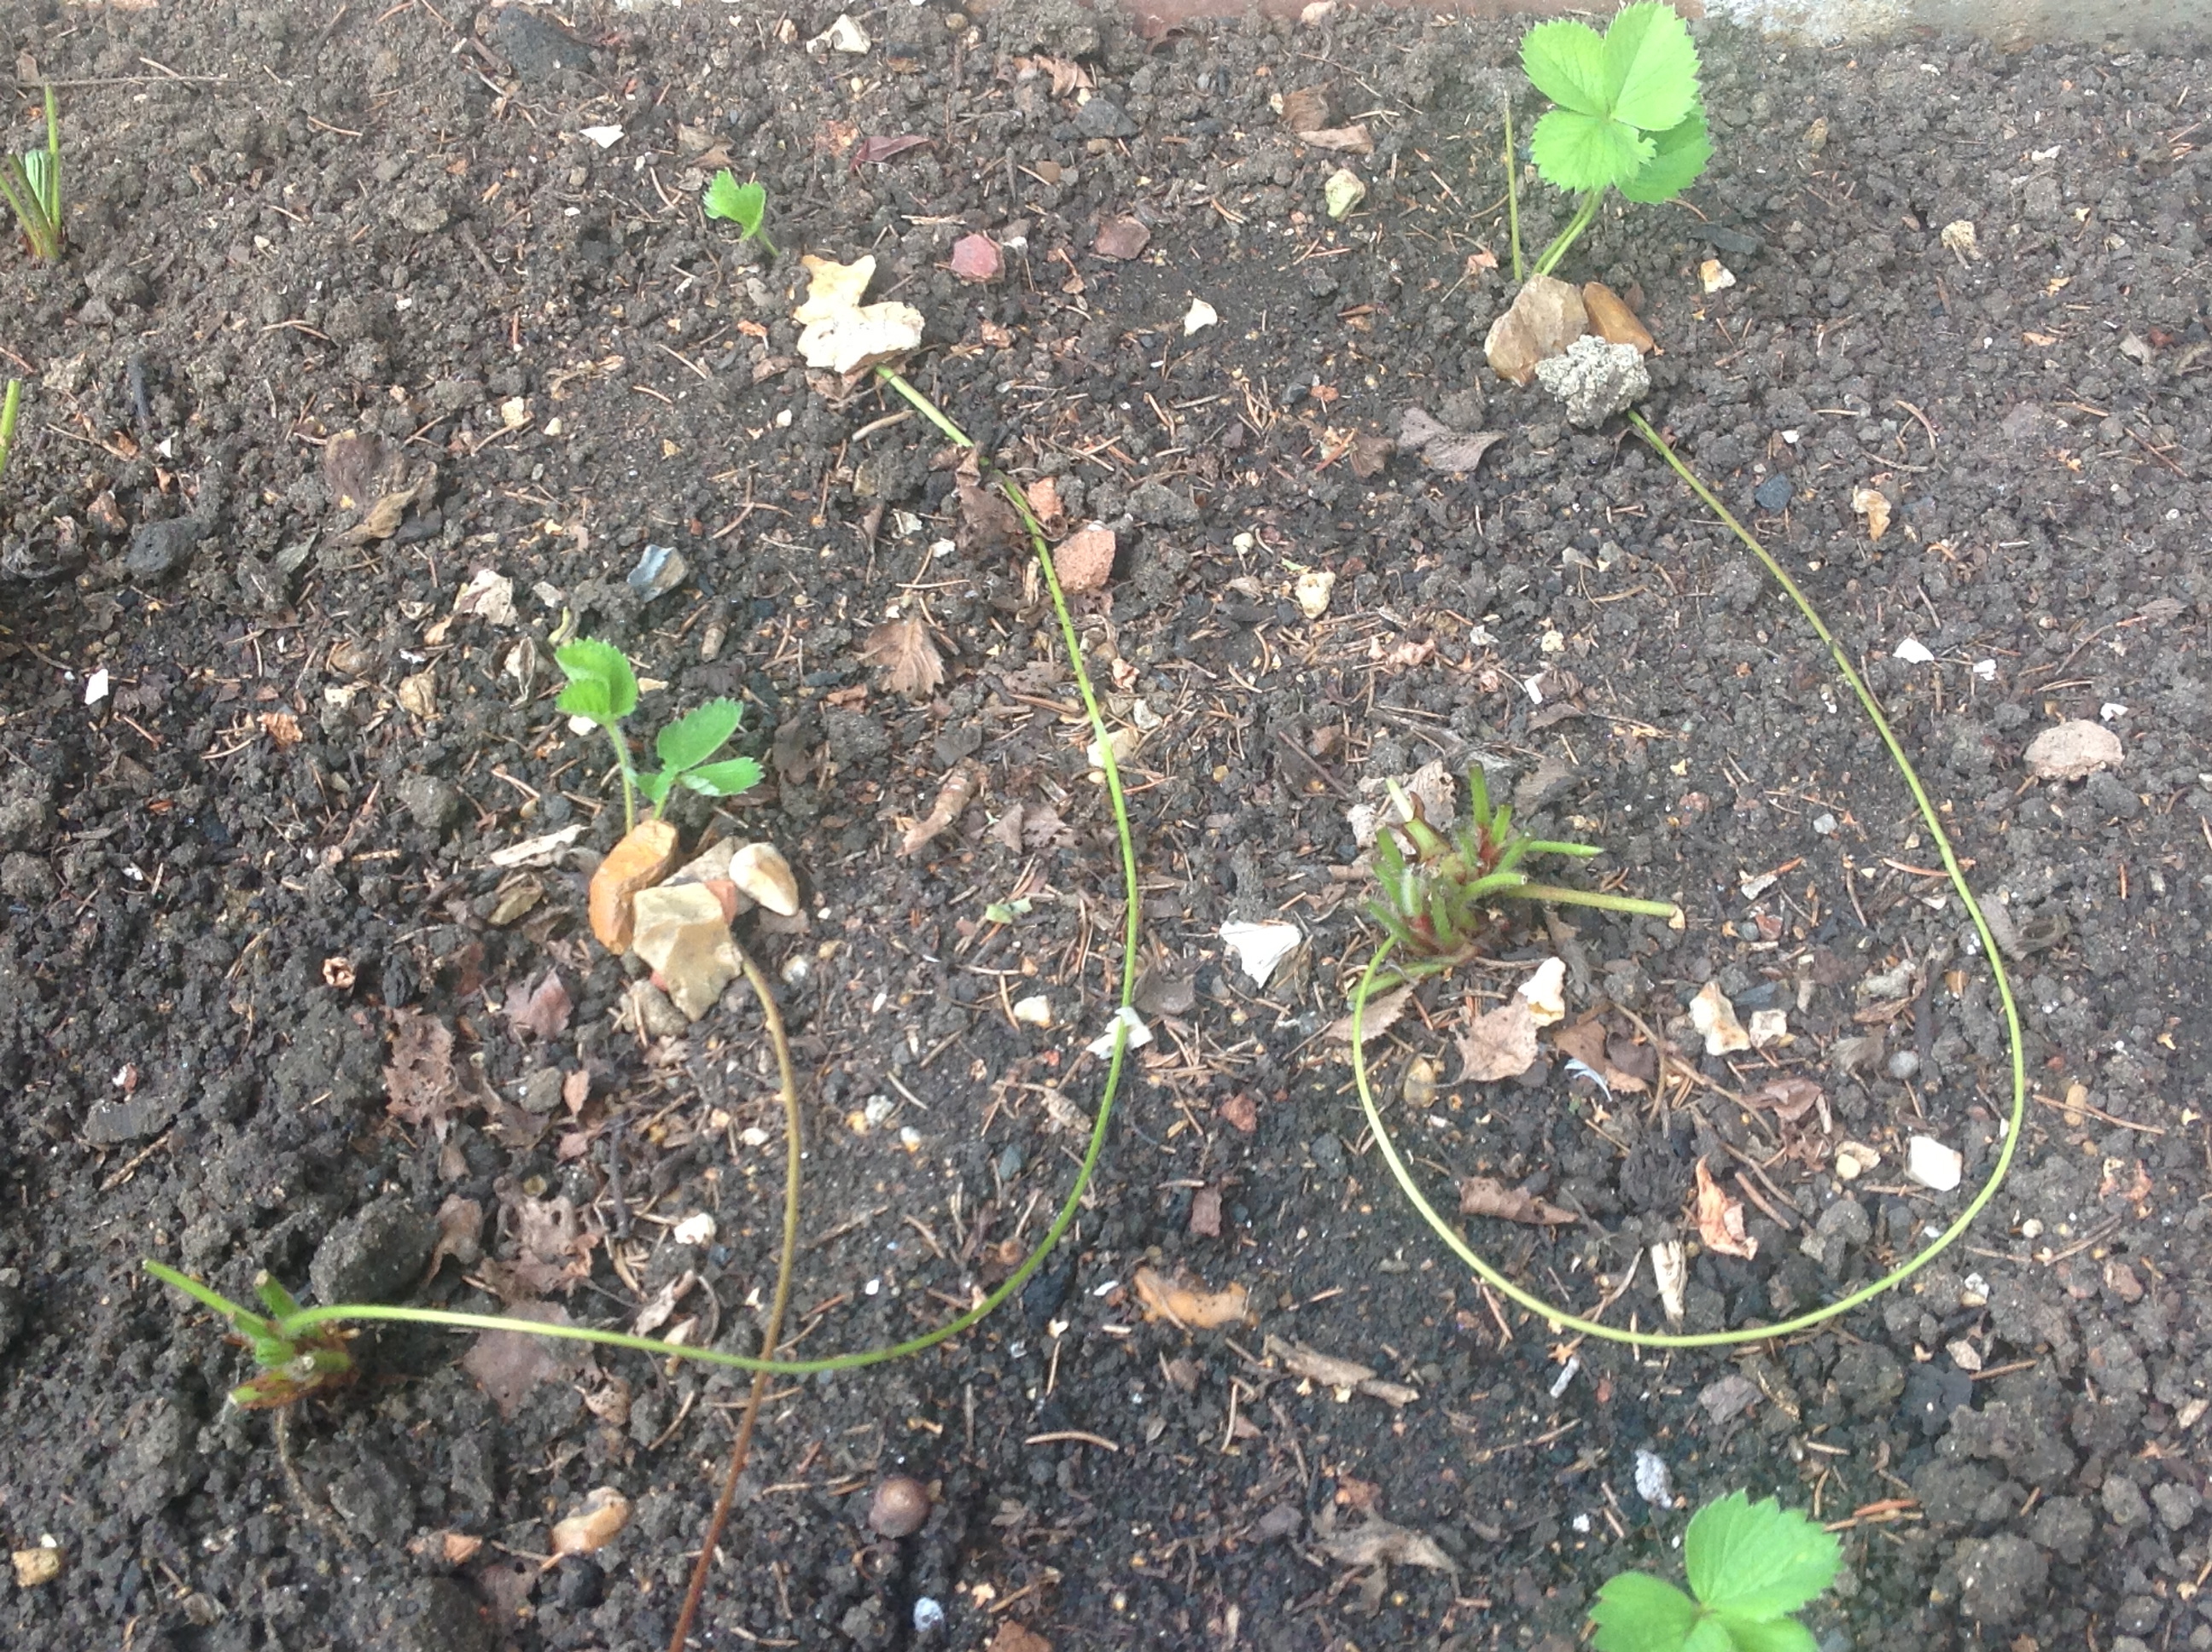
We had a disappointing crop over the summer (two to three large punnets only) mainly because many of the plants were a few years old and past their best; the tubers where gnarly and protruding from the earth and I think the plants struggled to keep themselves going!  They did however produce lots of runners (these run along the ground looking for a place to anchor their roots and eventually become baby plants that will flower and fruit the season after next).

When I started to tackle the plot it was one big jungle and difficult to see what to do first so I began by cutting away all of the stalks and leaves and leaving only the stumps with their brand new runners. Once I had a clear view of the bed I was able to remove any rotten plants, poorly placed plants, or old plants that had not produced runners. This resulted in more uniformed rows of strawberry plants (which makes watering, weeding and picking easier) and made for an easier view of the runners.

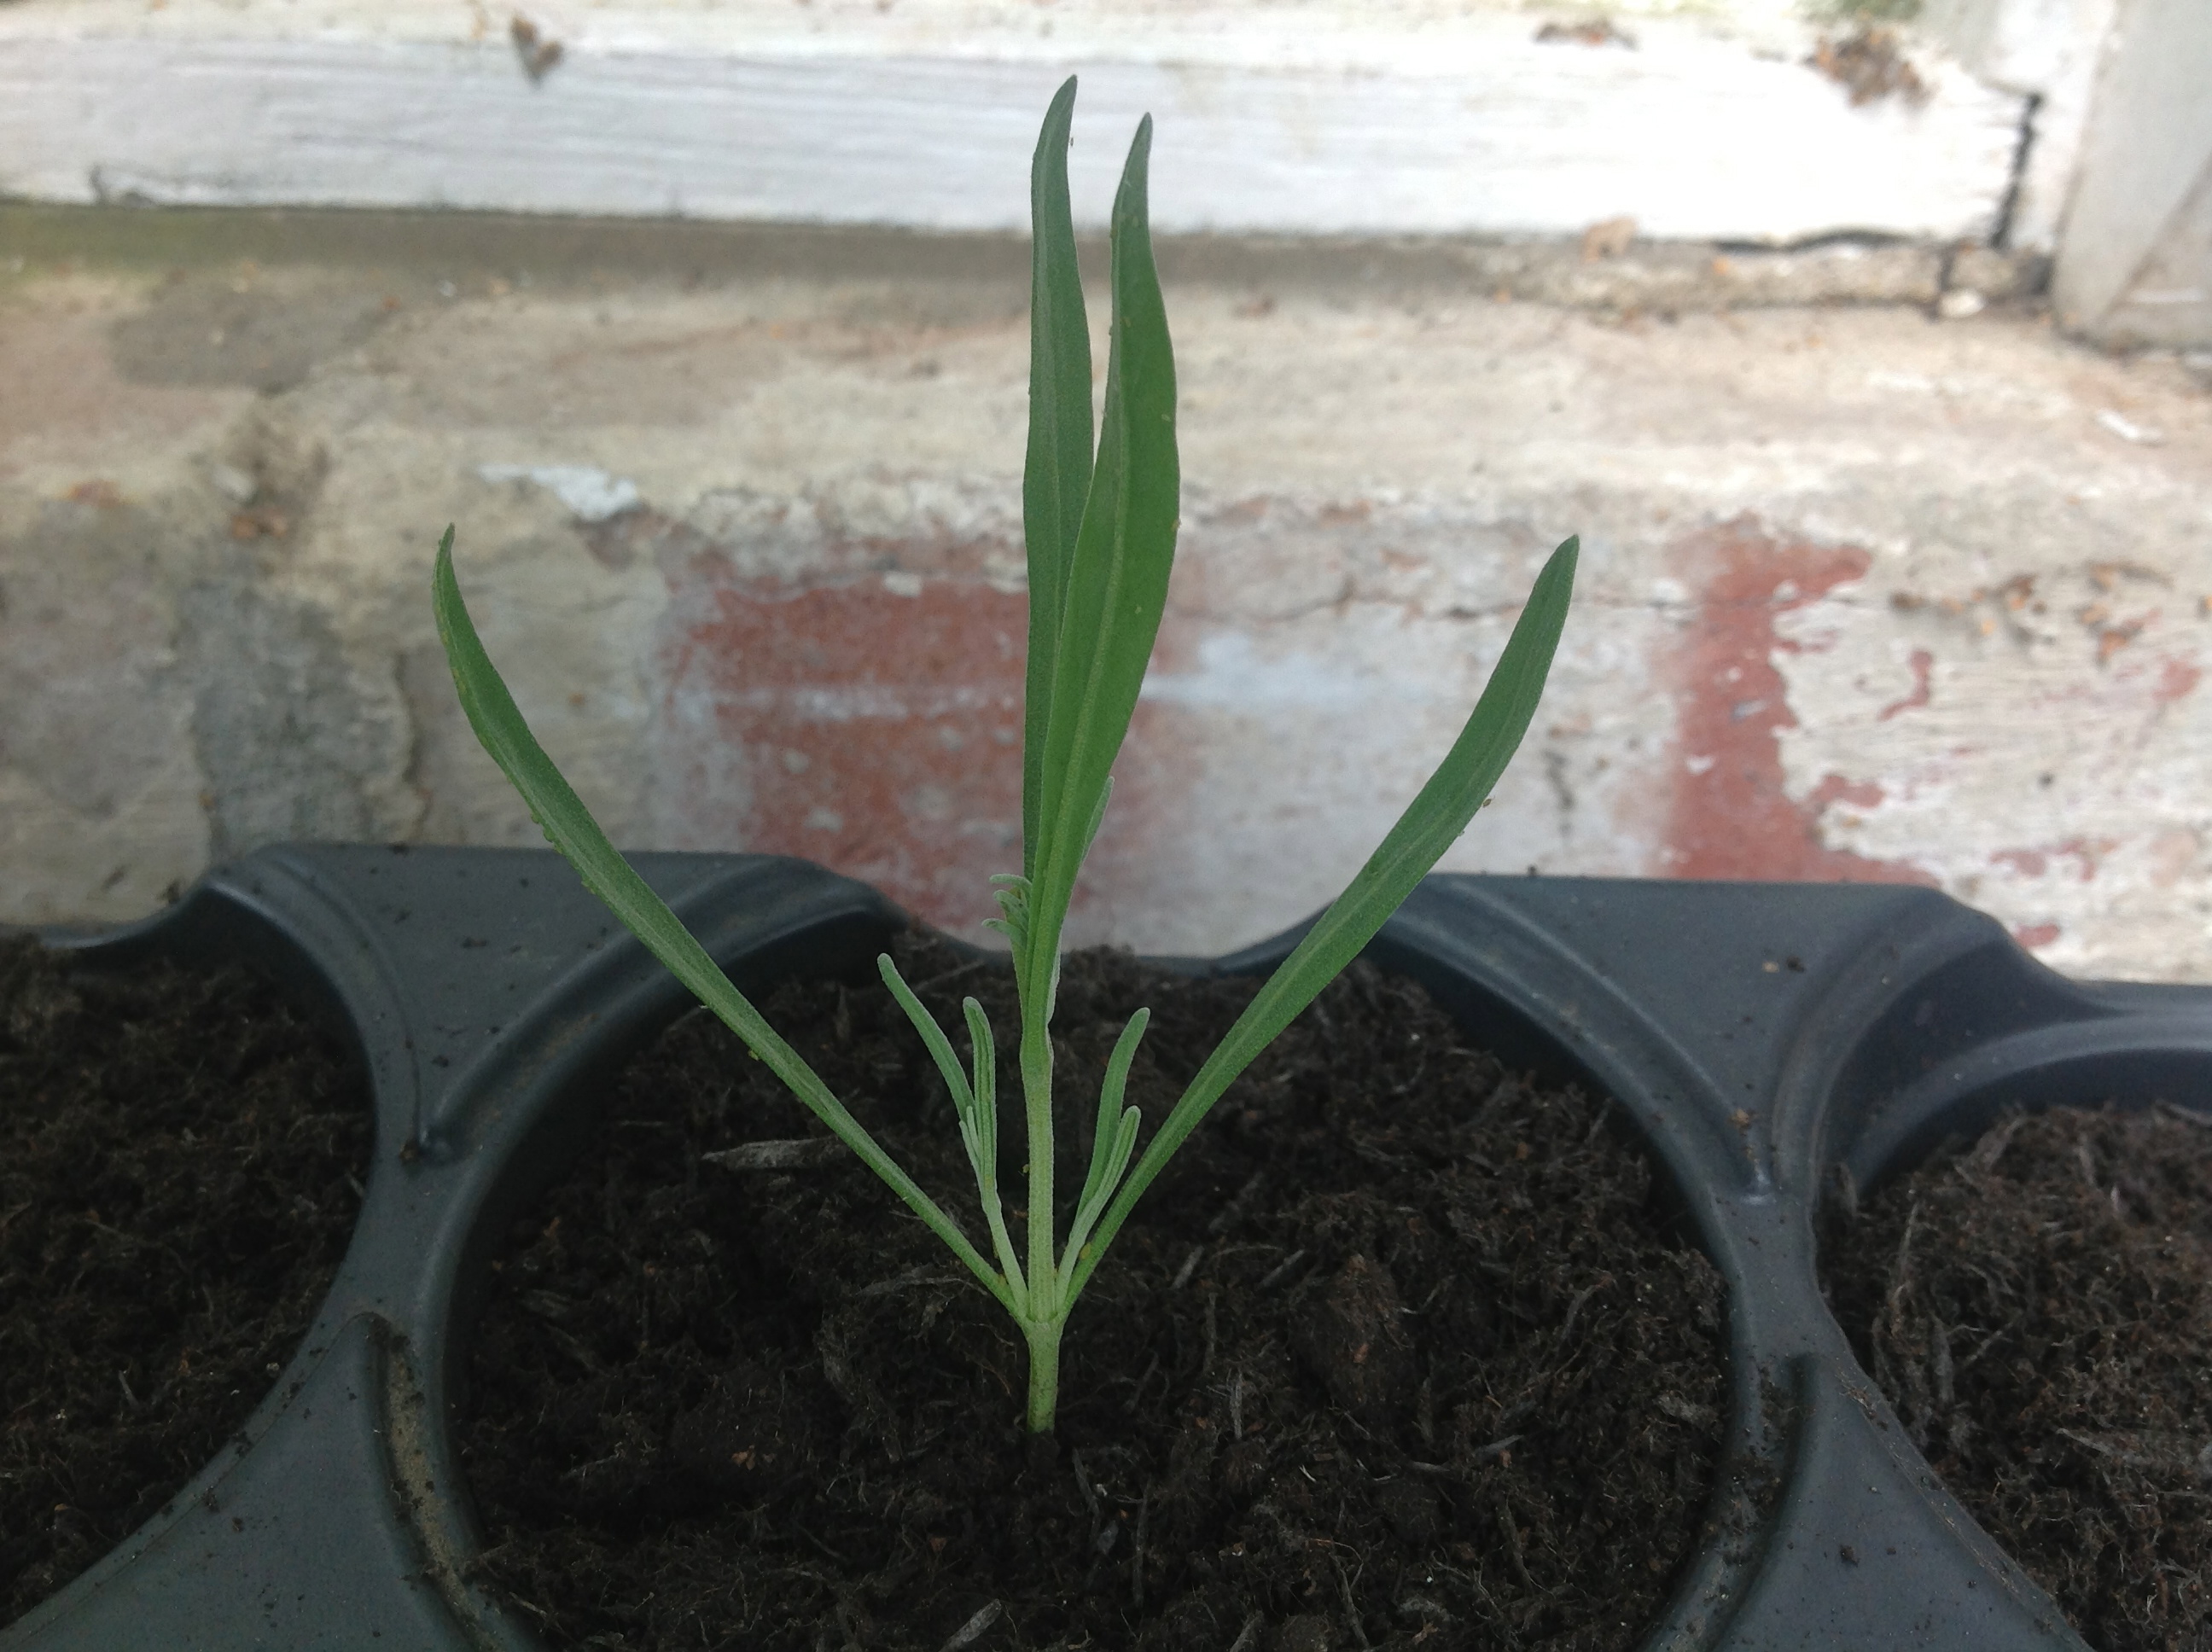
Next I looked for the healthiest of runners and cut them back to the first rooting shoot (sometimes runners will produce two or three baby plants along their length but have to work twice as hard to feed them all)! I weighted down each shoot with a big stone to allow the tiny roots (just visible) to cling to the soil below and take hold.

In removing the old plants and weighting down new runners I took care to make sure I didn’t limit next year’s fruiting potential. For example, even though they were on their last legs I retained the old plants that were producing strong baby plants, I kept all other healthy plants as they will be the ones that will flower and fruit next year and, finally, I filled any holes with plants already grown from last year’s runners. At the beginning of next season I will be able to replace the oldest and weakest plants with the new plants provided by this year’s runners.

Below is my 5-step recap (mainly to remind myself)!

1. Cut away all stalks/leaves taking care not to cut off the runners!

2. Remove old plants that are not producing runners or fruit (tidy up the rows)

3. Weight down runners with stones

4. Surround plants with fresh compost to replenish nutrients

5. Water well

Next year I will be using this experience to build a strawberry bed from scratch at The Little Grange in France. The goal is to create a well-stocked kitchen garden at the back of the house incorporating fruit, vegetables, herbs and edible flowers. SCH

IMG_1346  IMG_1774  IMG_1739  IMG_1740

Lavender: the two-year project

I know it sounds a little crazy to talk of edging a 100 ft garden path with lavender when I haven’t yet found the right property, but given the amount of work that goes into building a mature garden it seems wise to make an early start! Despite my impatience and general inexperience, I’m hoping that by taking cuttings from an old, gnarled lavender bush and planting them up now I will have the perfect-sized lavender plants within two years.

There are other benefits too: the cost of planting 40+ established plants from a local nursery is prohibitive (I estimate somewhere in the region of £400). With this being one of many ‘essential’ garden projects at The Little Grange it is hard to justify such a spend and the alternative – planting a few smaller plants – just wont have the same impact. By taking cuttings I will have all the plants I need for (virtually) nothing at all.*

IMG_1068  IMG_1066   IMG_1072  IMG_1071  IMG_1073 2  IMG_1074  IMG_1076  IMG_1175

I followed these simple steps:

Step 1: take an old lavender bush with lots of new shoots

Step 2: choose small pots, fill with compost and water lightly. For ease I planted 36 cuttings in two pre-formed trays of 18

Step 3: using secateurs, cut off a semi-ripe shoot of about 5 inches from the lavender bush

Step 4: using a sharp knife, cut just below the lowest leaf bud

Step 5: take off all leaves apart from the top set; thin out the central leaves

Step 6: using a pencil or similar-sized implement, make a hole in the centre of the compost and pop in the cutting

Step 7: using small wooden stakes and a see-through polythene bag; protect the cuttings; keep them out of direct sunlight

Once the cuttings are firmly established – they will sprout new shoots and will have a good root system – it will be time to pot them into bigger/individual containers with poor, stoney soil and leave them in a warm, sheltered spot. SCH

* Remember to factor in potting compost and water!

Piped cushions for an old wooden garden chair

I am planning a relatively straight forward upholstery project… fabric-covered foam cushions for an old wooden garden chair. The chair is Adirondack by design so I will need to take careful measurements to ensure the cushions fit snugly.  The covers will be made from a weighty cream patterned material and will be piped around the top and bottom edges.

To test how well the material performs I have just finished making two regular piped cushions which will probably end up on an inside chair/sofa rather than the completed garden chair, but it was good practice! Now… to those fabric-covered foam cushions… SCH

IMG_0753  IMG_0751  IMG_0742  IMG_0748

Garden inspiration

What a fantastic way to spend a (partially) sunny weekend… looking around other people’s gardens!

In a small village, about two miles away, Mum and I visited 24 gardens over two afternoons as part of an open garden festival. I love looking through magazines for inspiration but nothing compares to seeing gardens up close.

Aside from getting that warm fuzzy feeling, the whole experience provided a fascinating insight into the British psyche… Armed with a map of the village we roamed from house to house on a mission to find new garden design ideas as well as new planting schemes.

No two gardens were alike; some were large and formal; others small and rambling. Planting was generally organic rather than staged and you could tell that people just loved to garden (and their gardens). What I hadn’t bargained for was the extent to which people moved beyond plants and soft/hard landscaping to create their own little havens matched perfectly to their personalities and obsessions! For example, the first Georgian house we visited just off the high street had a miniature train track running around the perimeter and a very excitable owner keeping the train and carriages moving past their stations. Another garden lover had a corner plot complete with hot tub, pond and chicken coup!

Other fun elements included a hill with secret kiddy tunnel, an enormous medieval castle dominating the back garden of a family home, and a teeny weeny garden filled with all manner of decorative objects including the inimitable gnome! All set in a small village no more than two miles square… what a treat.

IMG_1032  IMG_1005  IMG_0981  IMG_1009  IMG_1055  IMG_1017  IMG_1052  IMG_1037

However, for me it was the traditional garden elements that I enjoyed the most. Above are some of the ideas I hope to introduce into the garden at The Little Grange: stone boundary walls, big old gnarly trees, formal buxus hedges, wisteria in full bloom, well-planted vegetable patches and a suspended garden bench. SCH